As a special education teacher, you have about a hundred things on your to do list per hour. One way that I’ve been able to save time is through having a good system for organizing my reading intervention materials and prepping as much as I can ahead of time.
Step 1: Print Reading Intervention Materials
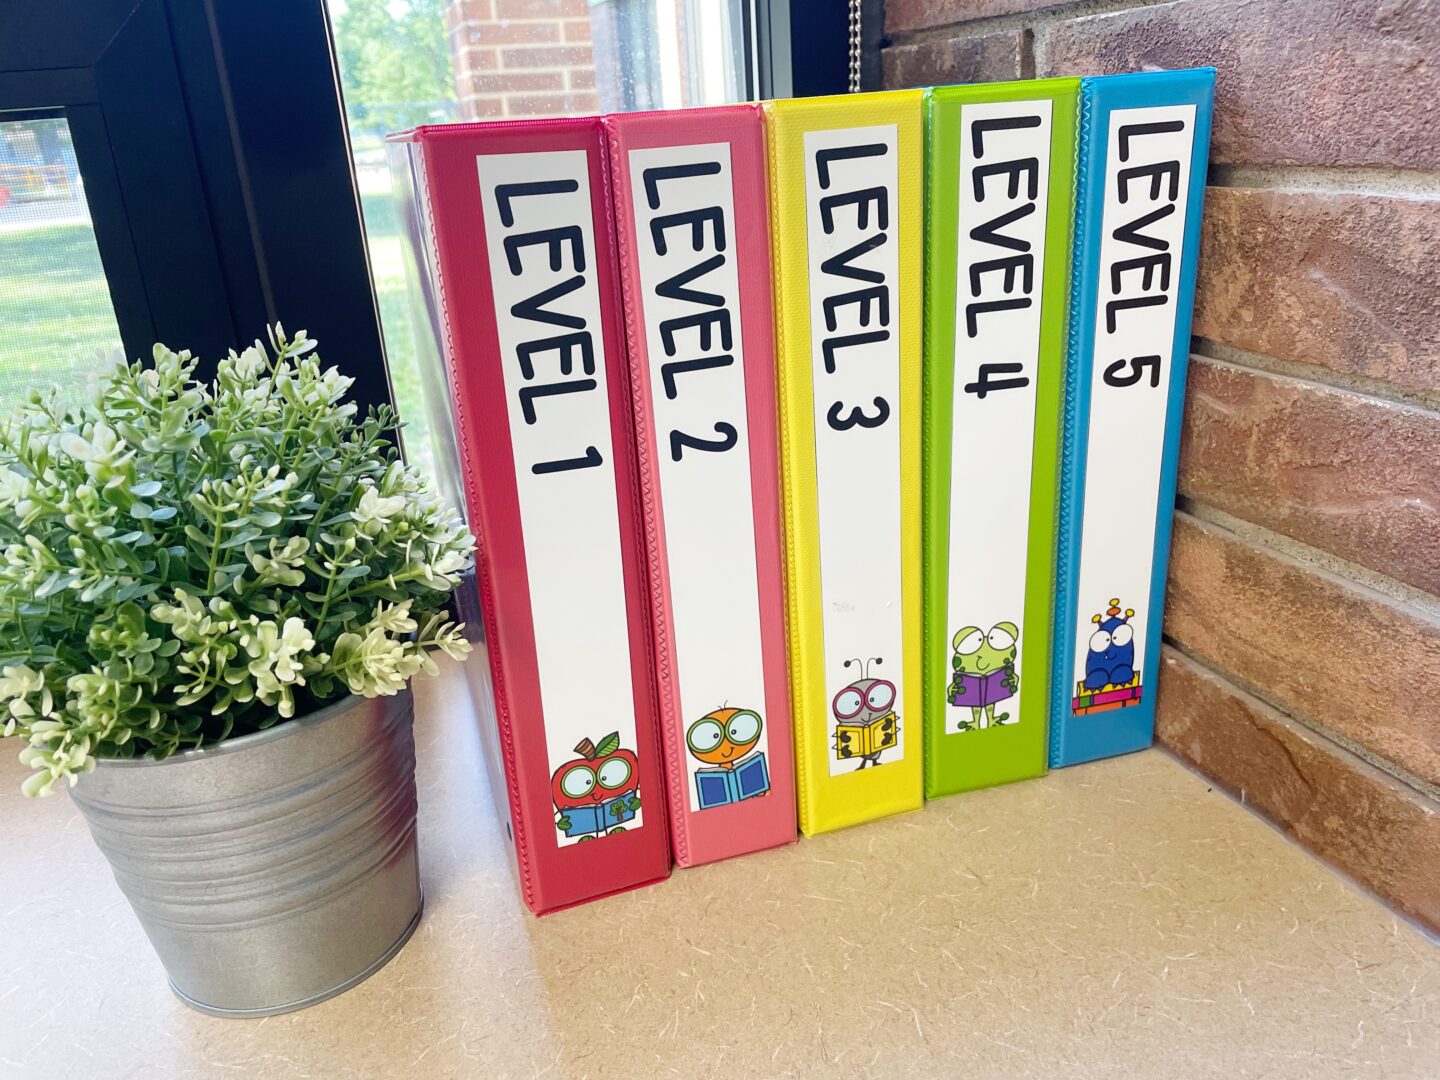
I love to use color coded binders to store my originals. For some people, they prefer to print from week to week, but that’s just not me.
Inside, I keep progress monitoring tracking sheets for each reading level and the originals for all forty weeks. When I’m ready to make copies, I grab the binder or binders that I need and head to the copier.
Materials Needed:
- 1.5″ Binders
- These were a little difficult for me to find these specific colors. I bought a multi-pack from Amazon and the yellow and orange binders were from Target.
- Sheet Protectors
- I love the Amazon Basics!
- Binder Covers
- You can download the binder coves from the teacher’s guide. To grab the teacher’s guide, click the link on page TWO of any of the interventions.
- Progress Monitoring Tracking Sheets
- These can also be found in the teacher’s guide! 🙂
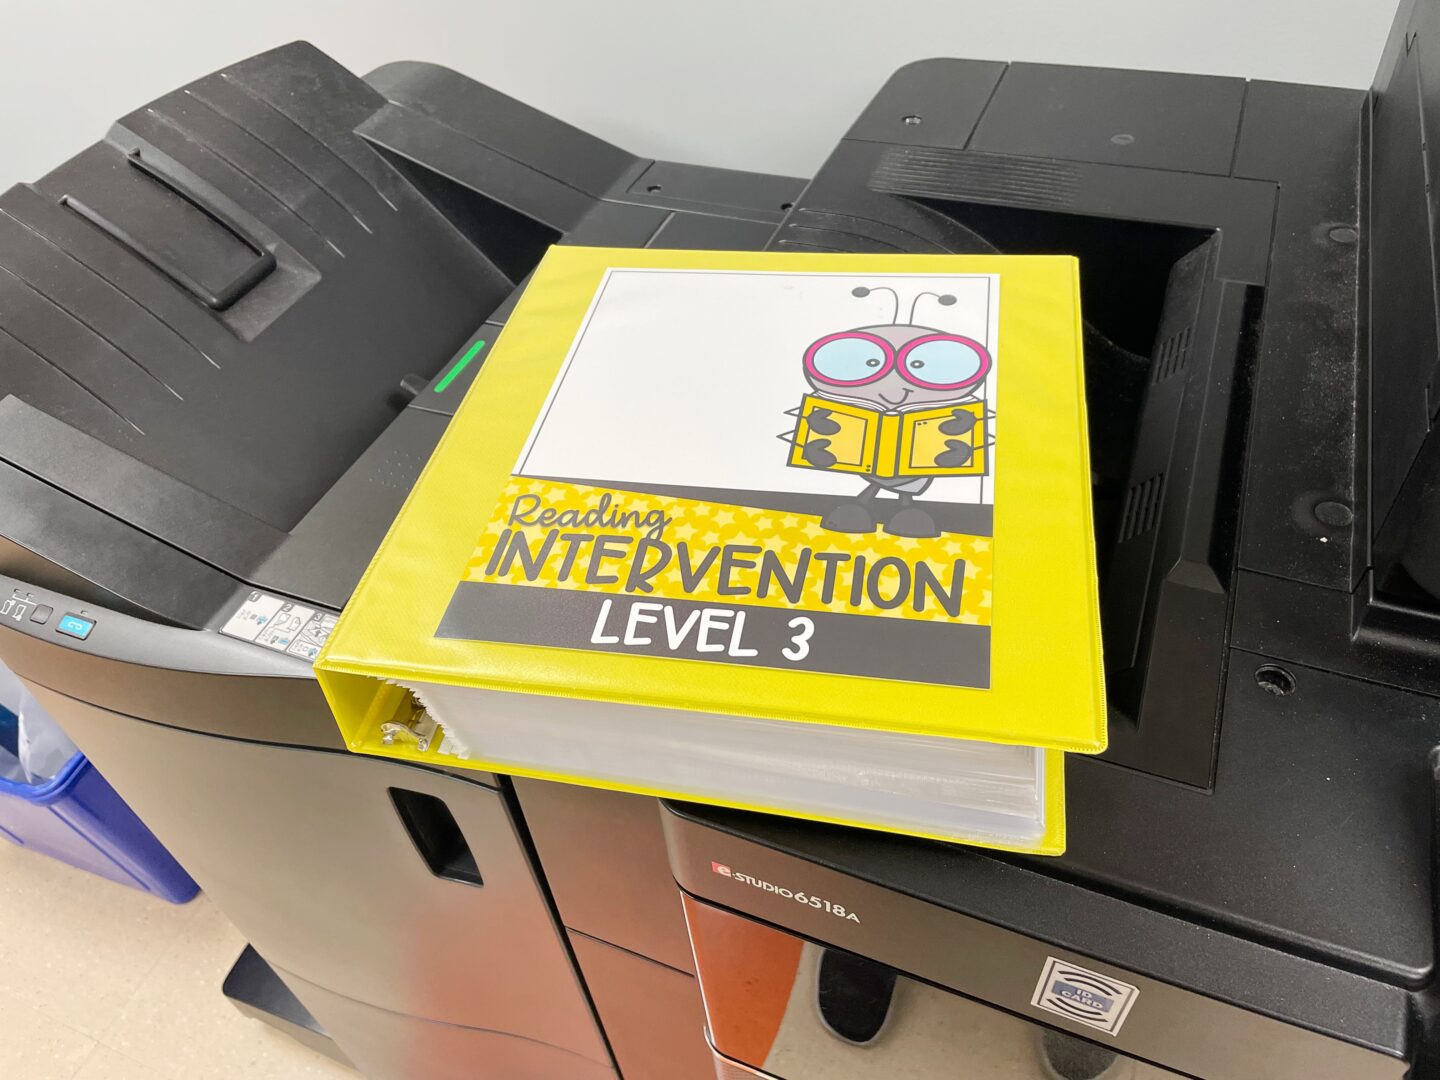
Step 2: Make Copies
Next, grab one or more of those binders and head to the copier. It’s time to get those materials ready for many weeks all at once. I like to work ten week increments, but feel free to do whatever works best for you!
Step 3: Organize & Store
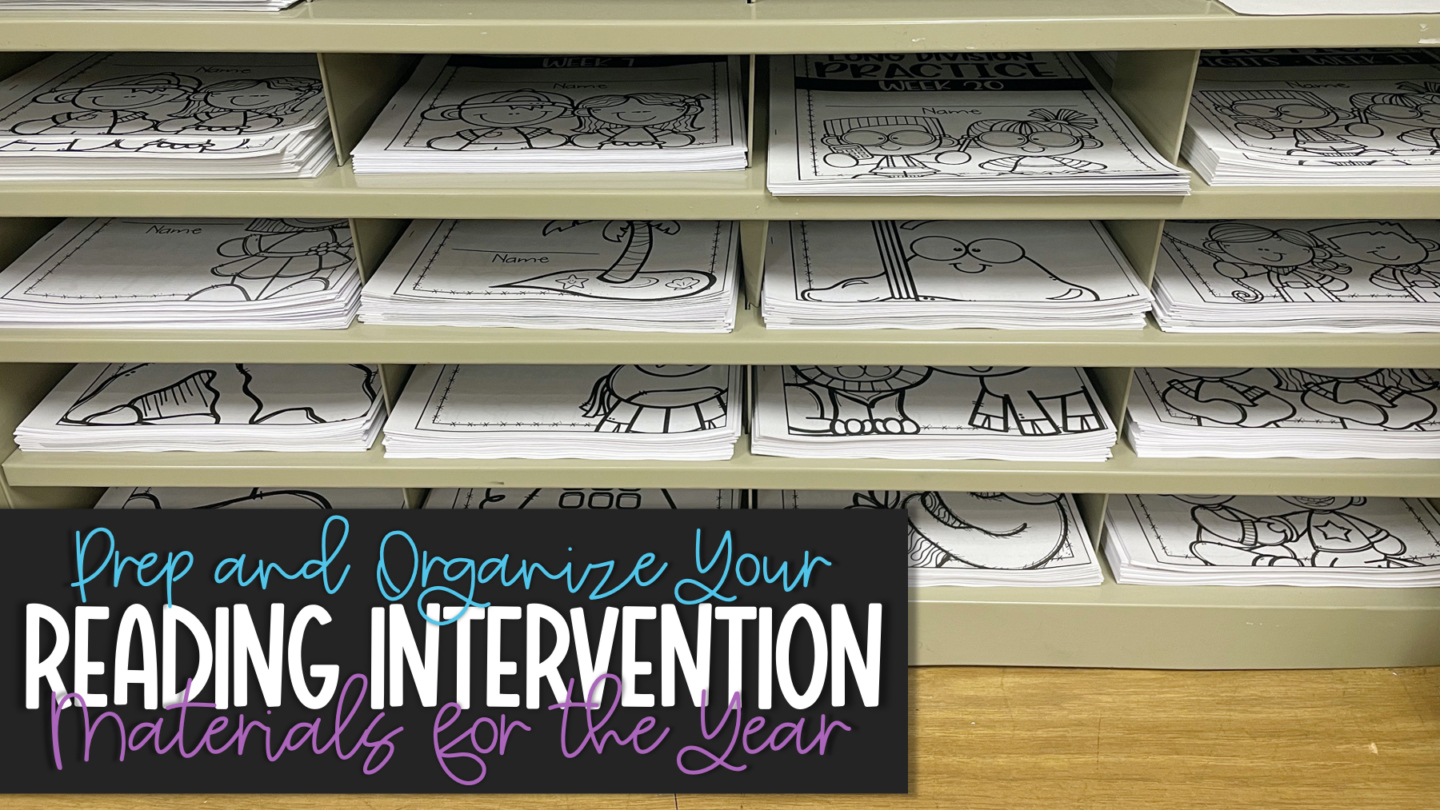
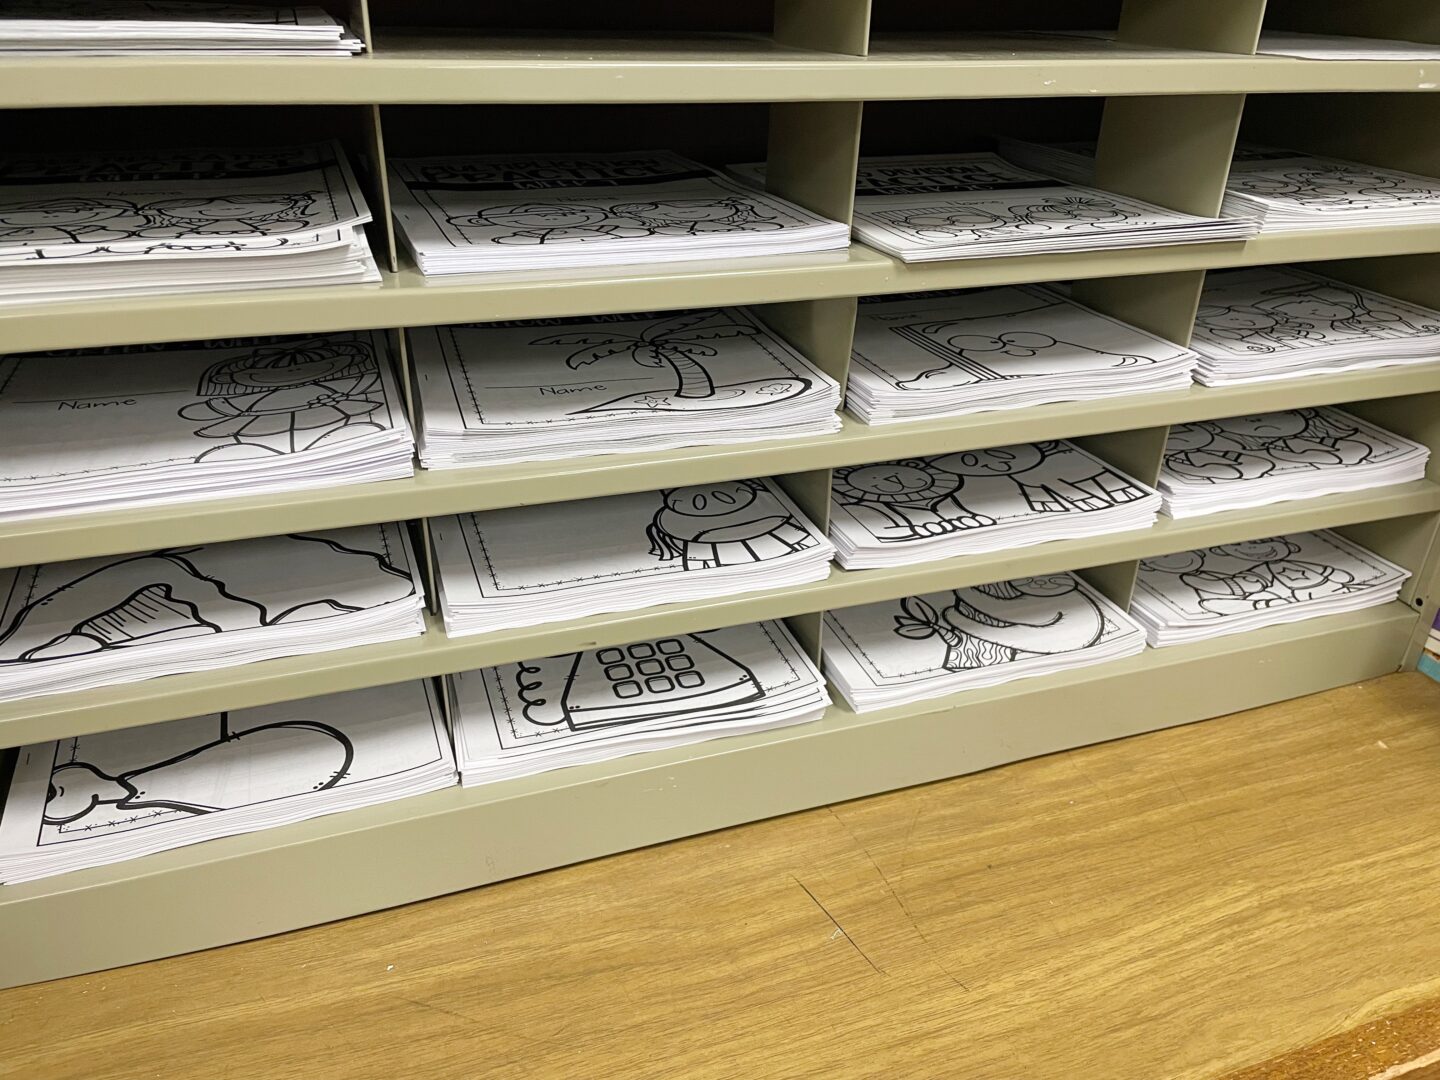
Long ago, this was gifted to special education from the office. It used to be the teacher’s mailboxes. AKA: Special Education gets all the leftovers. 😂
Now, it holds weeks work of reading and math books! Each slot has the books for all of my groups.
Step 4: Prepare for Each Week
I have a folder for each and every group that I see throughout the day. Each Thursday, I pull the books from my “mailboxes” and add them to the appropriate folders for the following week.
Since all of my copies are made in advance, I am ready for my groups in just minutes each week.