
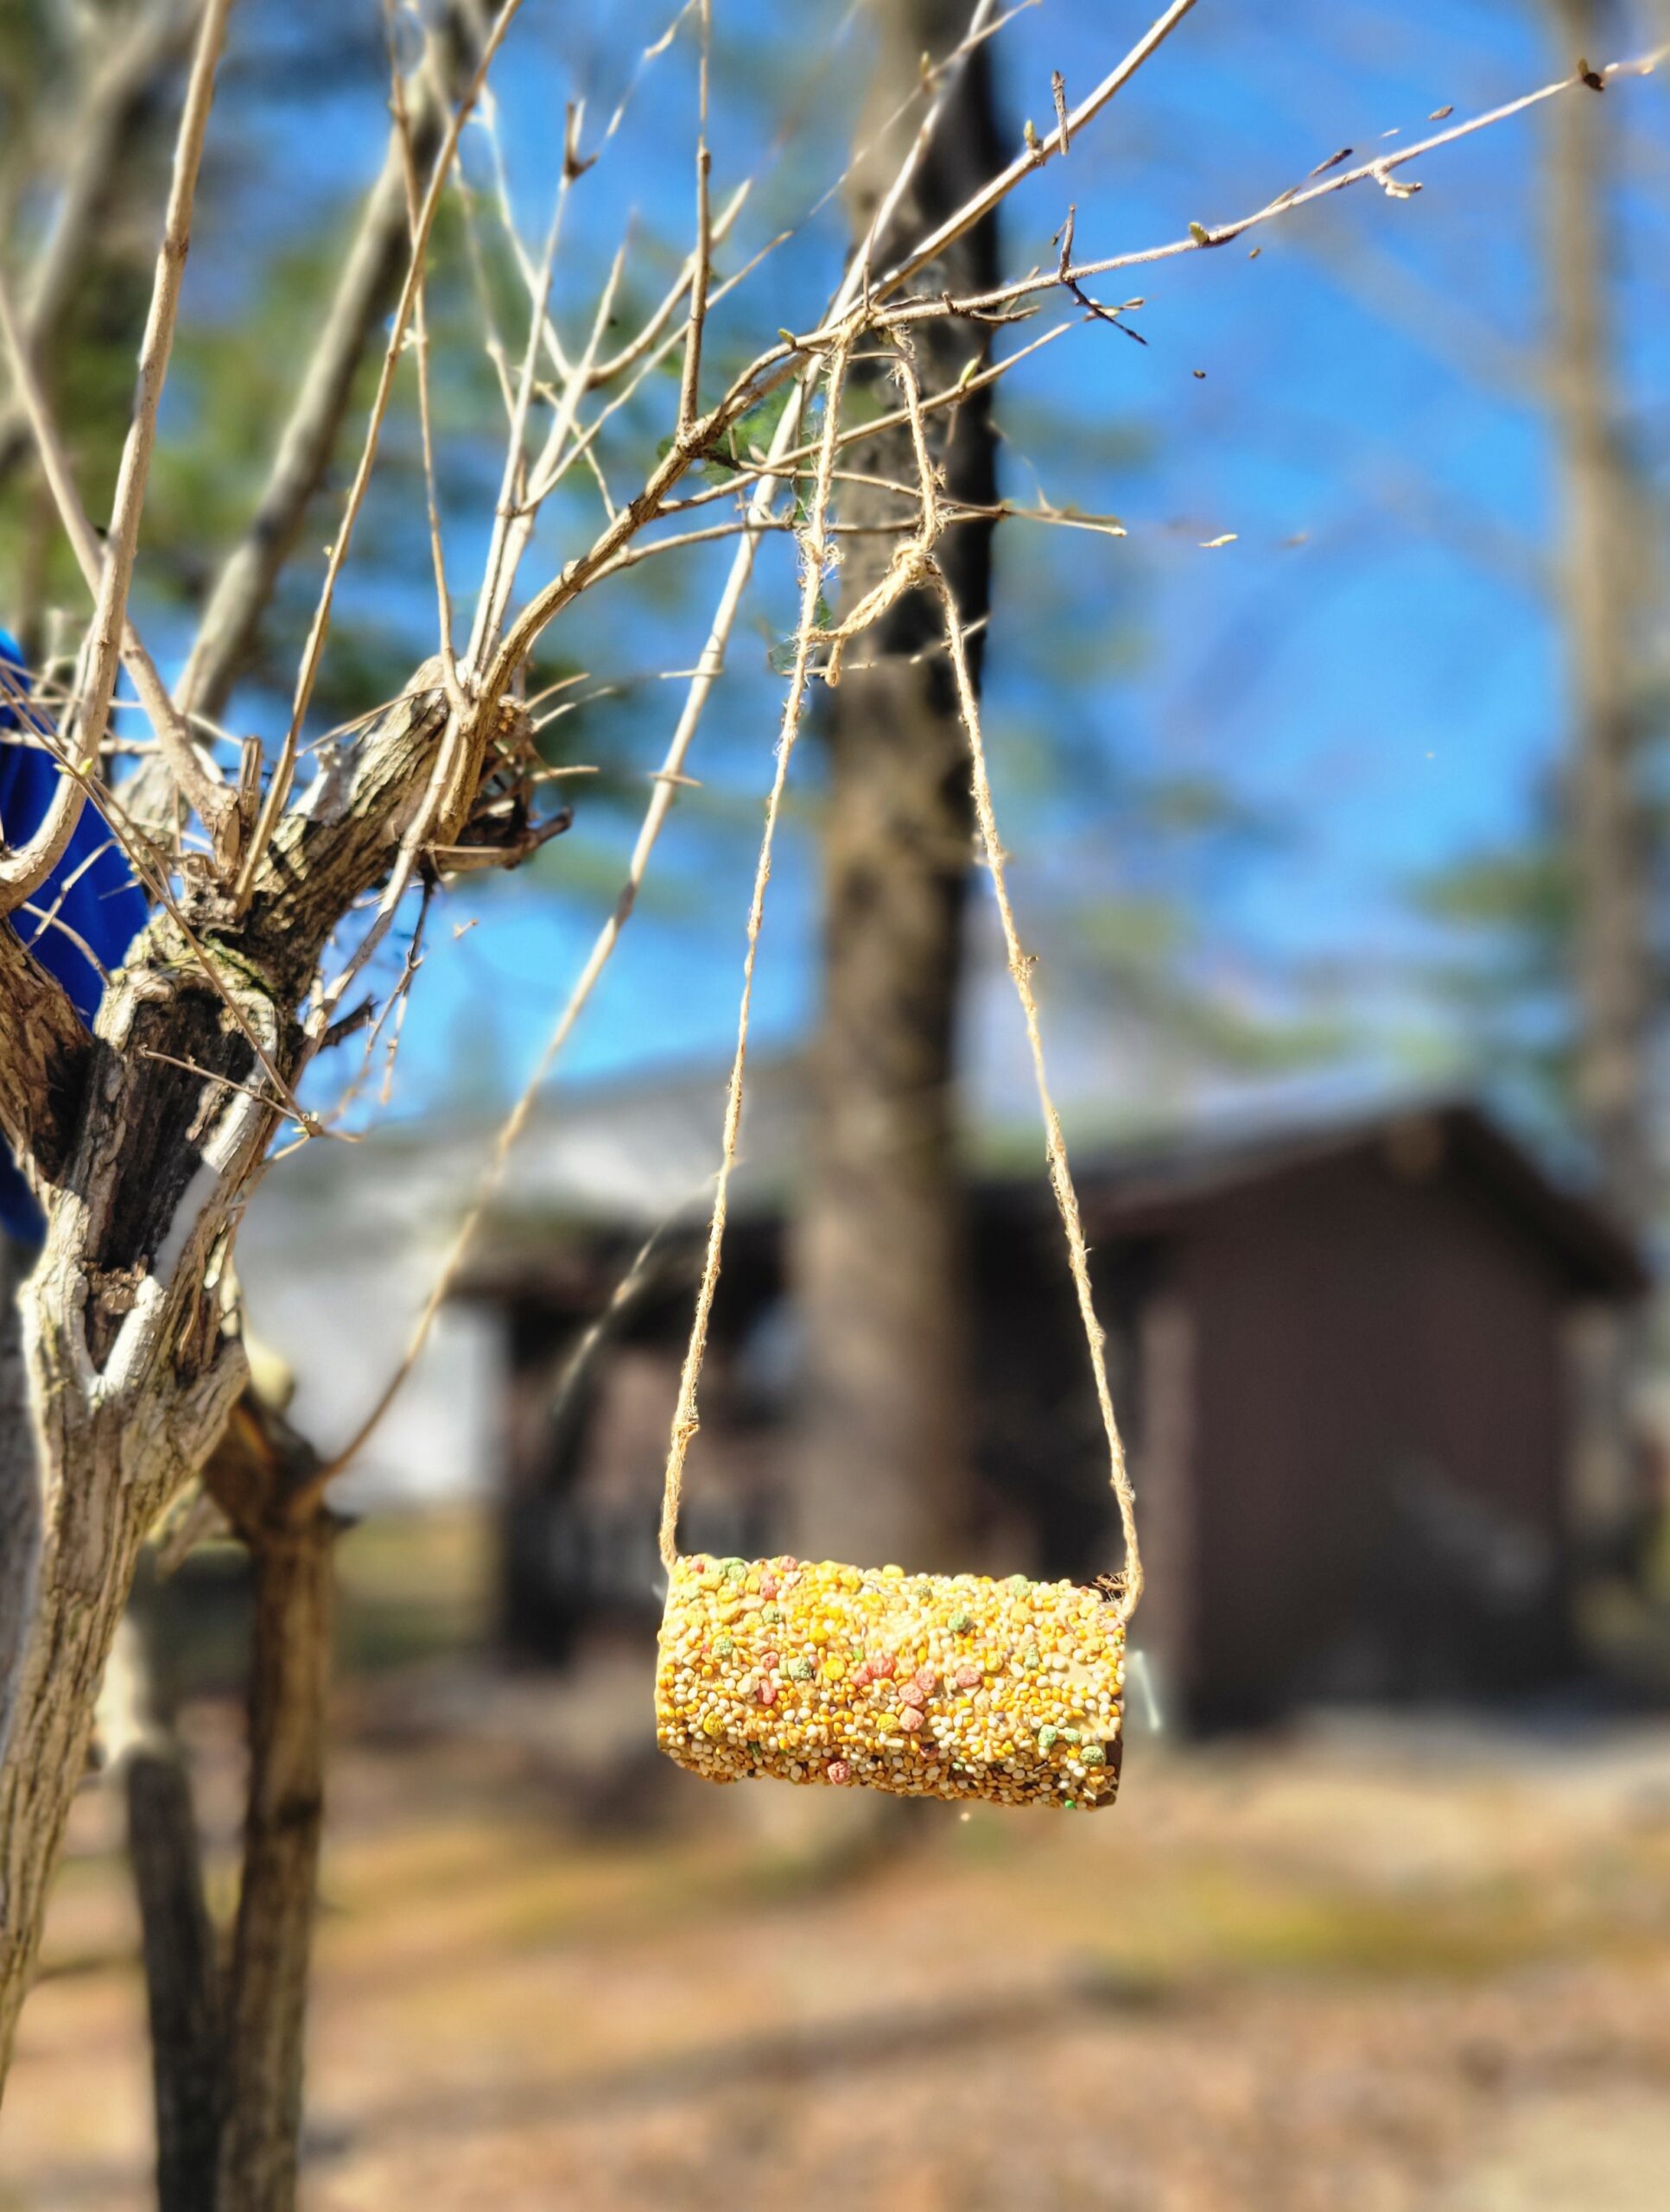
Compostable Bird Treats
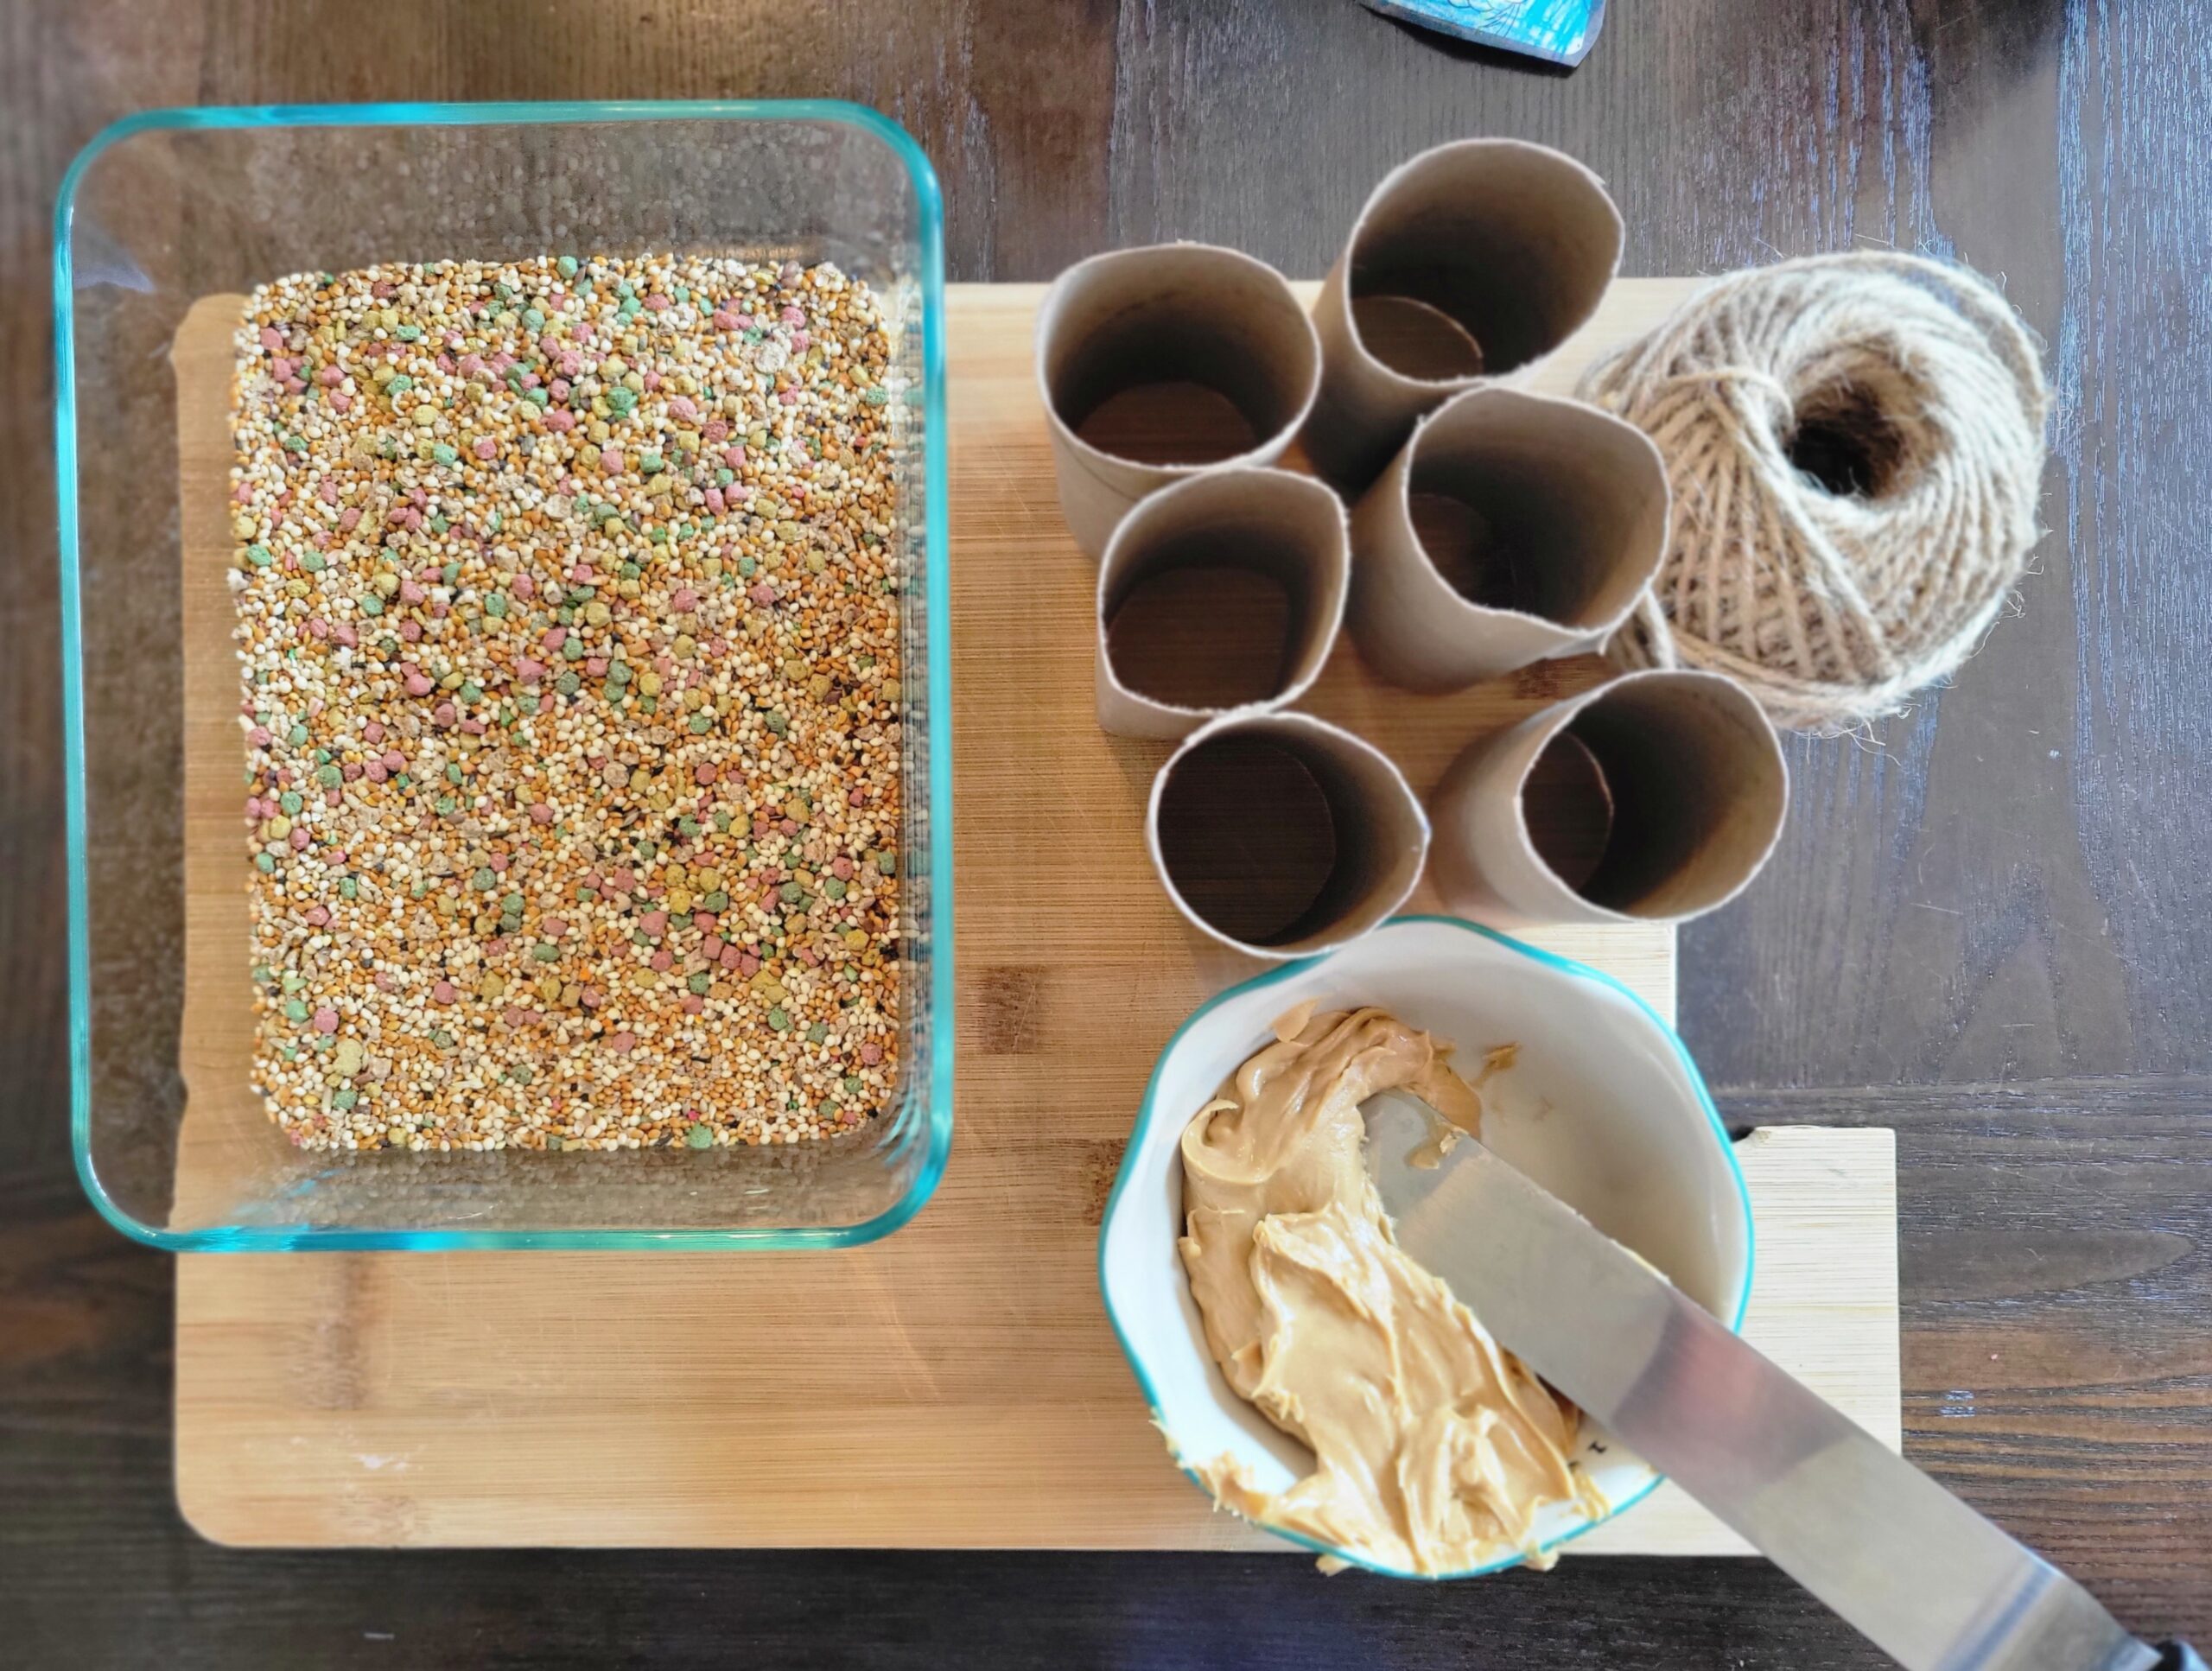
Materials needed: Twine, Peanut butter, Bird seed, Butter knife/Spatula and Toilet paper rolls.
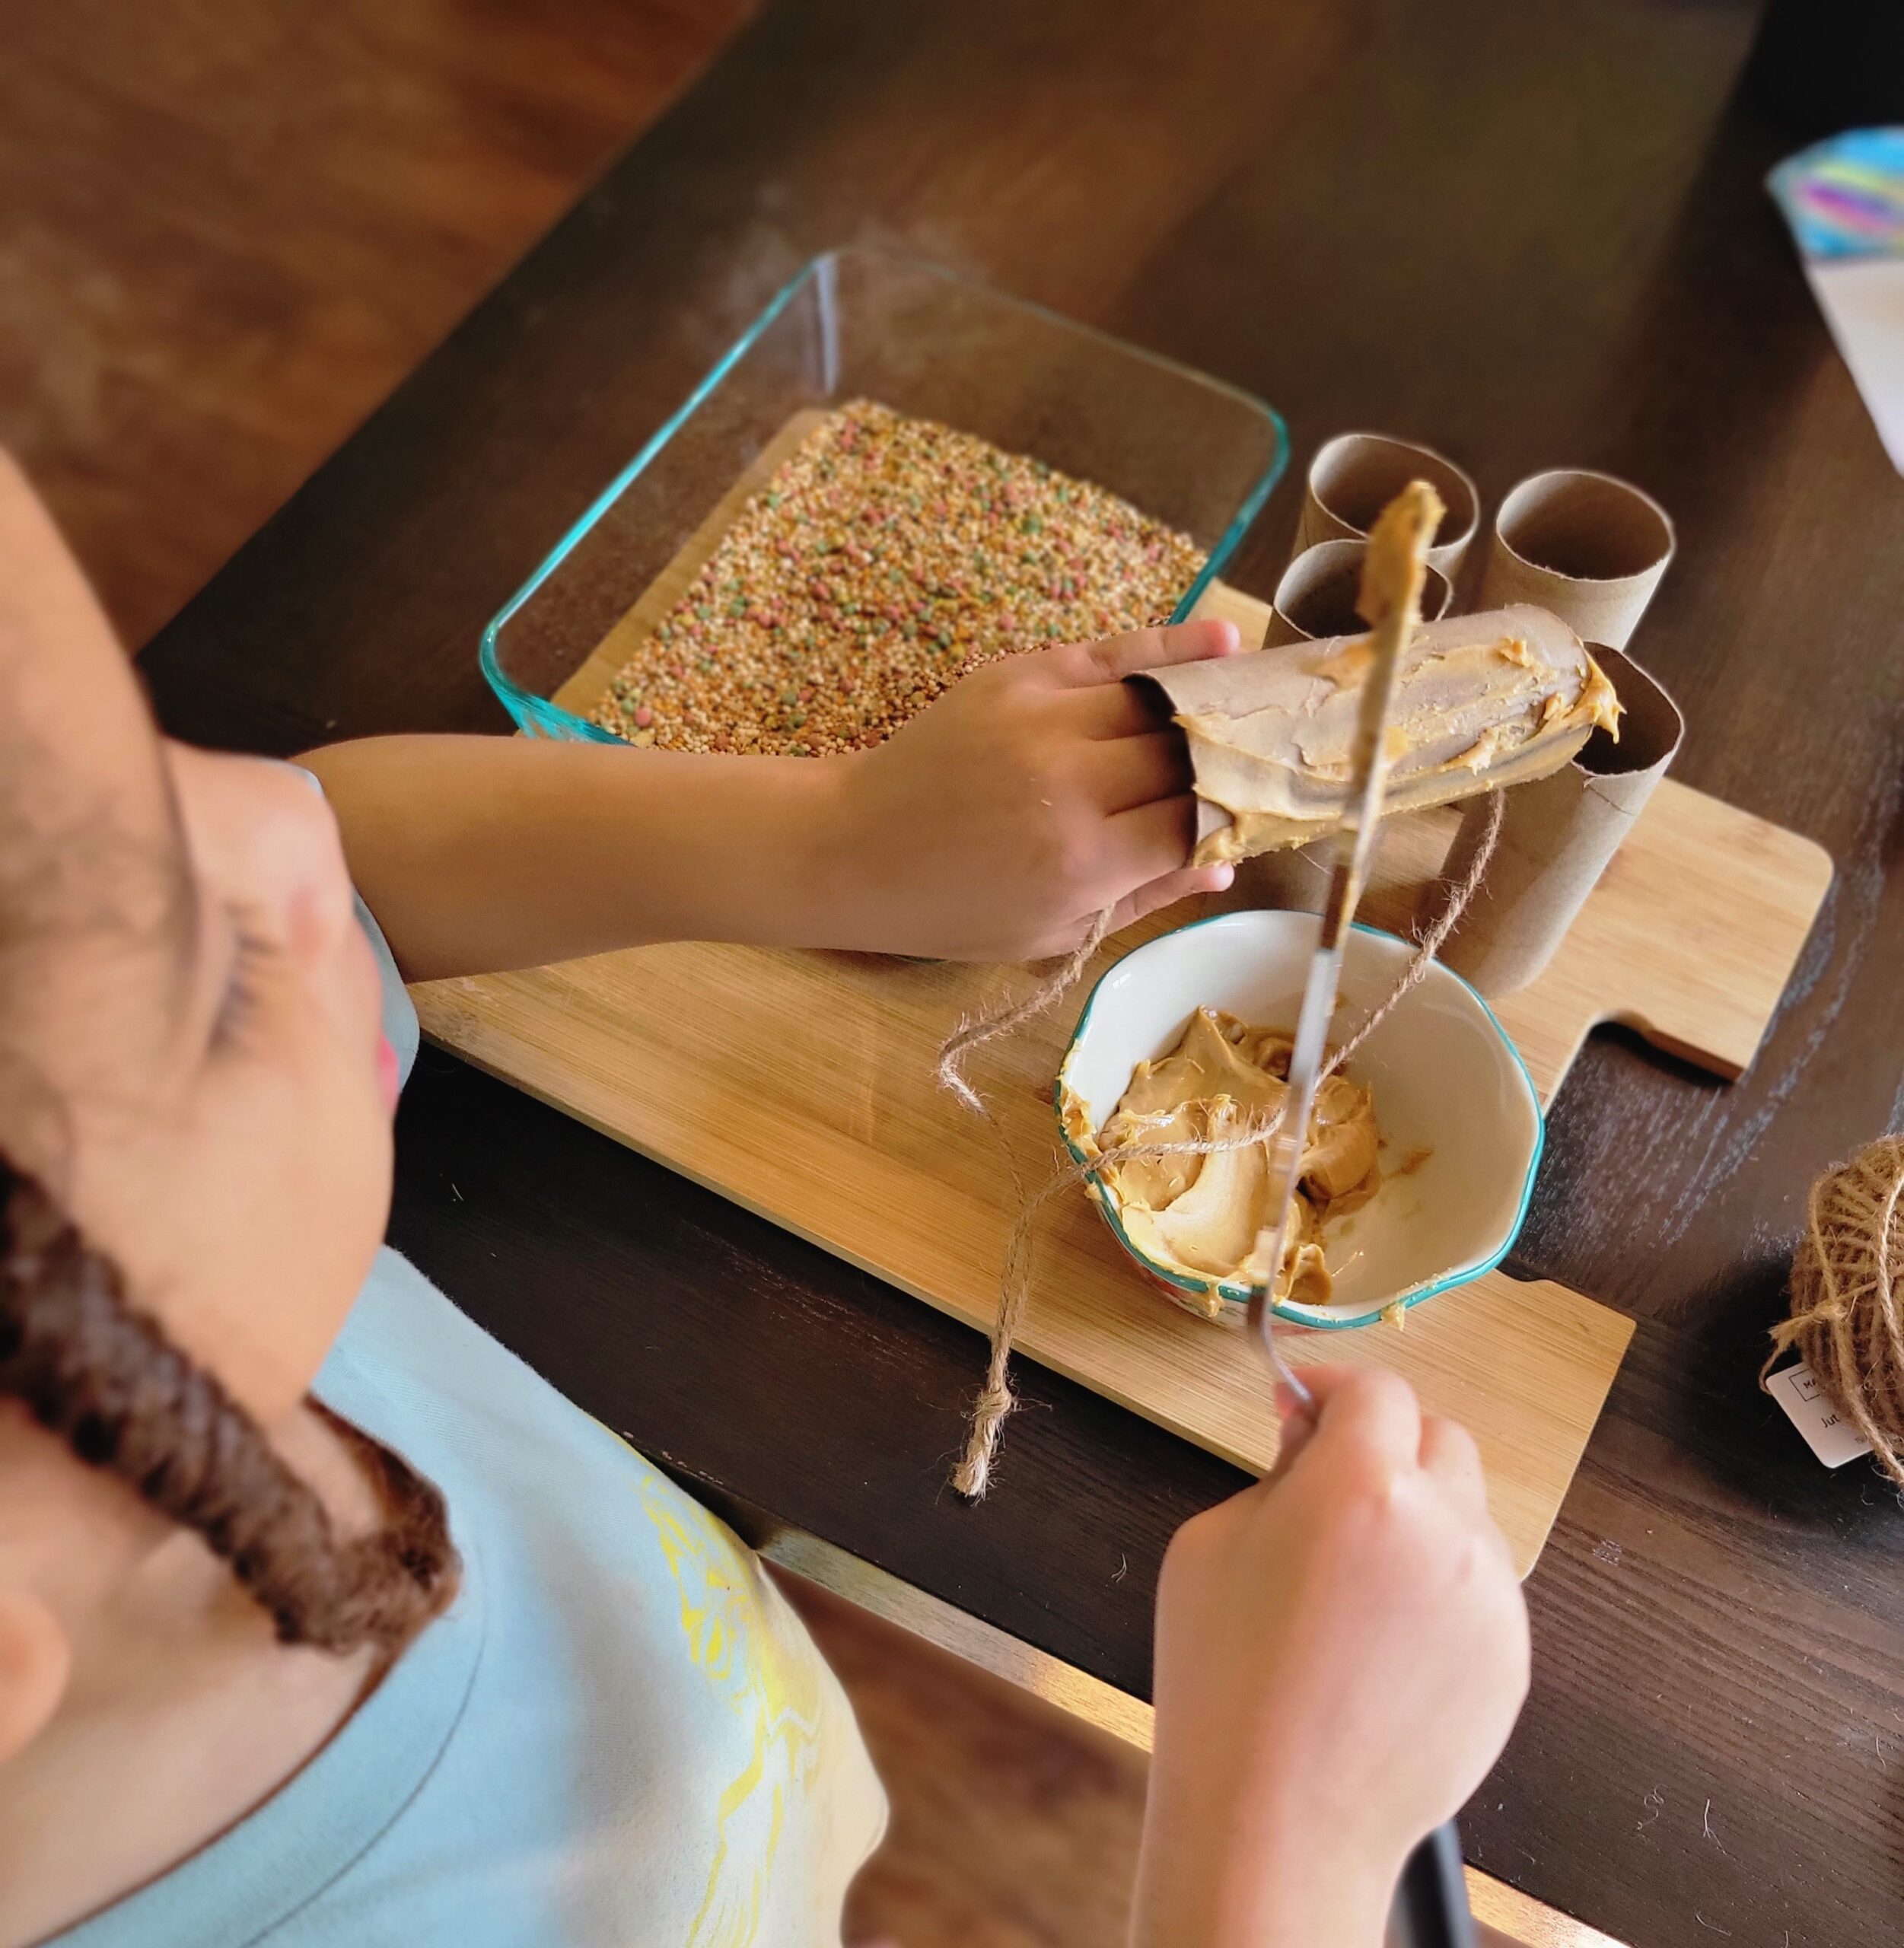
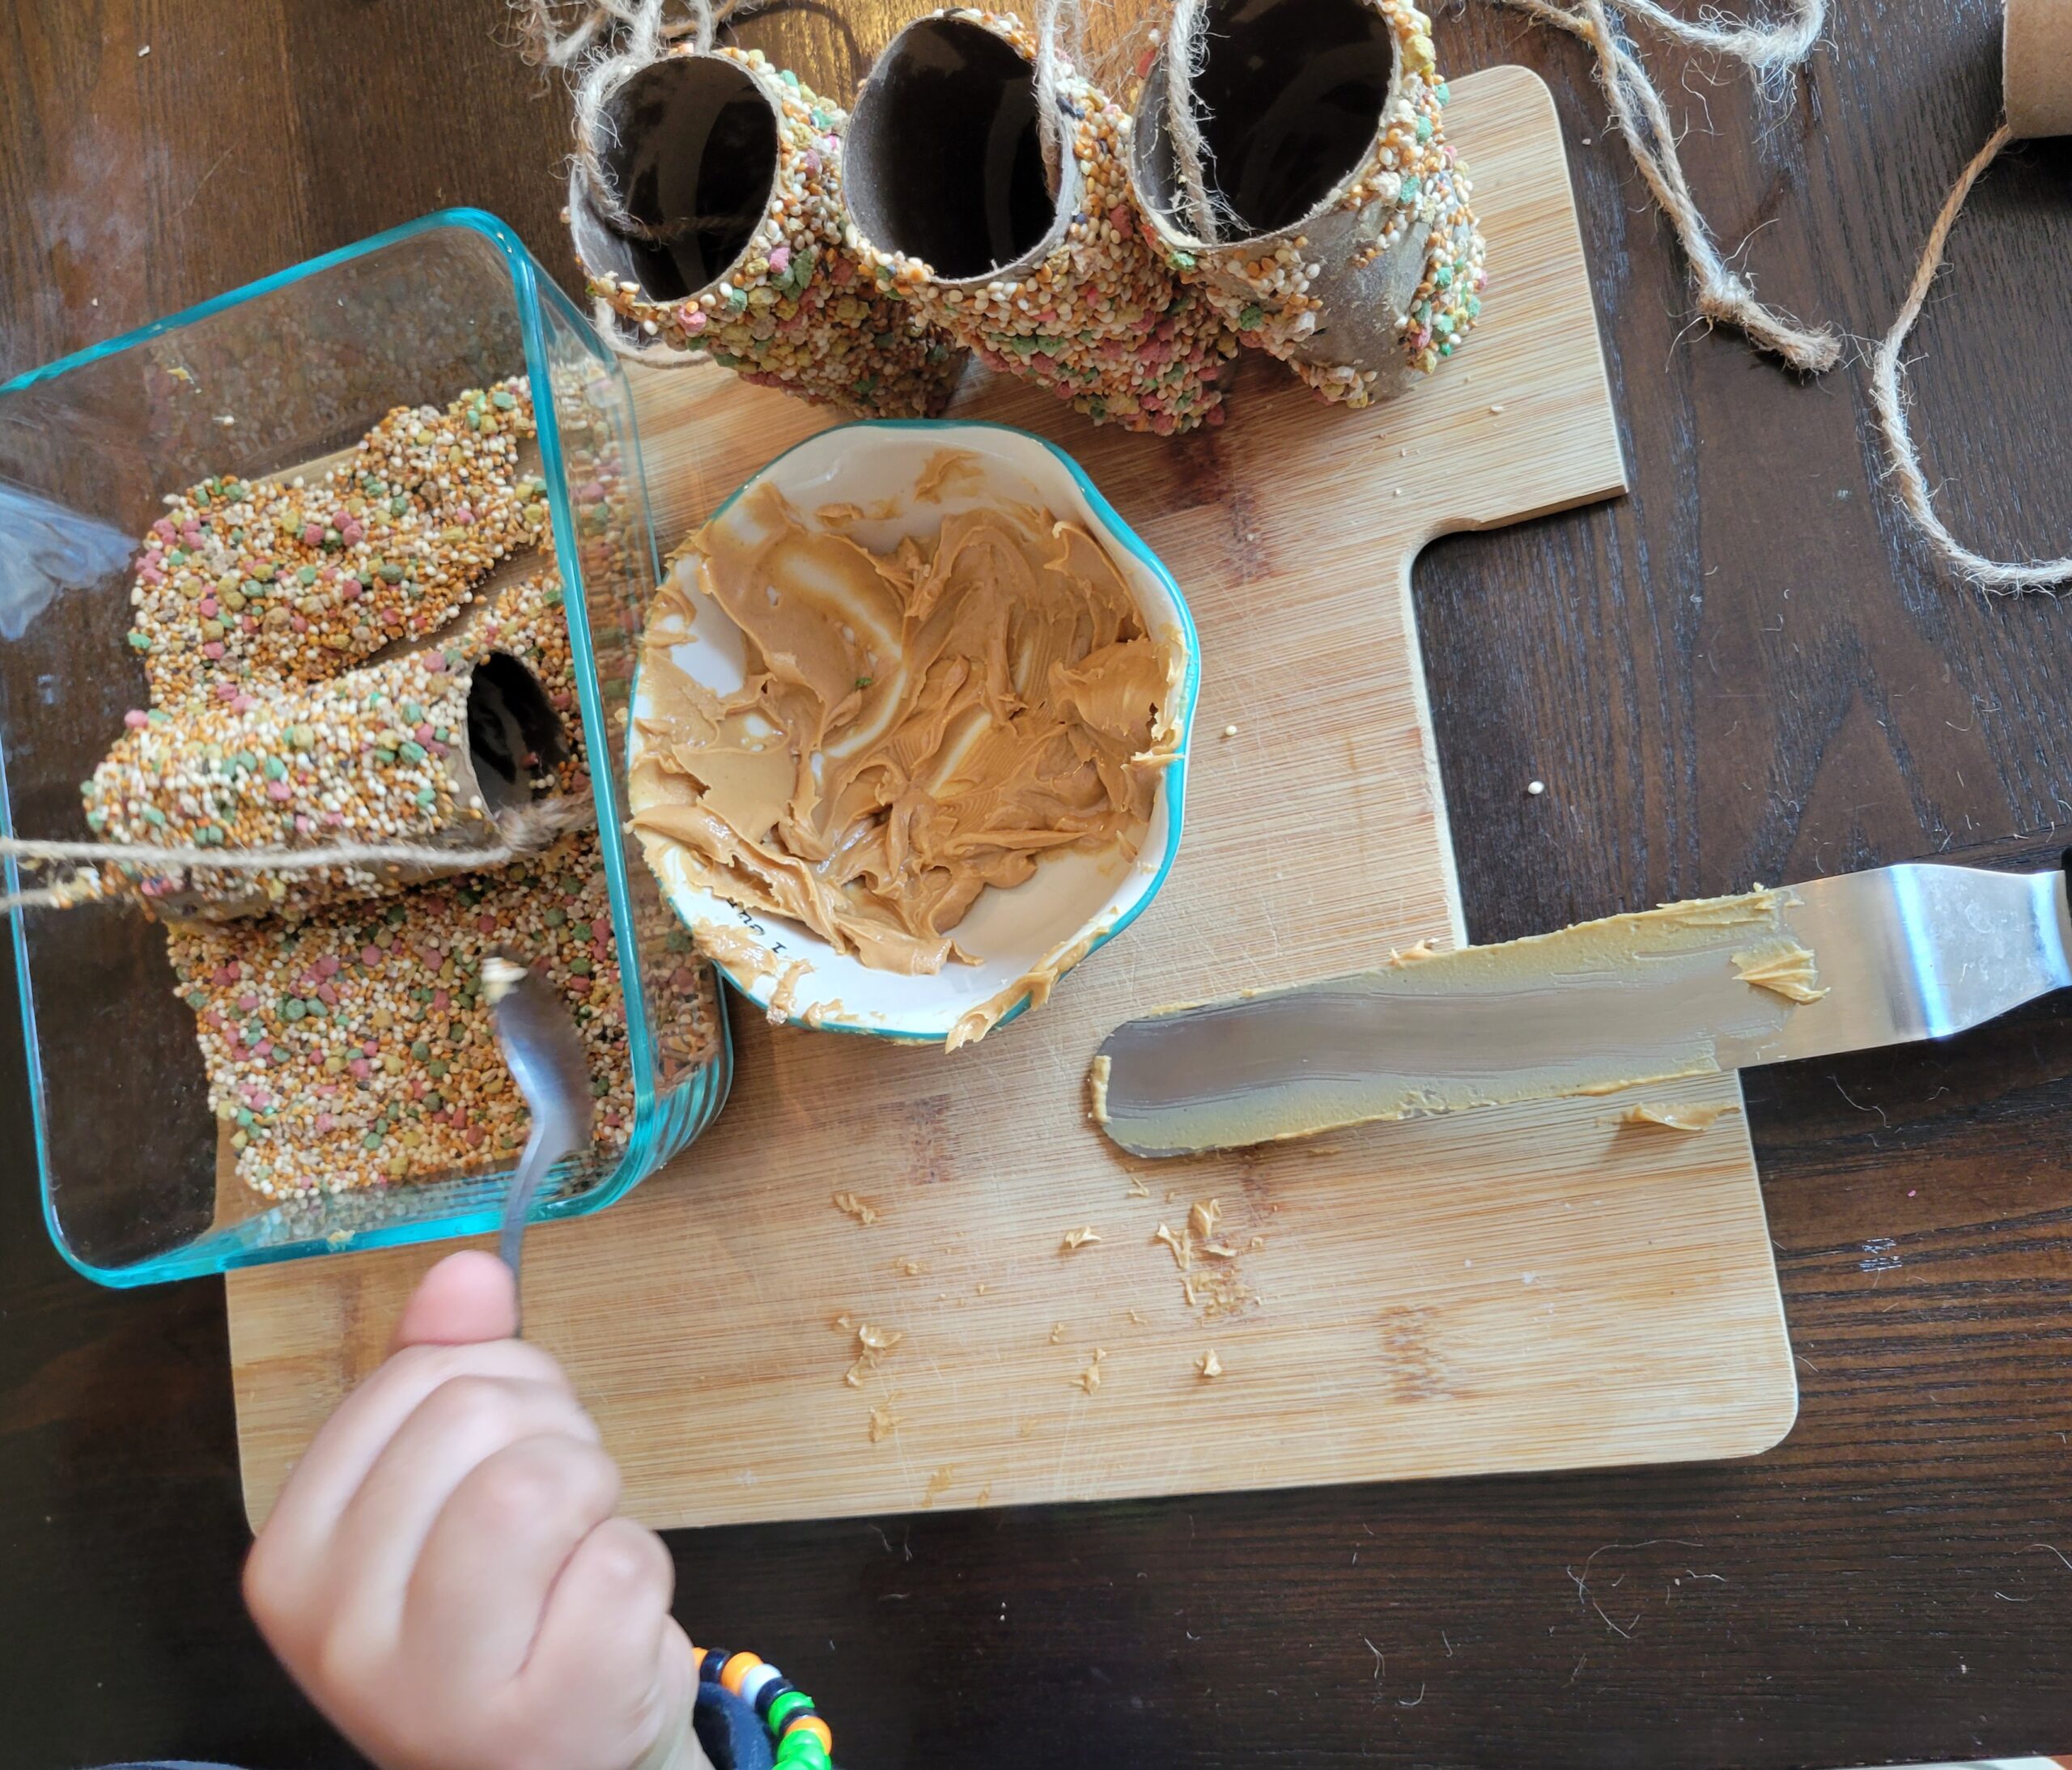
Start by cutting and tying your twine through the inside of the paper roll, then slather on the peanut butter with a butter knife or spatula. Once that’s done you can simply roll your roll in the bird seed or set it in the dish and spoon some seed on where the peanut butter is.
This was easy for all ages to do and pretty quickly.
The student can take these home to hang or hang at an outdoor safe zone that is designated by the school with their class.
This entire project is compostable, even the string and benefits insects, birds and rodents: which are all important parts of our natural system.
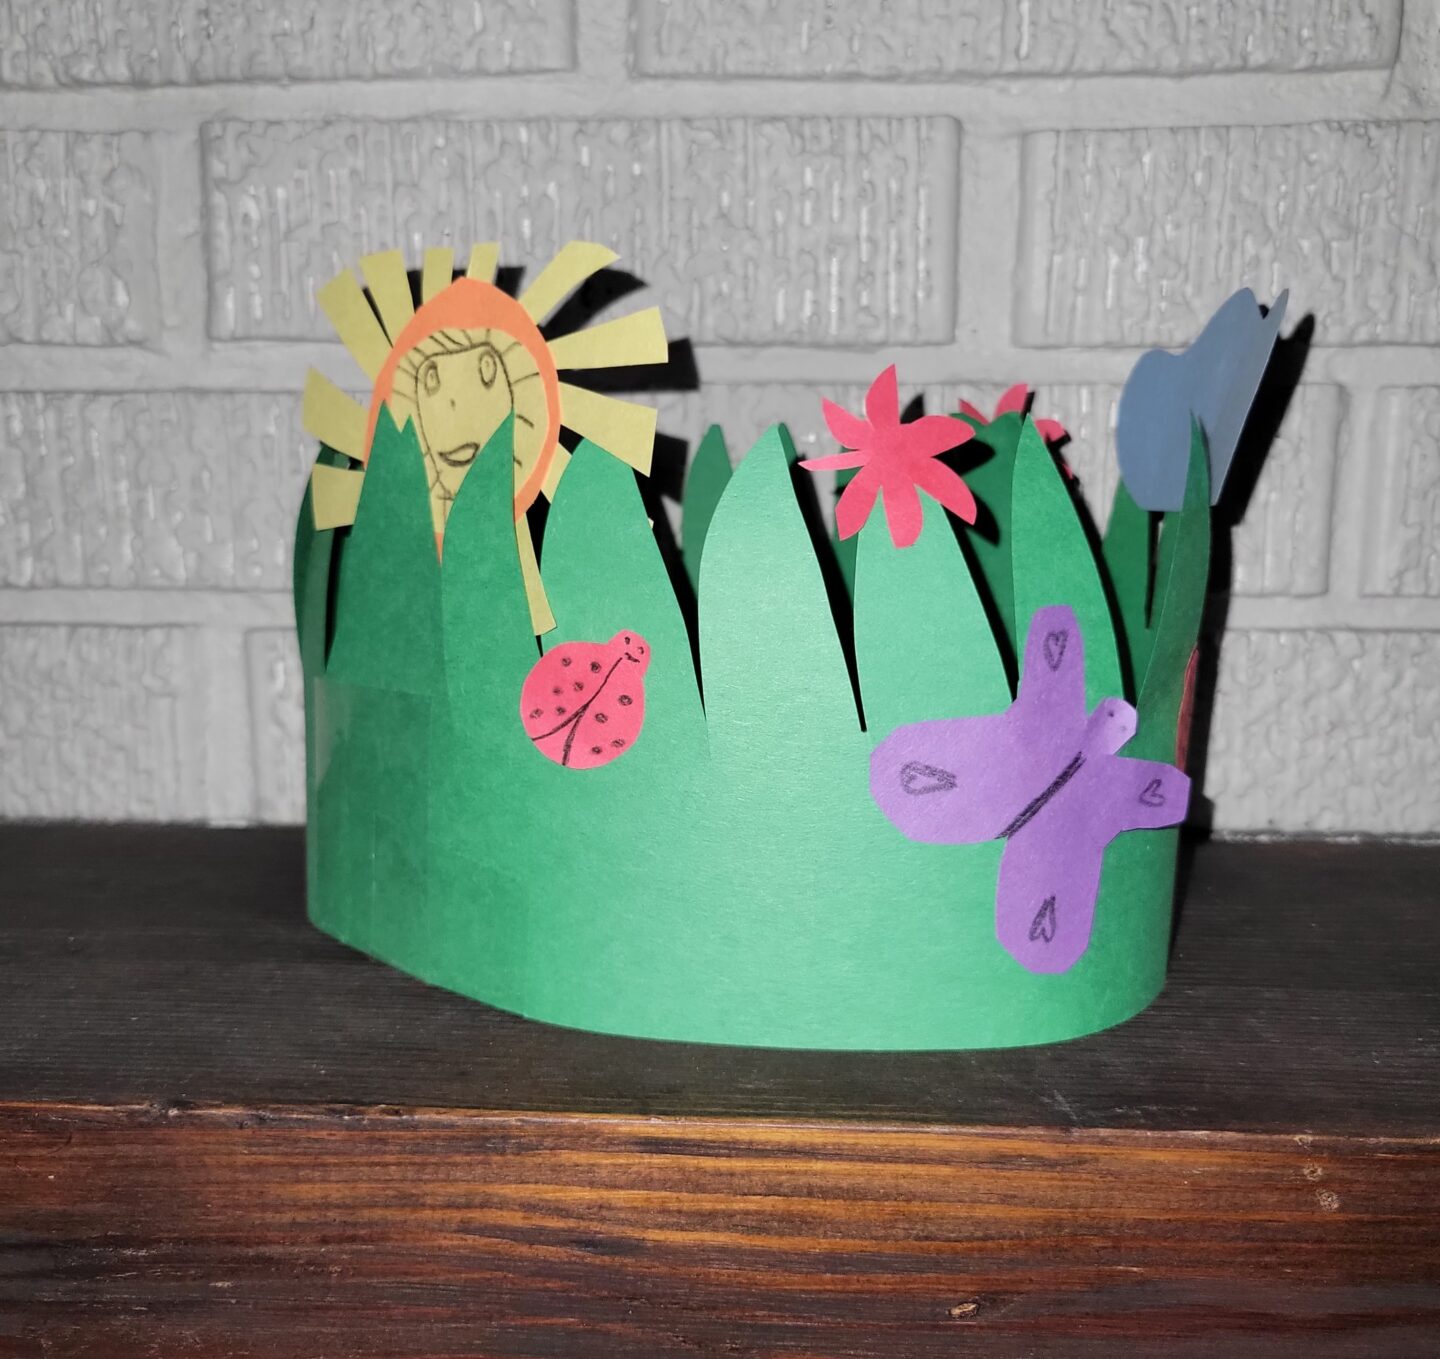

Earth Crowns
Materials needed: Glue stick, scissors, Colored pencils and construction paper.
We started by cutting a piece of construction paper in half the long ways and taping one end together. Some kids chose to make grass crowns with different insects and flowers while others made volcanos, beaches and oceans. We cut out and colored different parts of the Earths important locations and talked about the ways we can keep these places clean and how they benefit us.
The kid’s imaginations were awesome to explore! We ended by closing their crowns with another piece of tape. This was fun for all and an activity they easily could get lost in for hours or done within a thirty-minute timeframe.
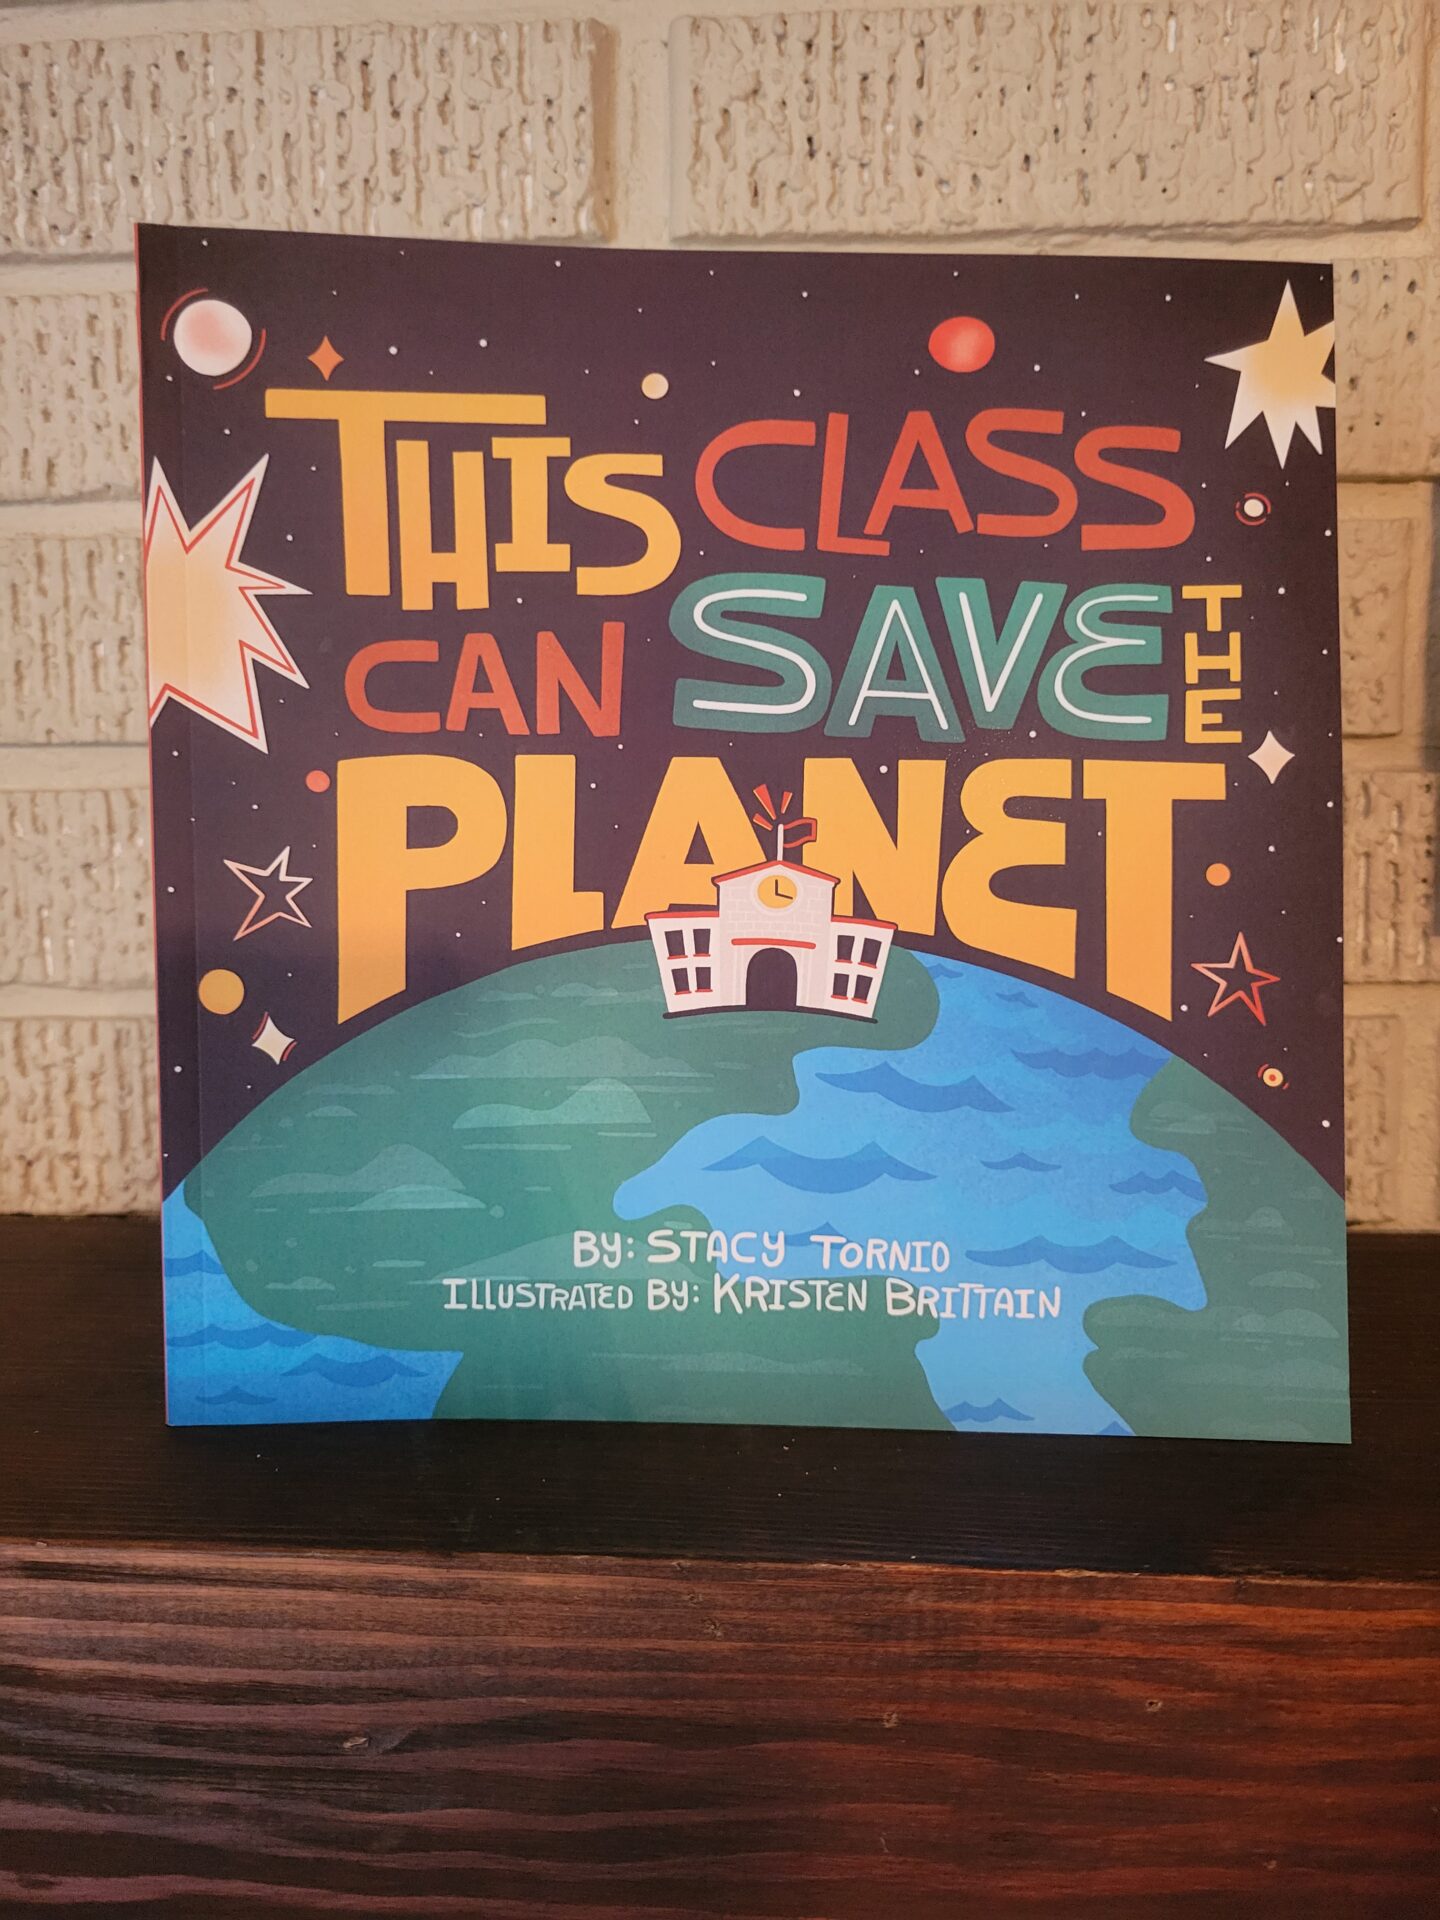
This class can save the planet
This book was perfect for a classroom setting.
It touched on so many ways to recycle including the importance of things like sustainable clothing, eliminating waste and being sure to use a product up completely but most importantly how the future of our planet is in our children’s hands as well.
We did a craft to go along with this book and spoke about ways that we could help the planet individually.
At the end of the book there are spaces for everyone to fill in themselves on how they can help too.

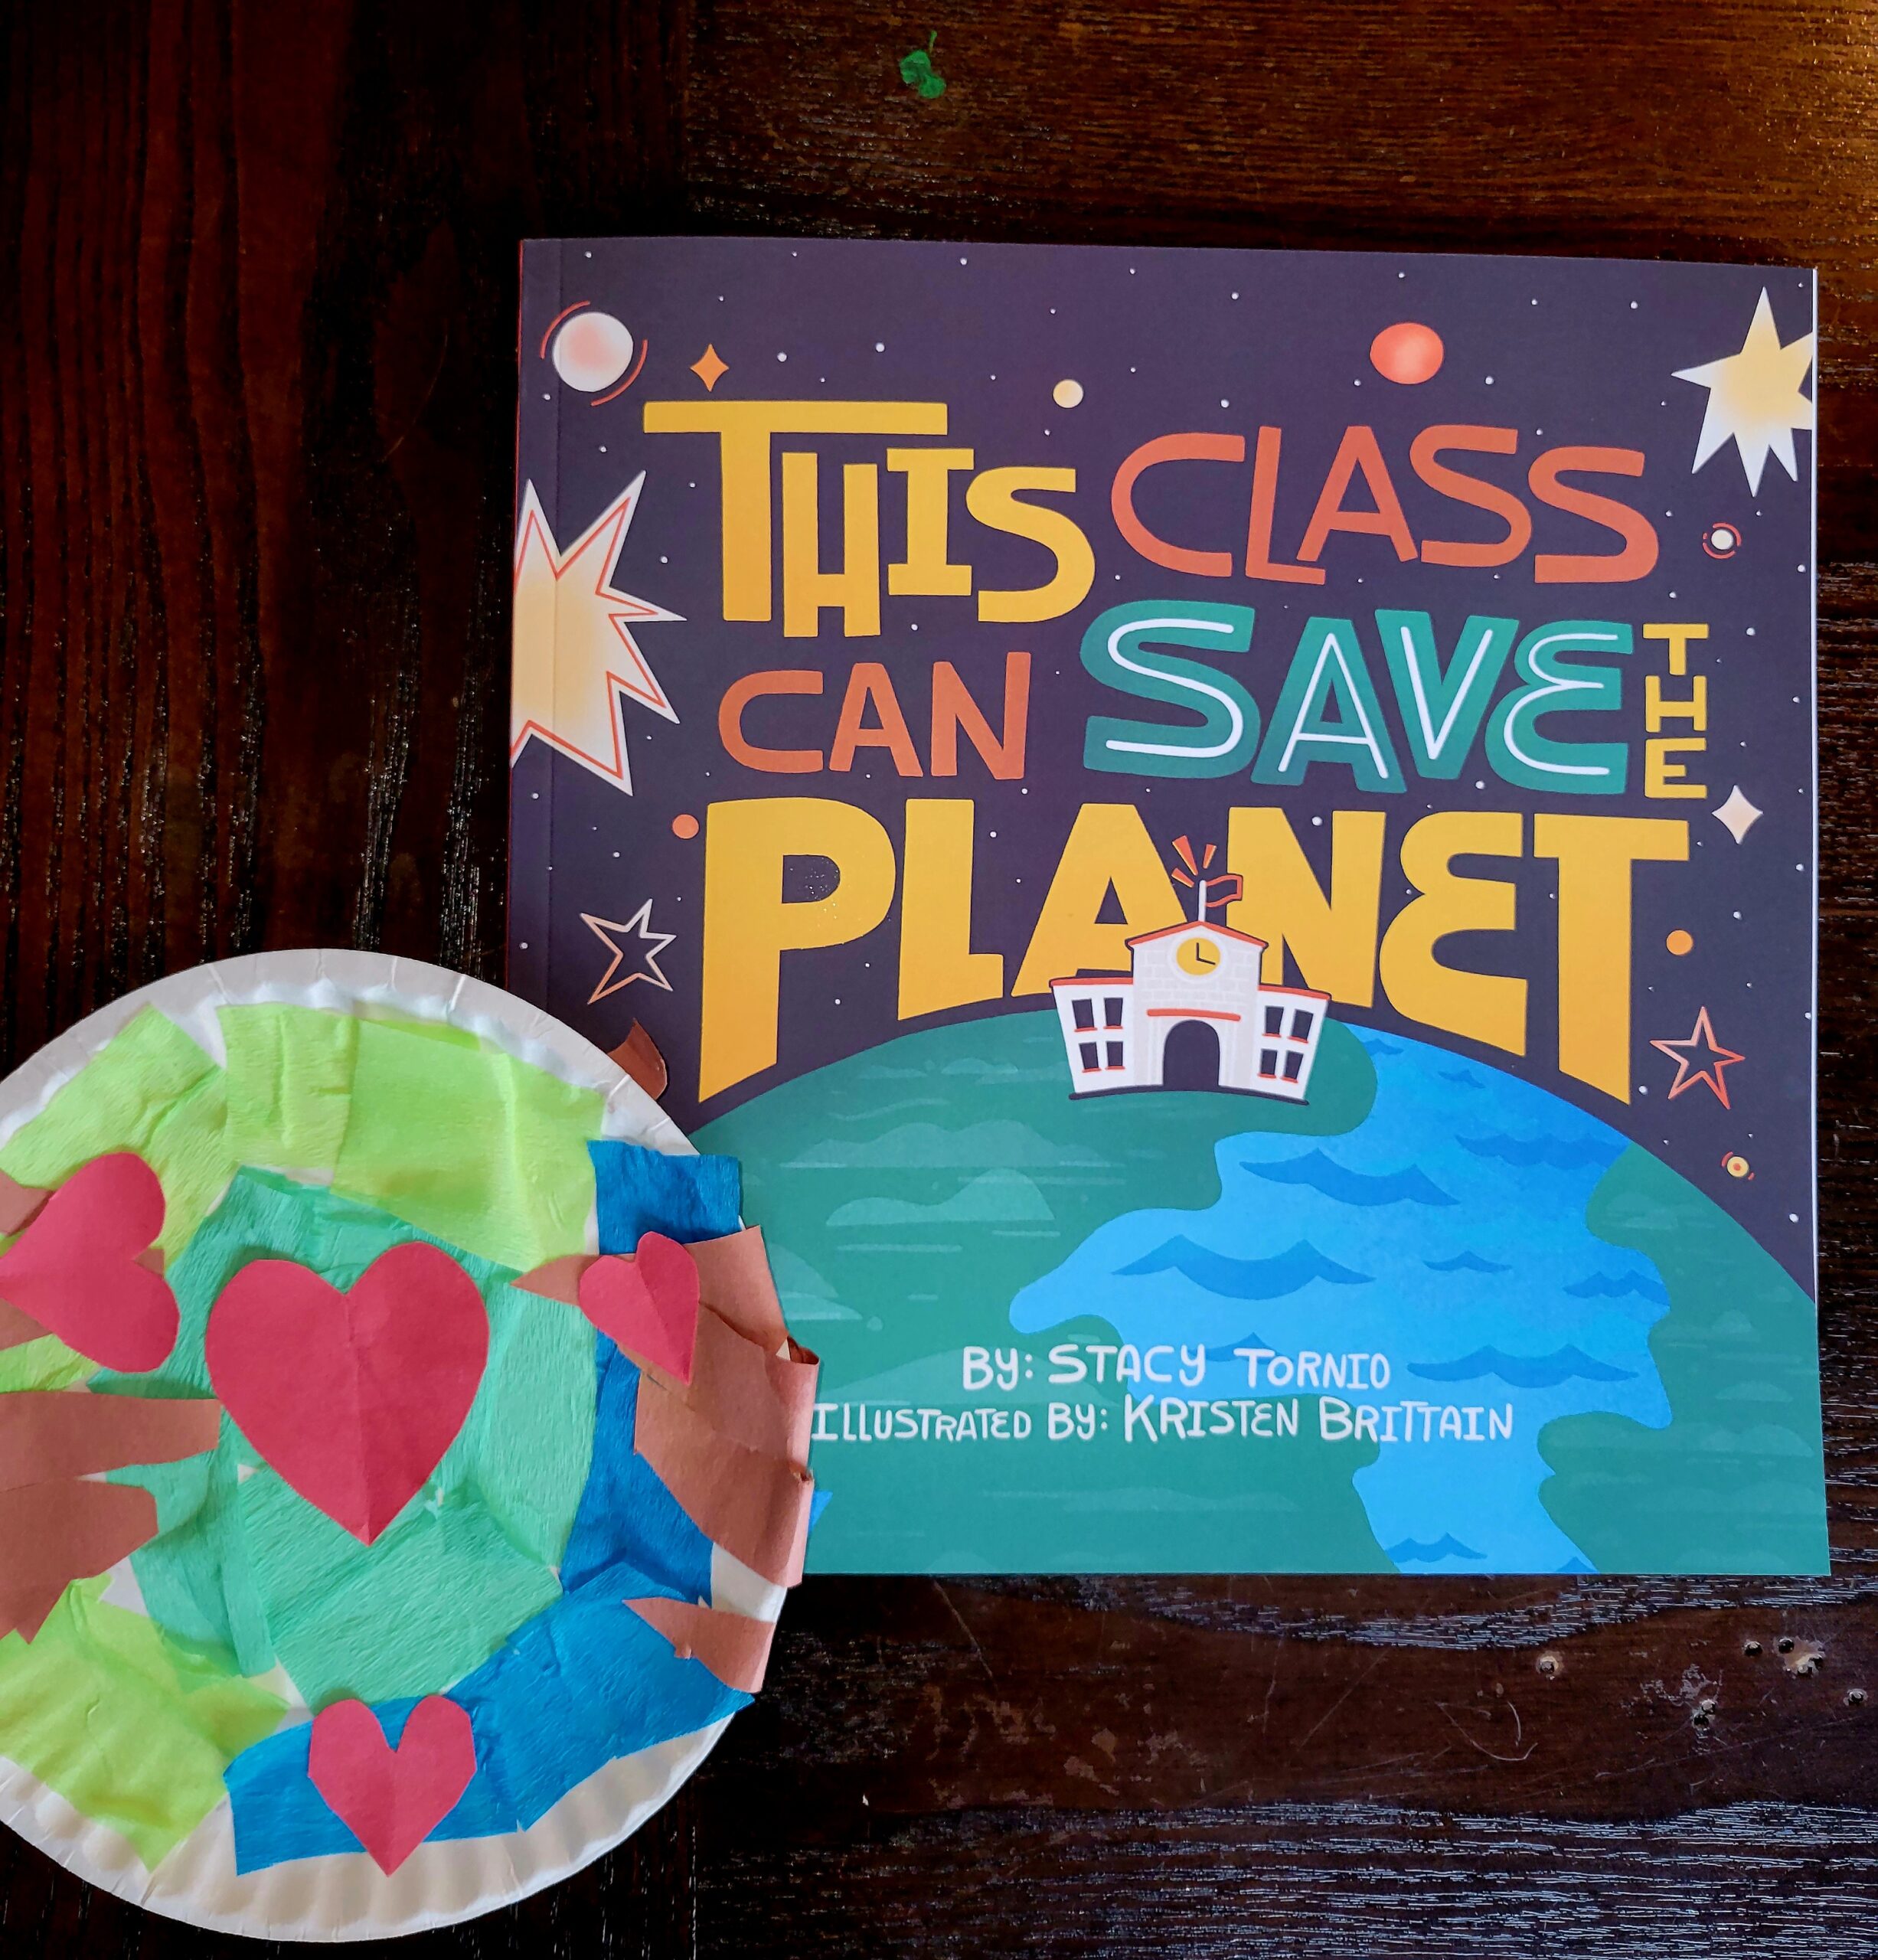
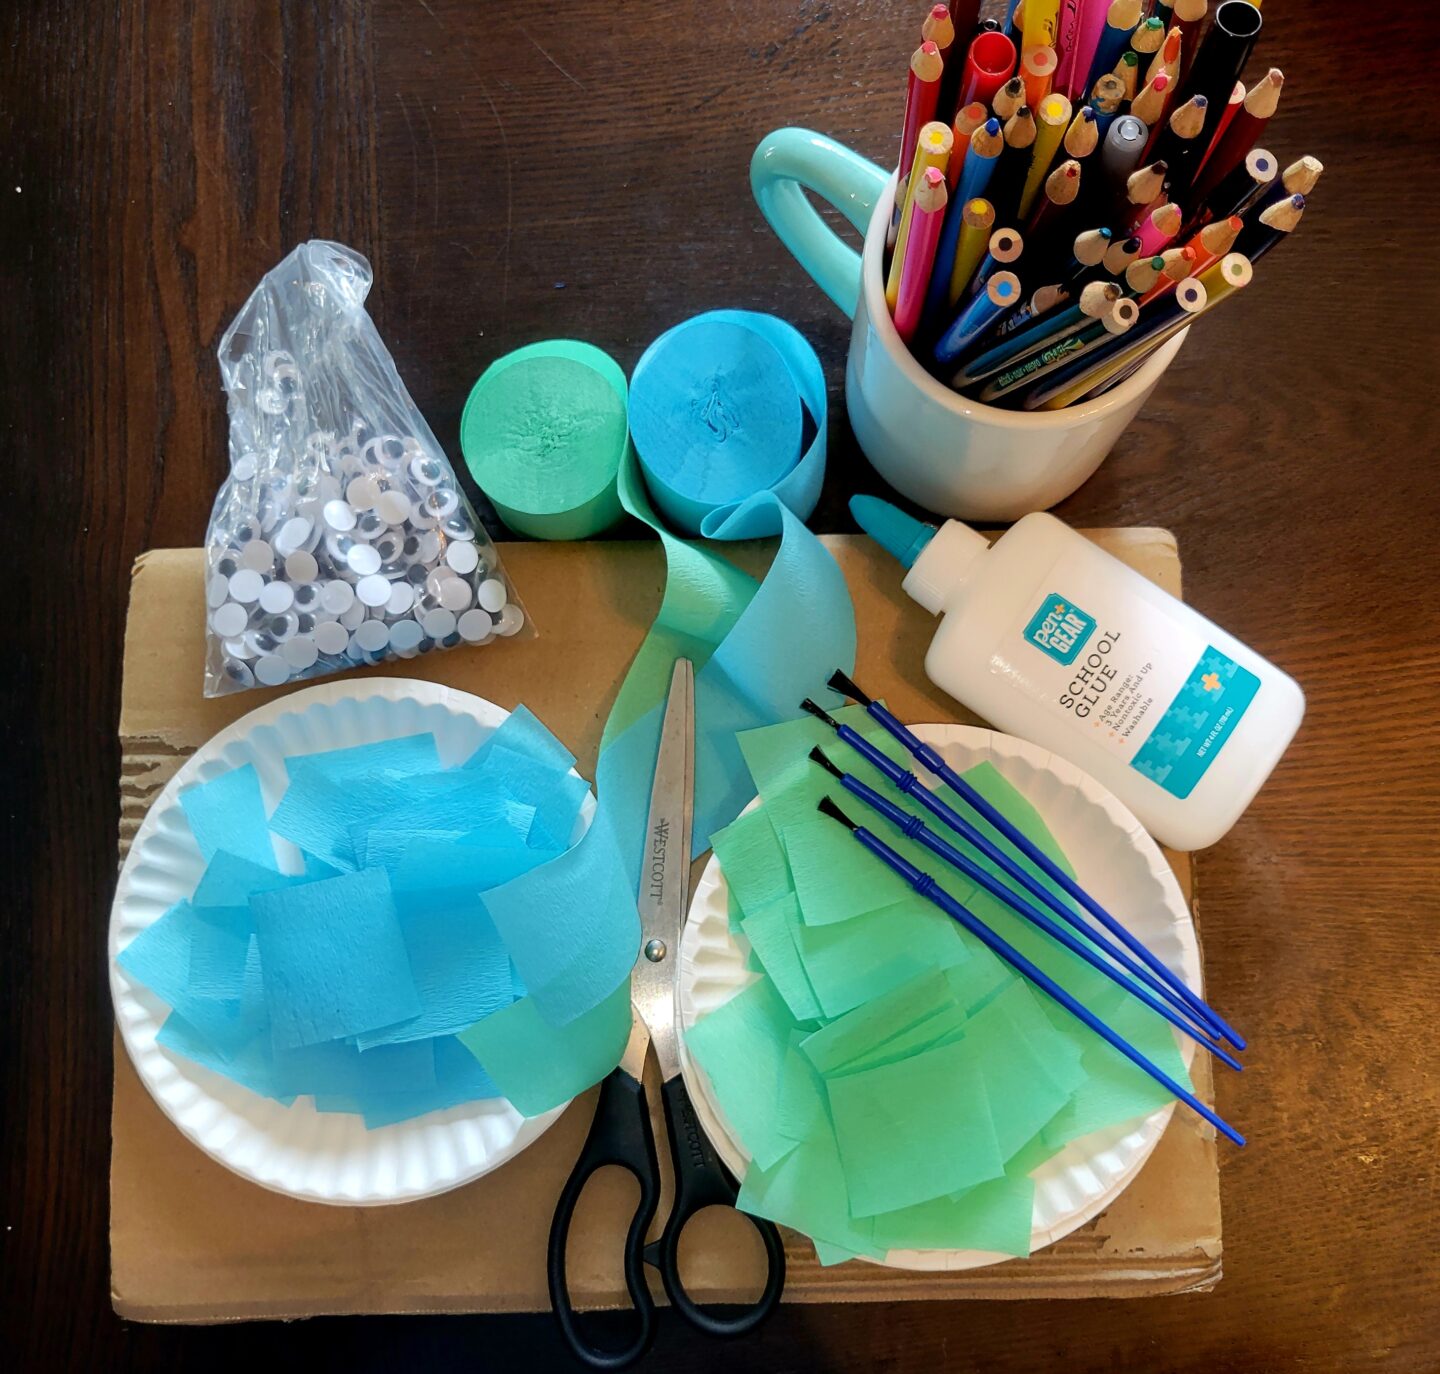
The Whole World
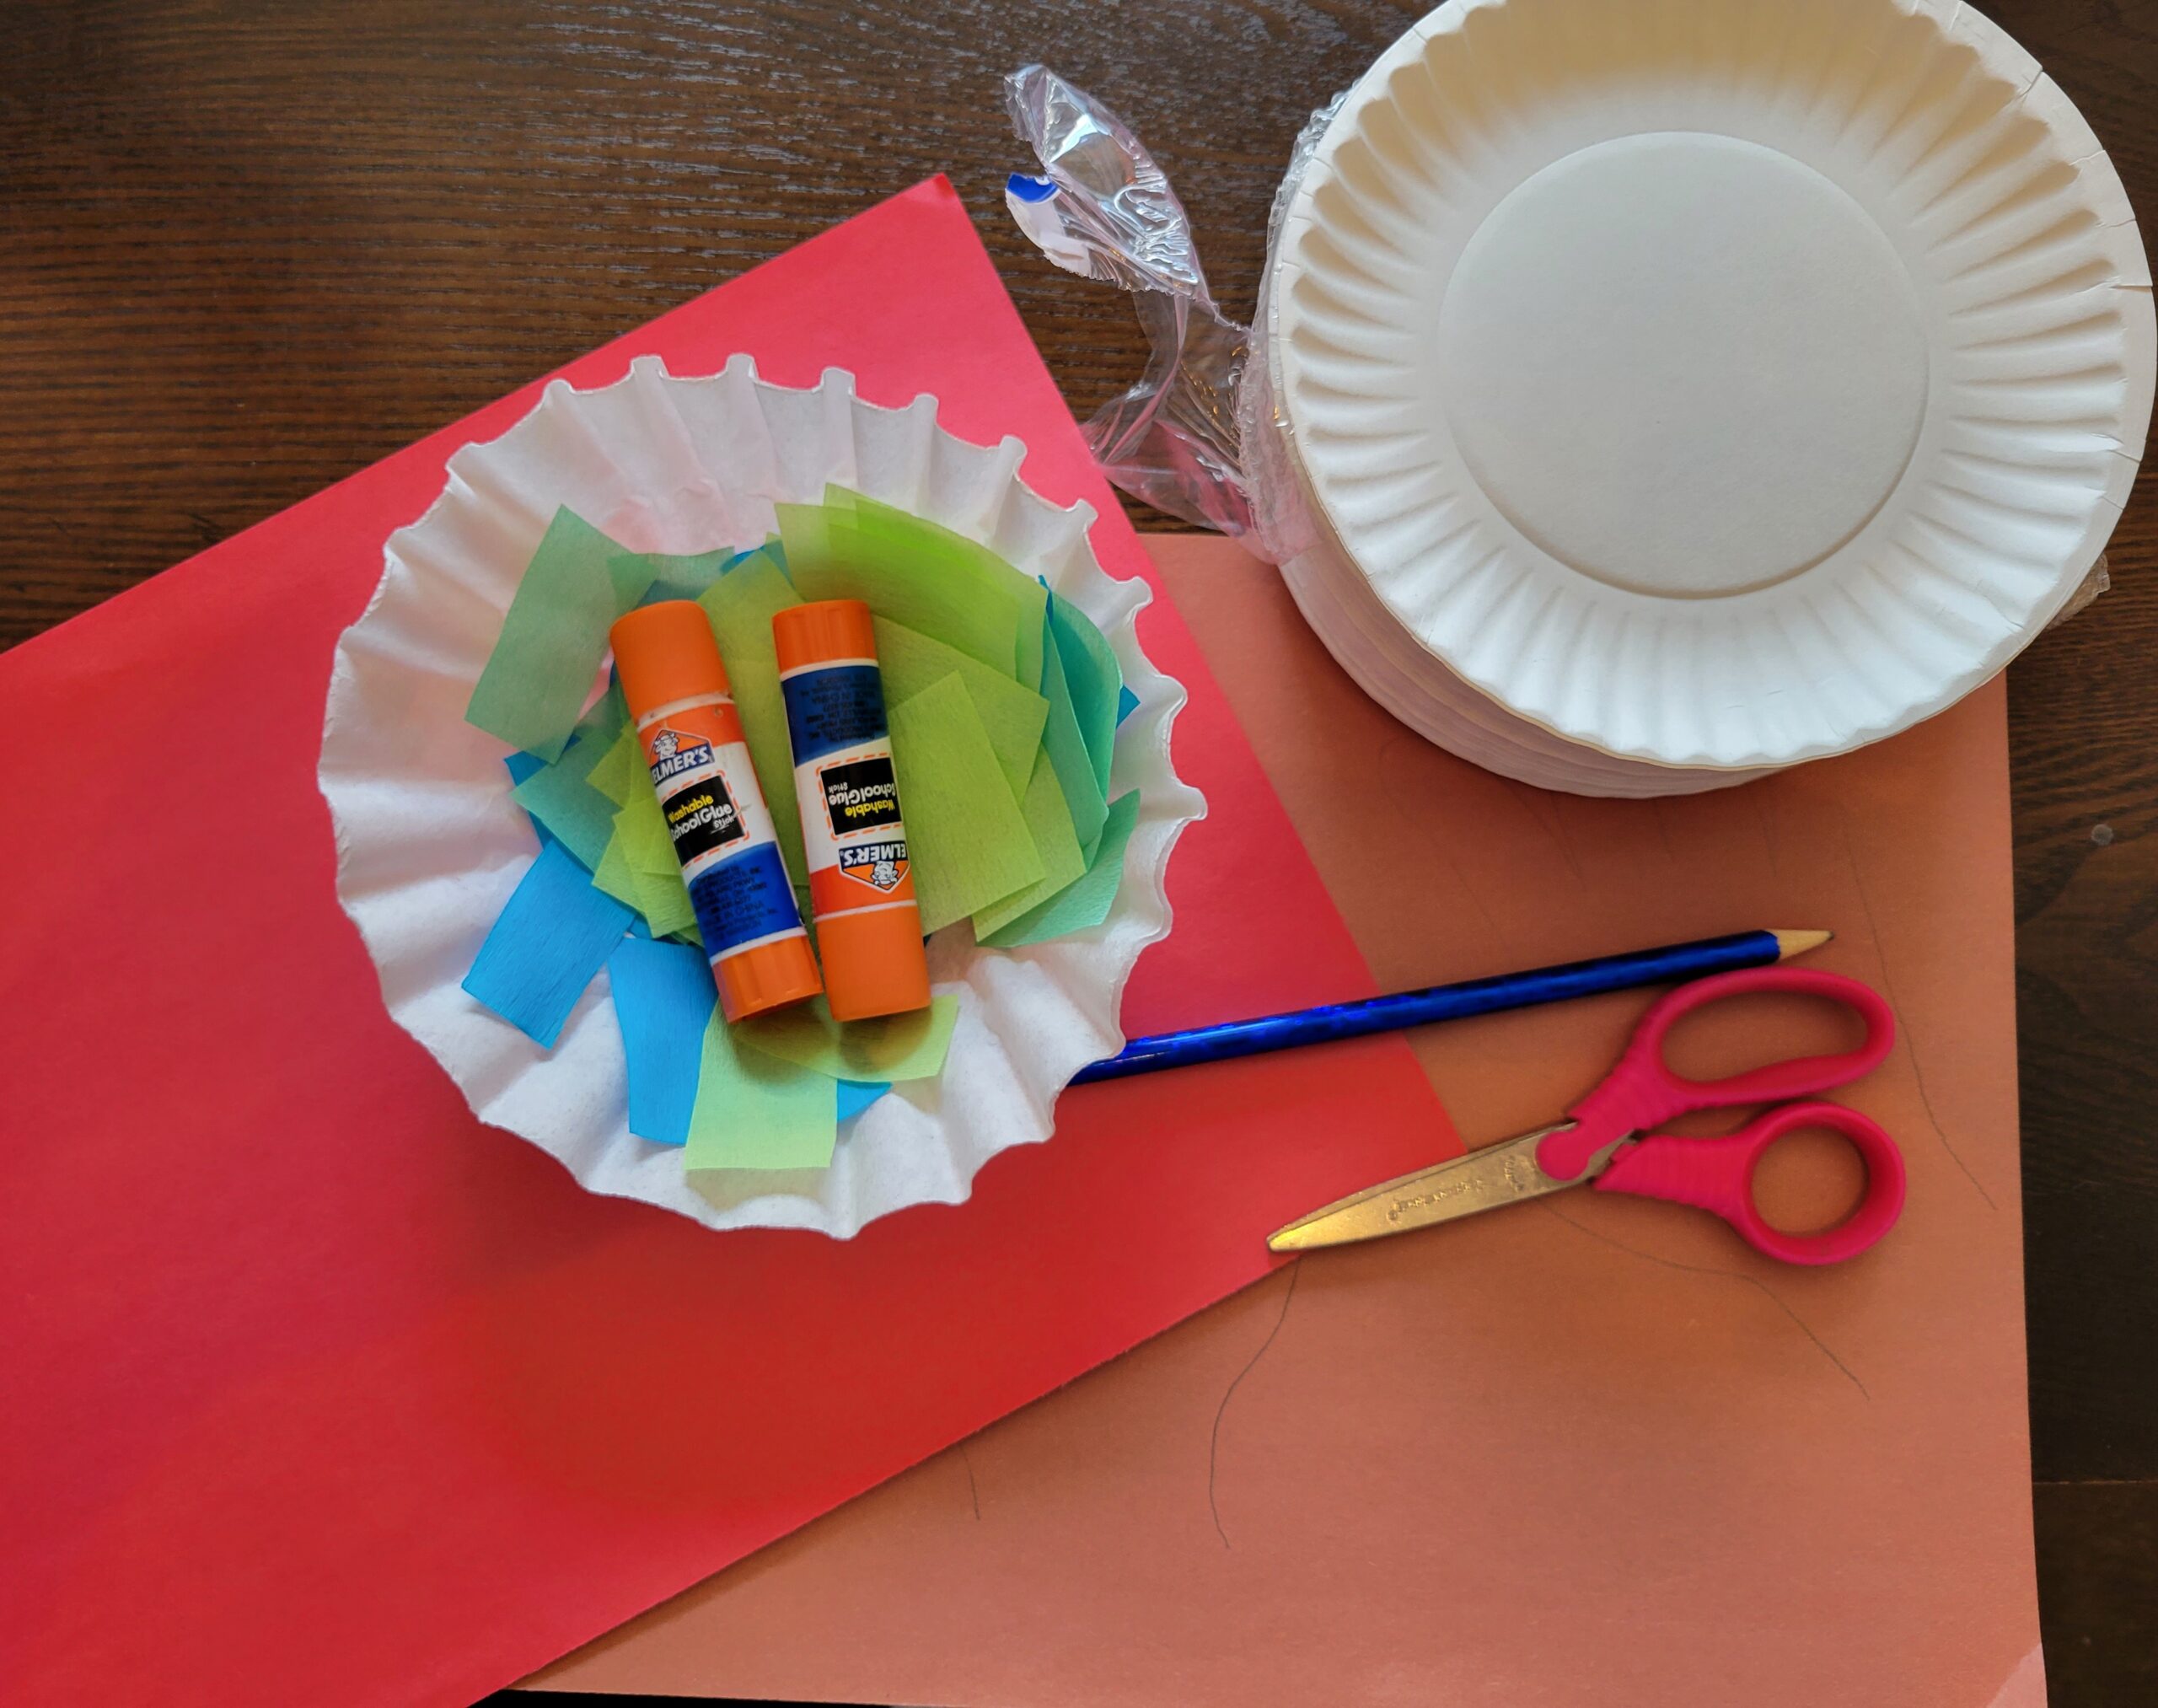
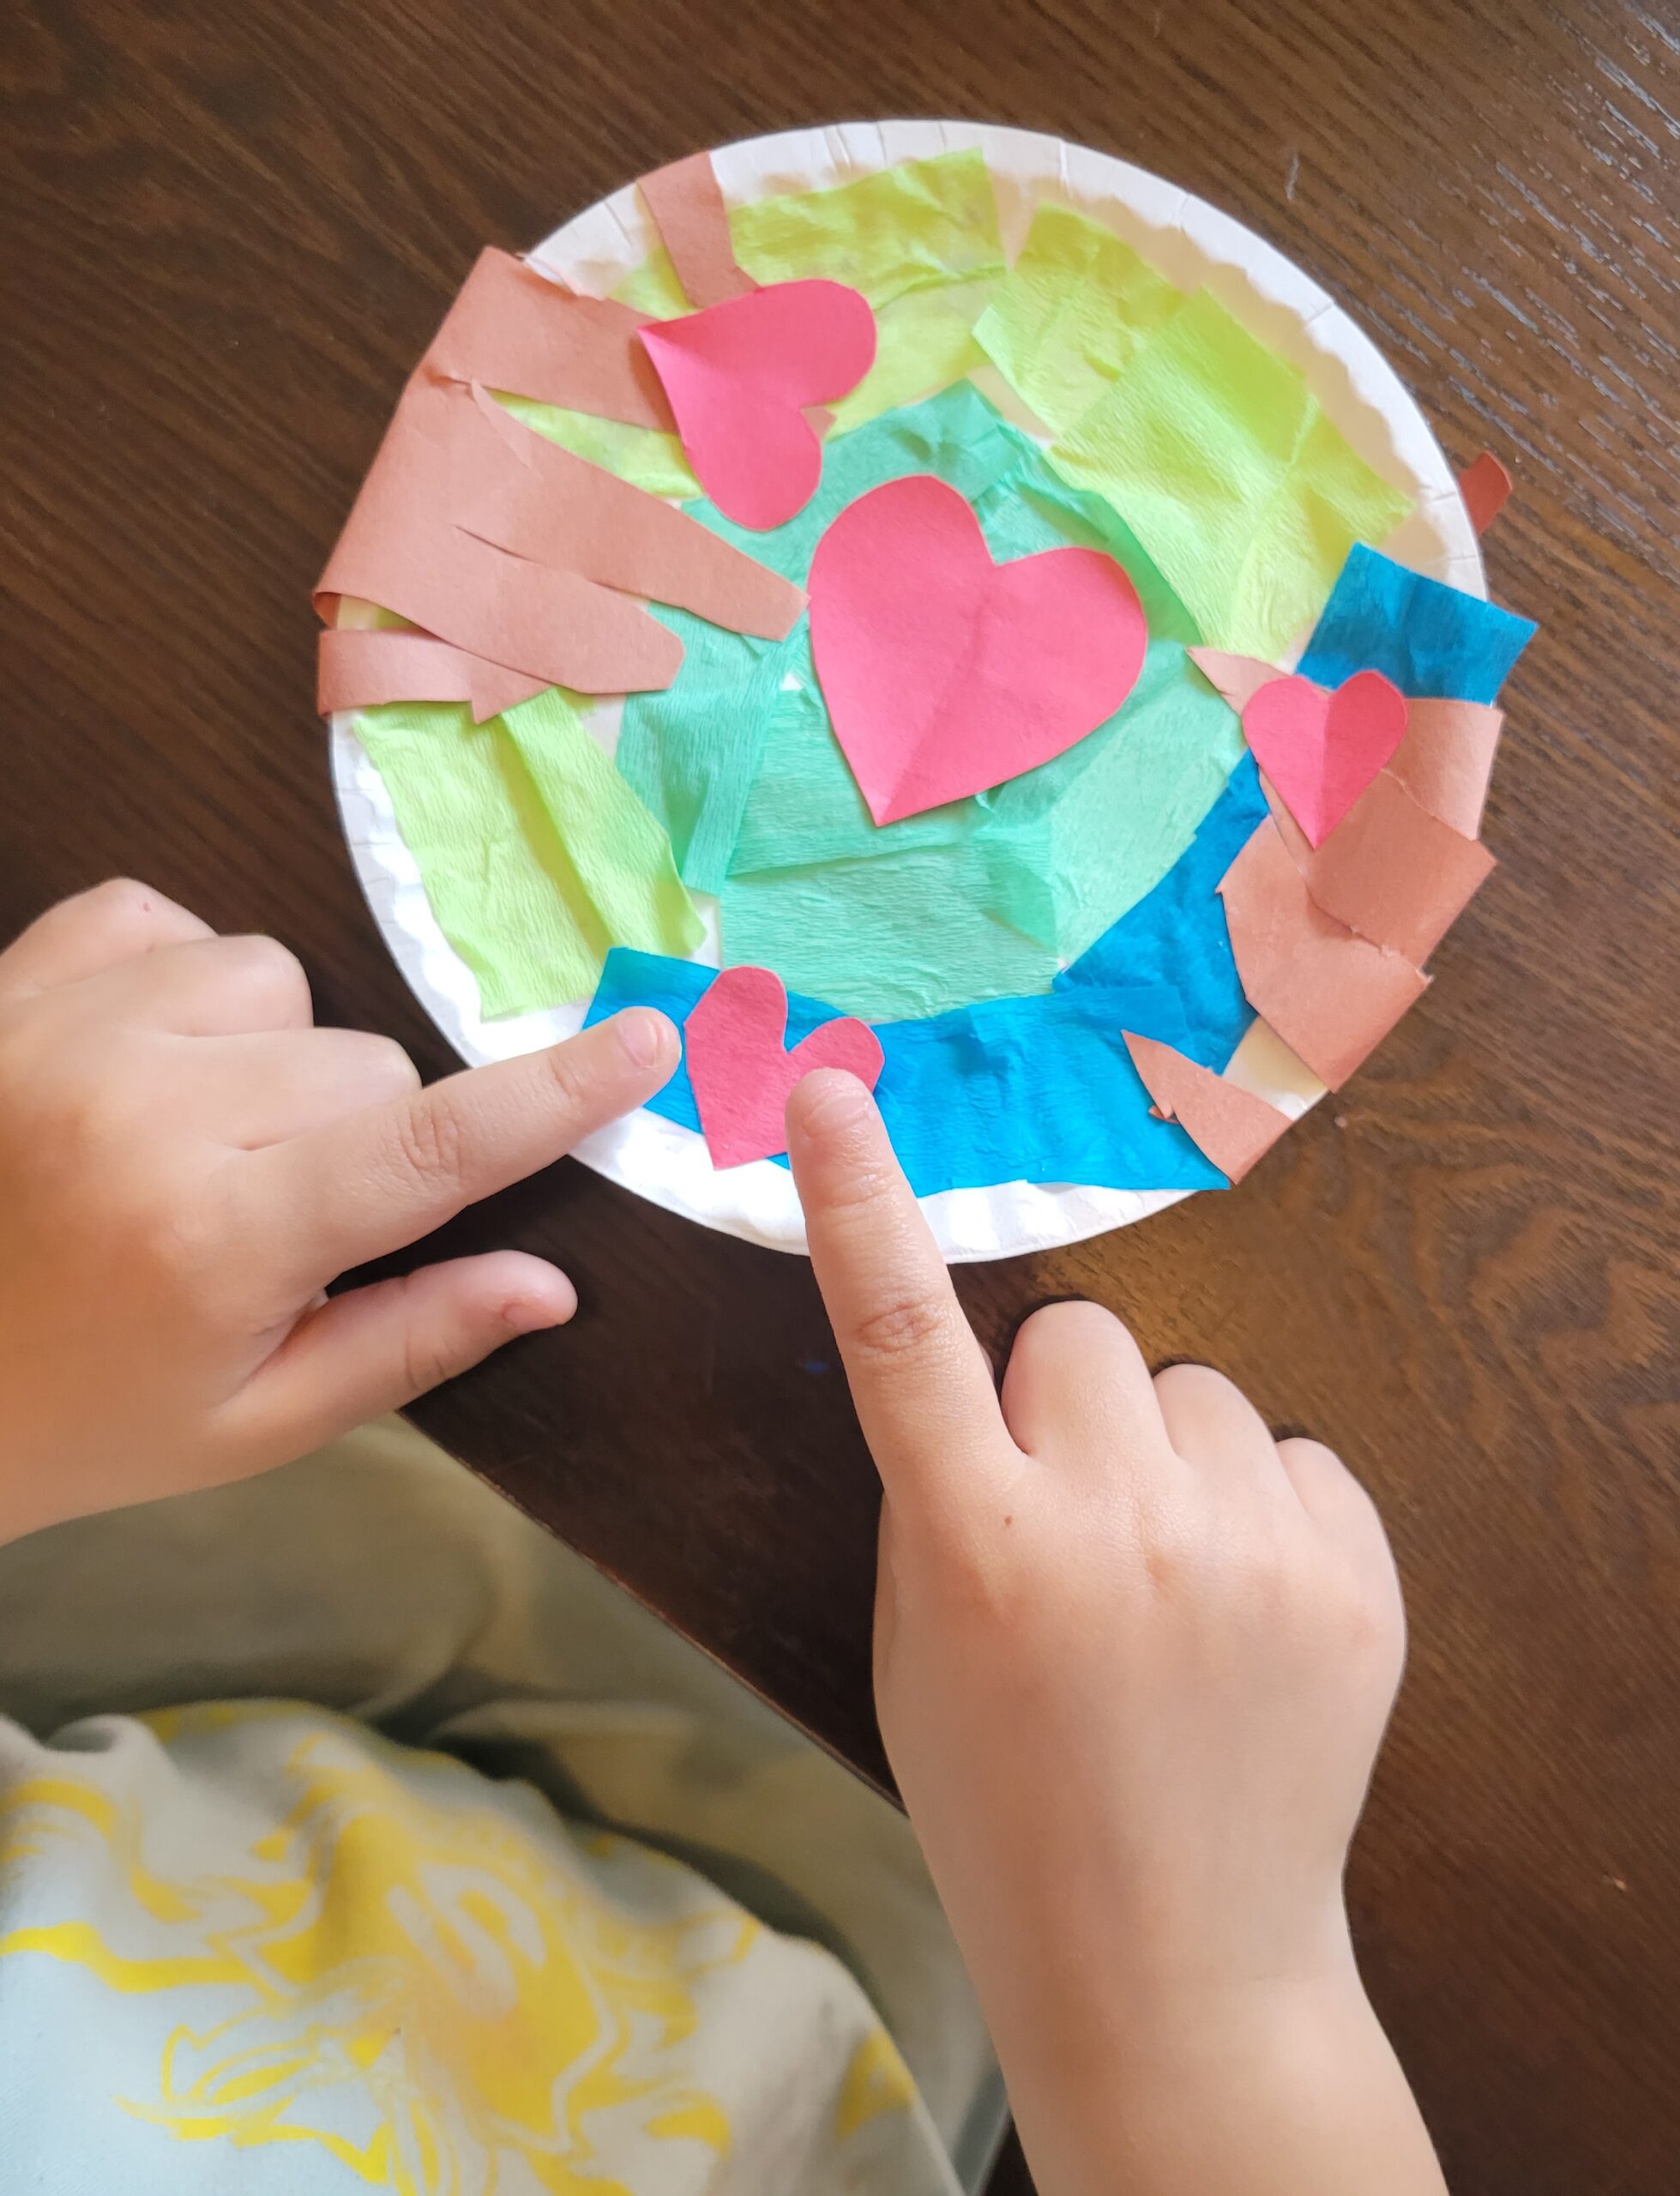
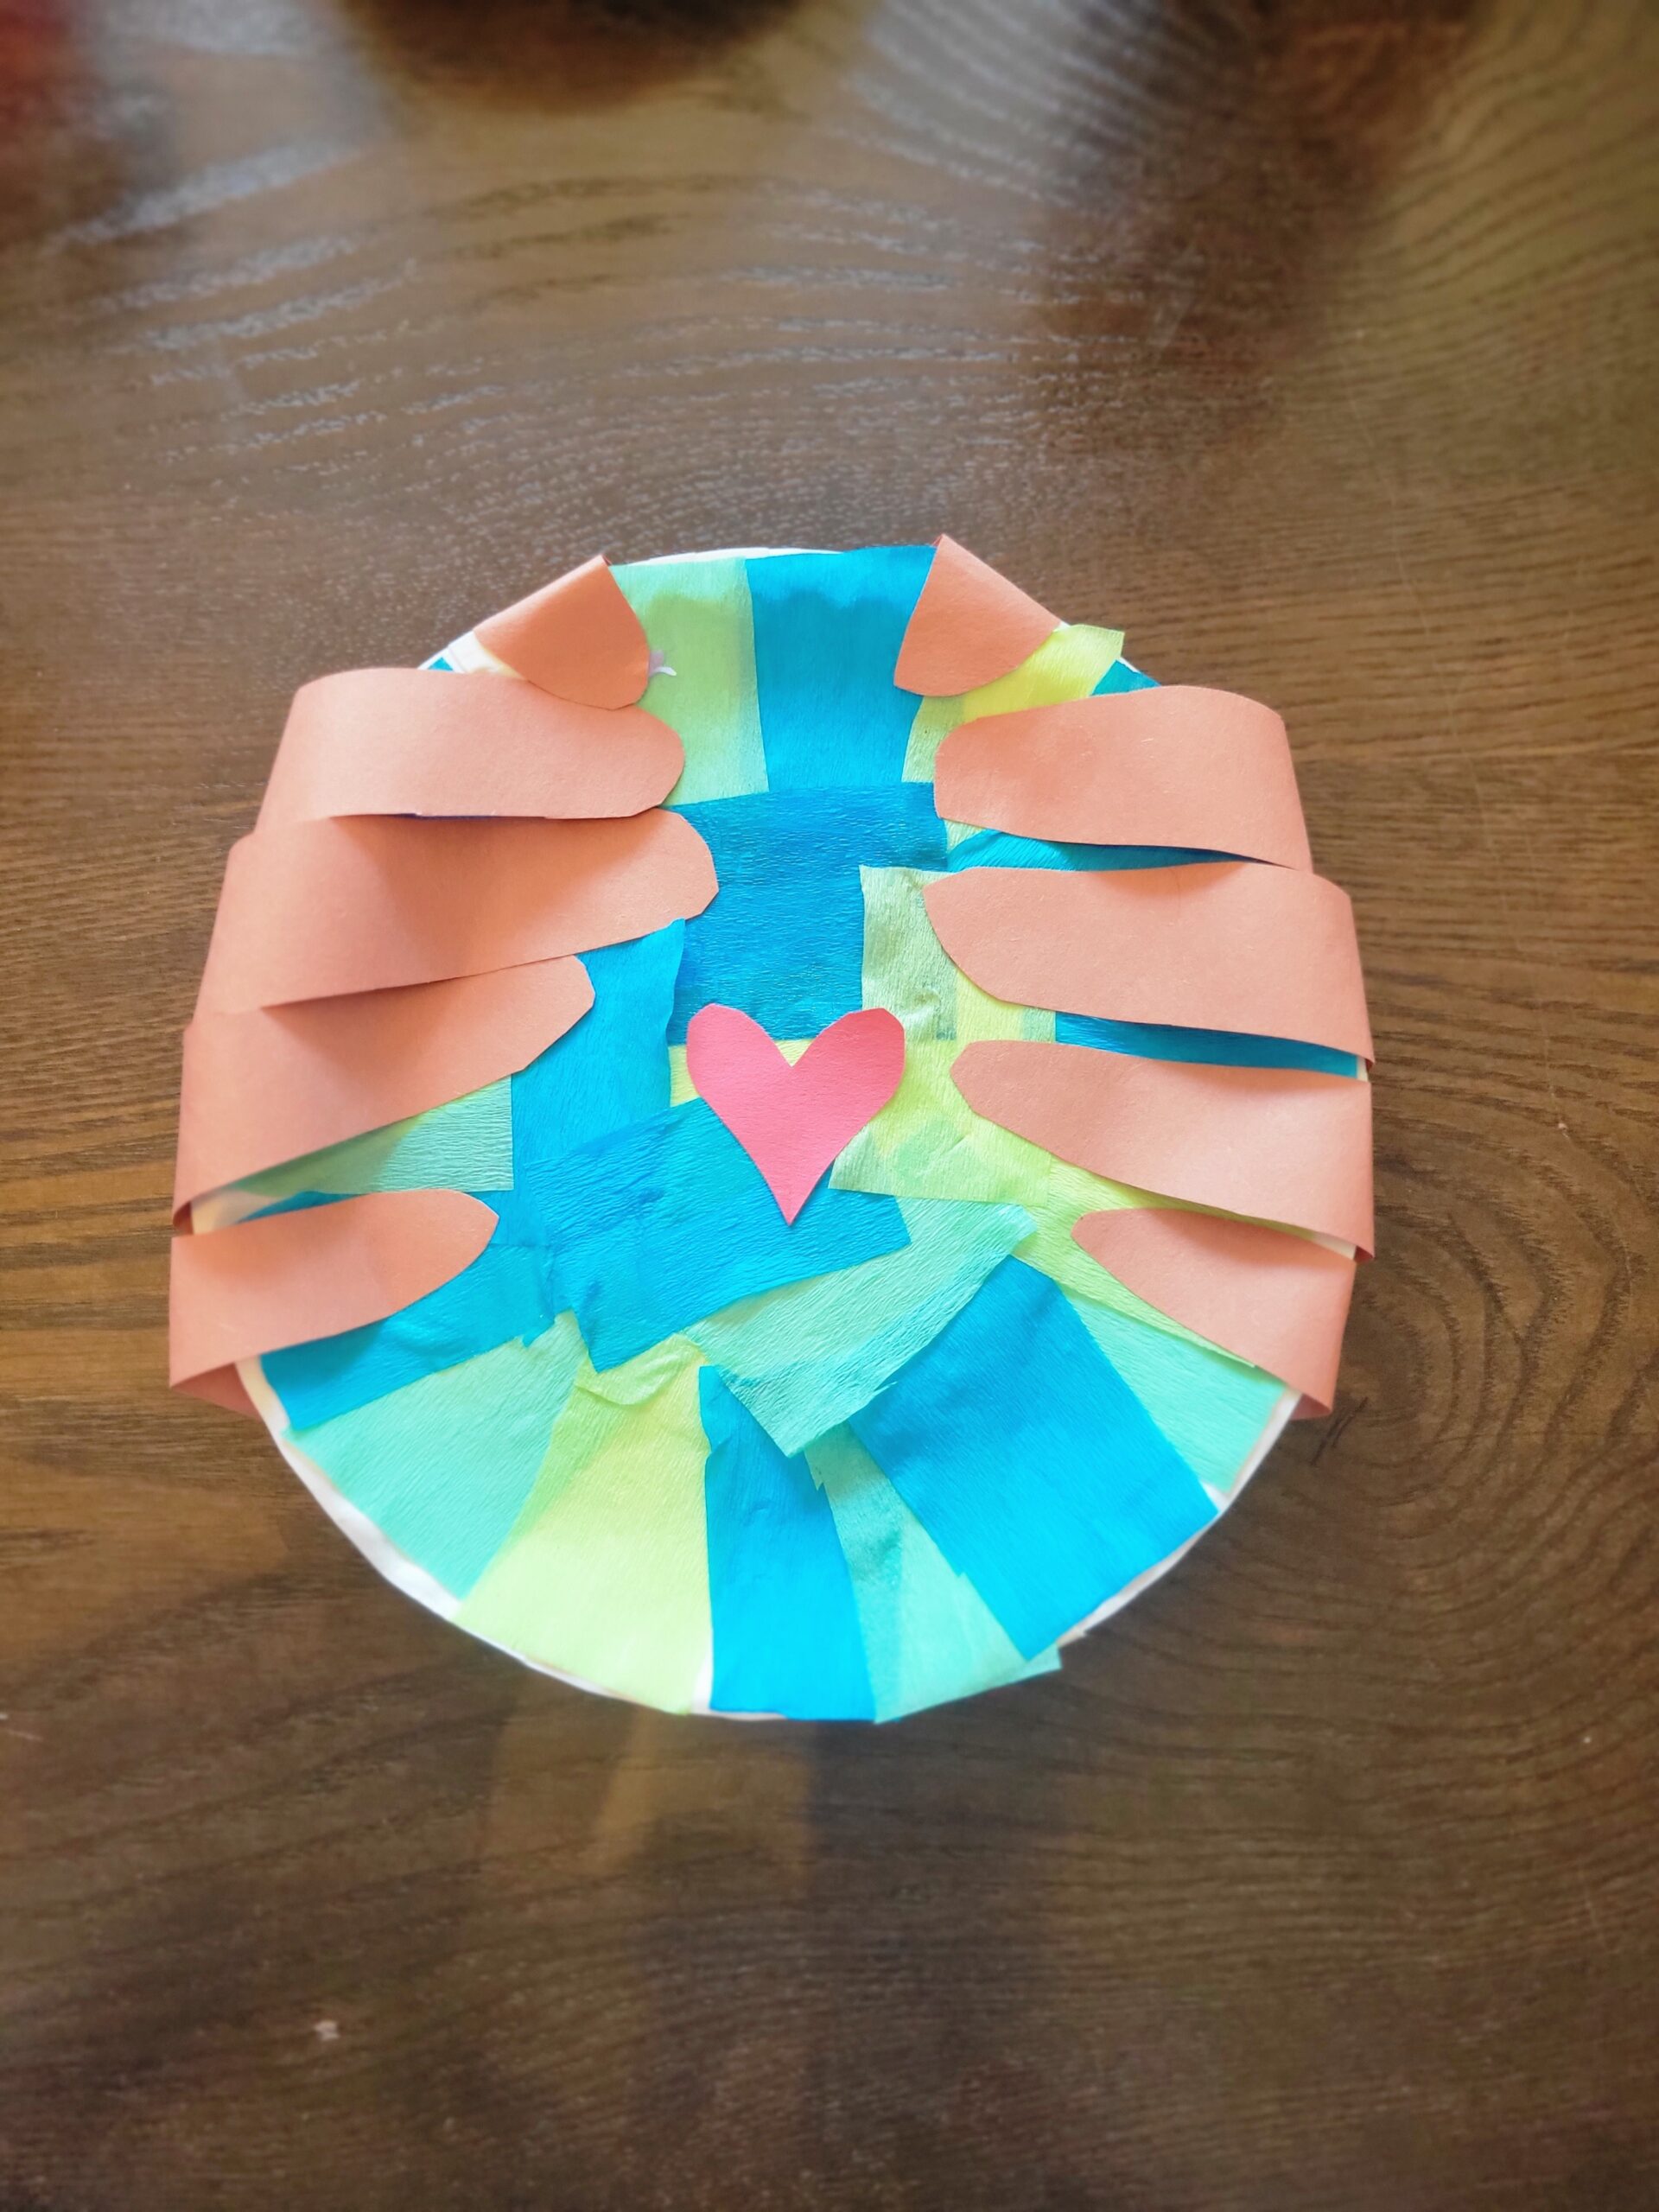
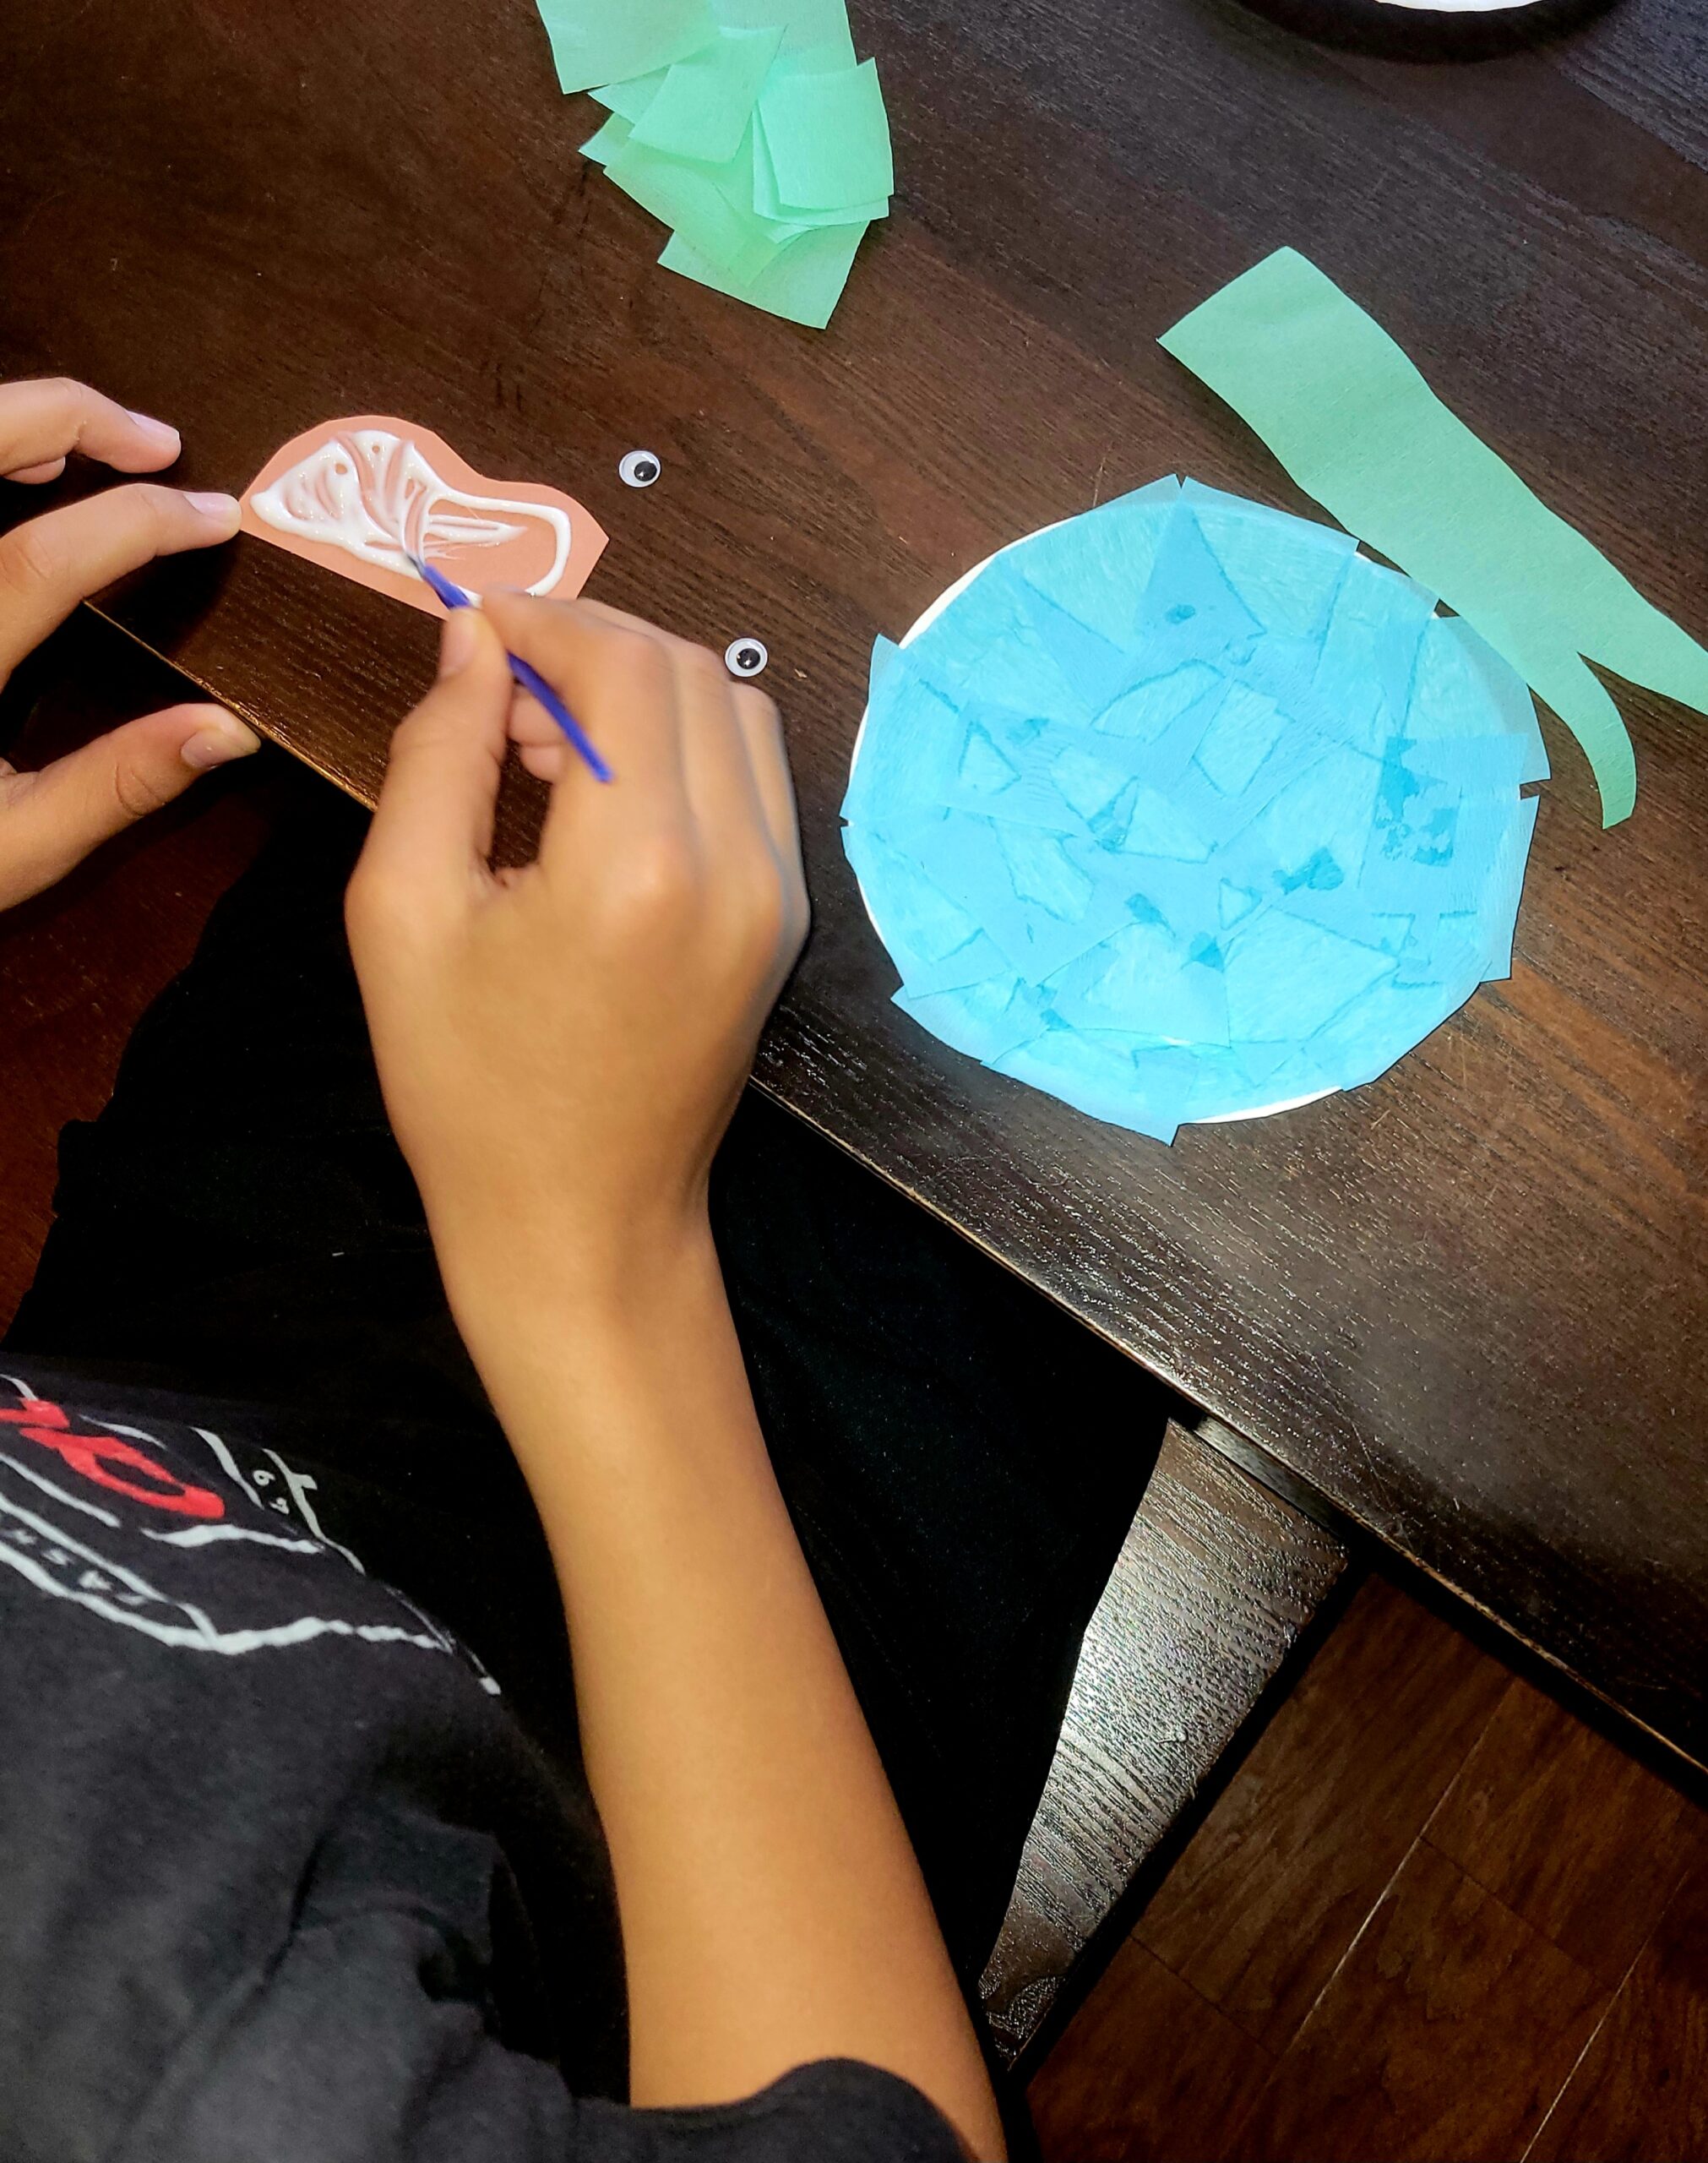
Materials needed: Crepe or tissue paper, pencil, tape, scissors, paper plate, glue stick and construction paper.
Start by tracing the little one’s hands and allow them to cut them out, once cut out attach at the back with tape. Attach them just enough so the fingertips reach around to appear like they’re holding the plate. We used snack size paper plate which fit little hands better. Then let them start gluing the little cut squares of paper to the plate, I precut the squares while they cut their hands out. We attached a little heart(s) to the earth to show that we should love our planet and then finished by gluing the fingertips down to the front of the earth.

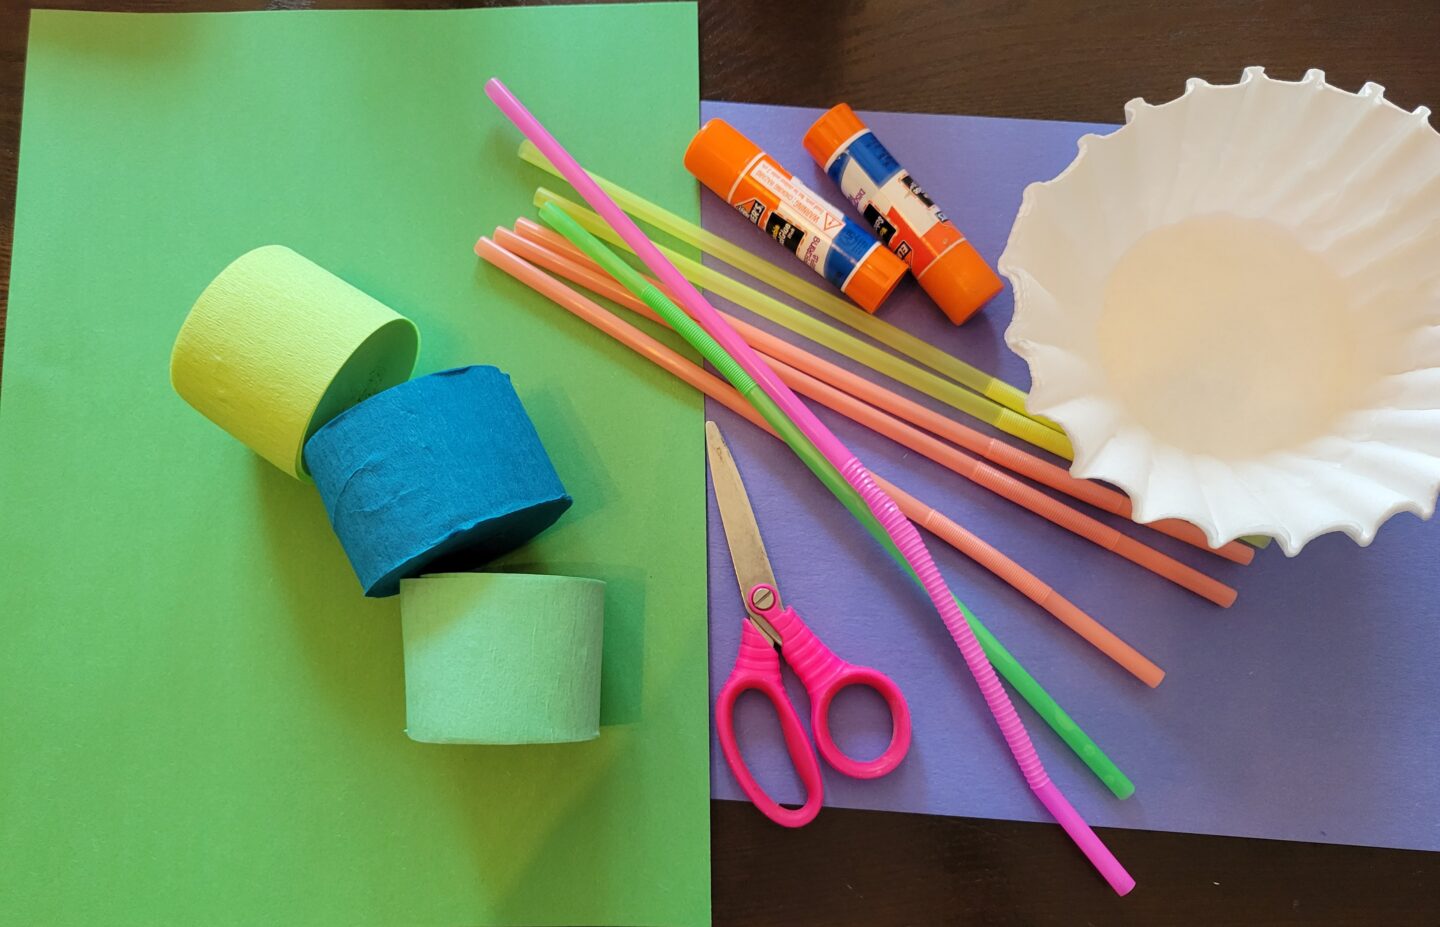
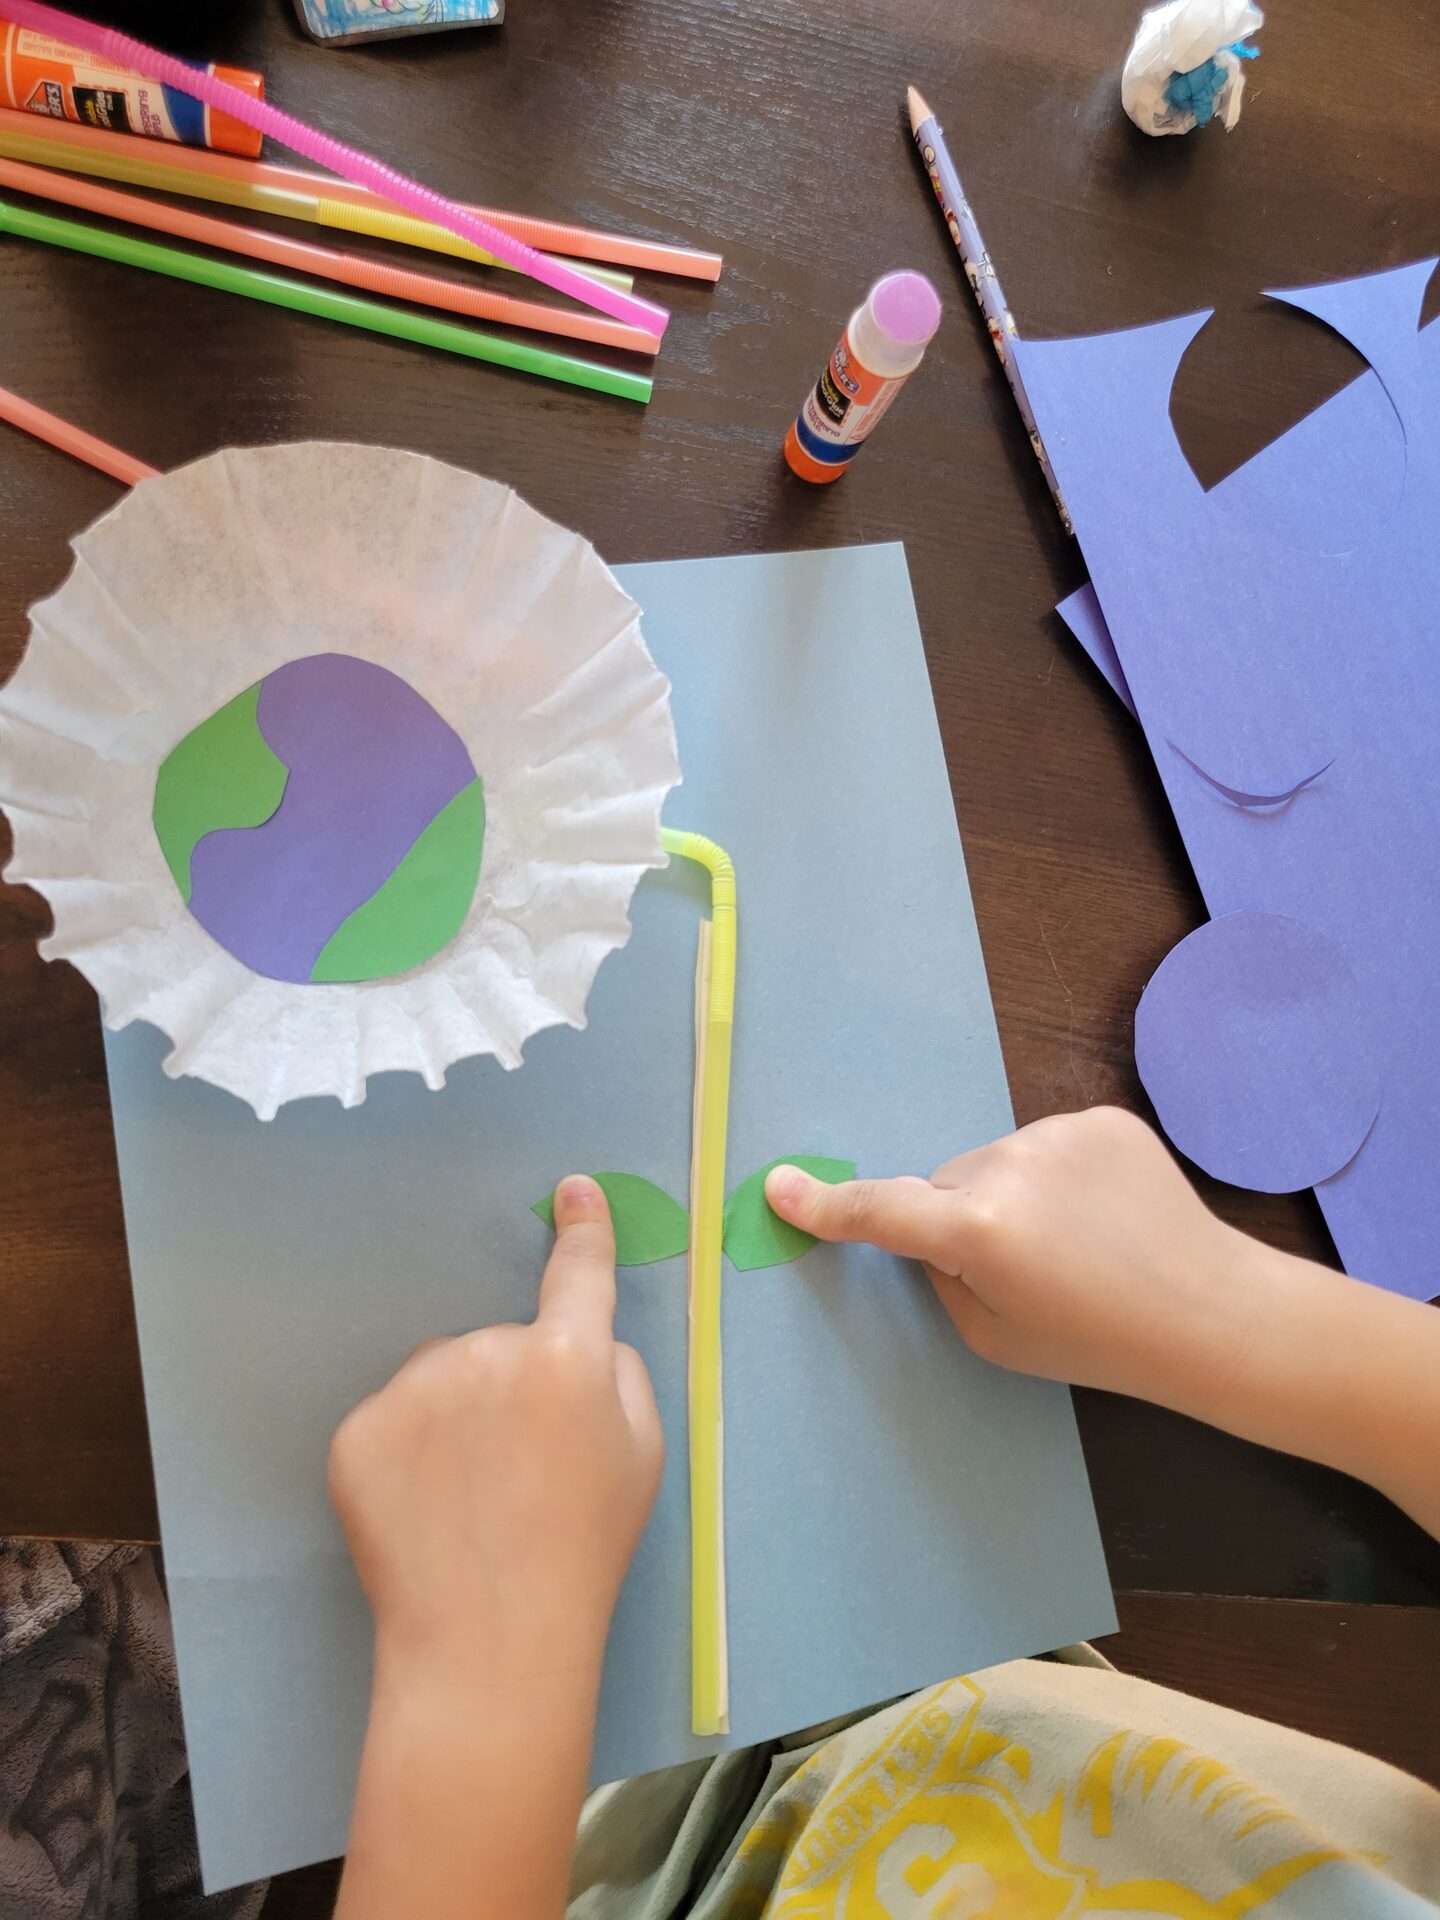
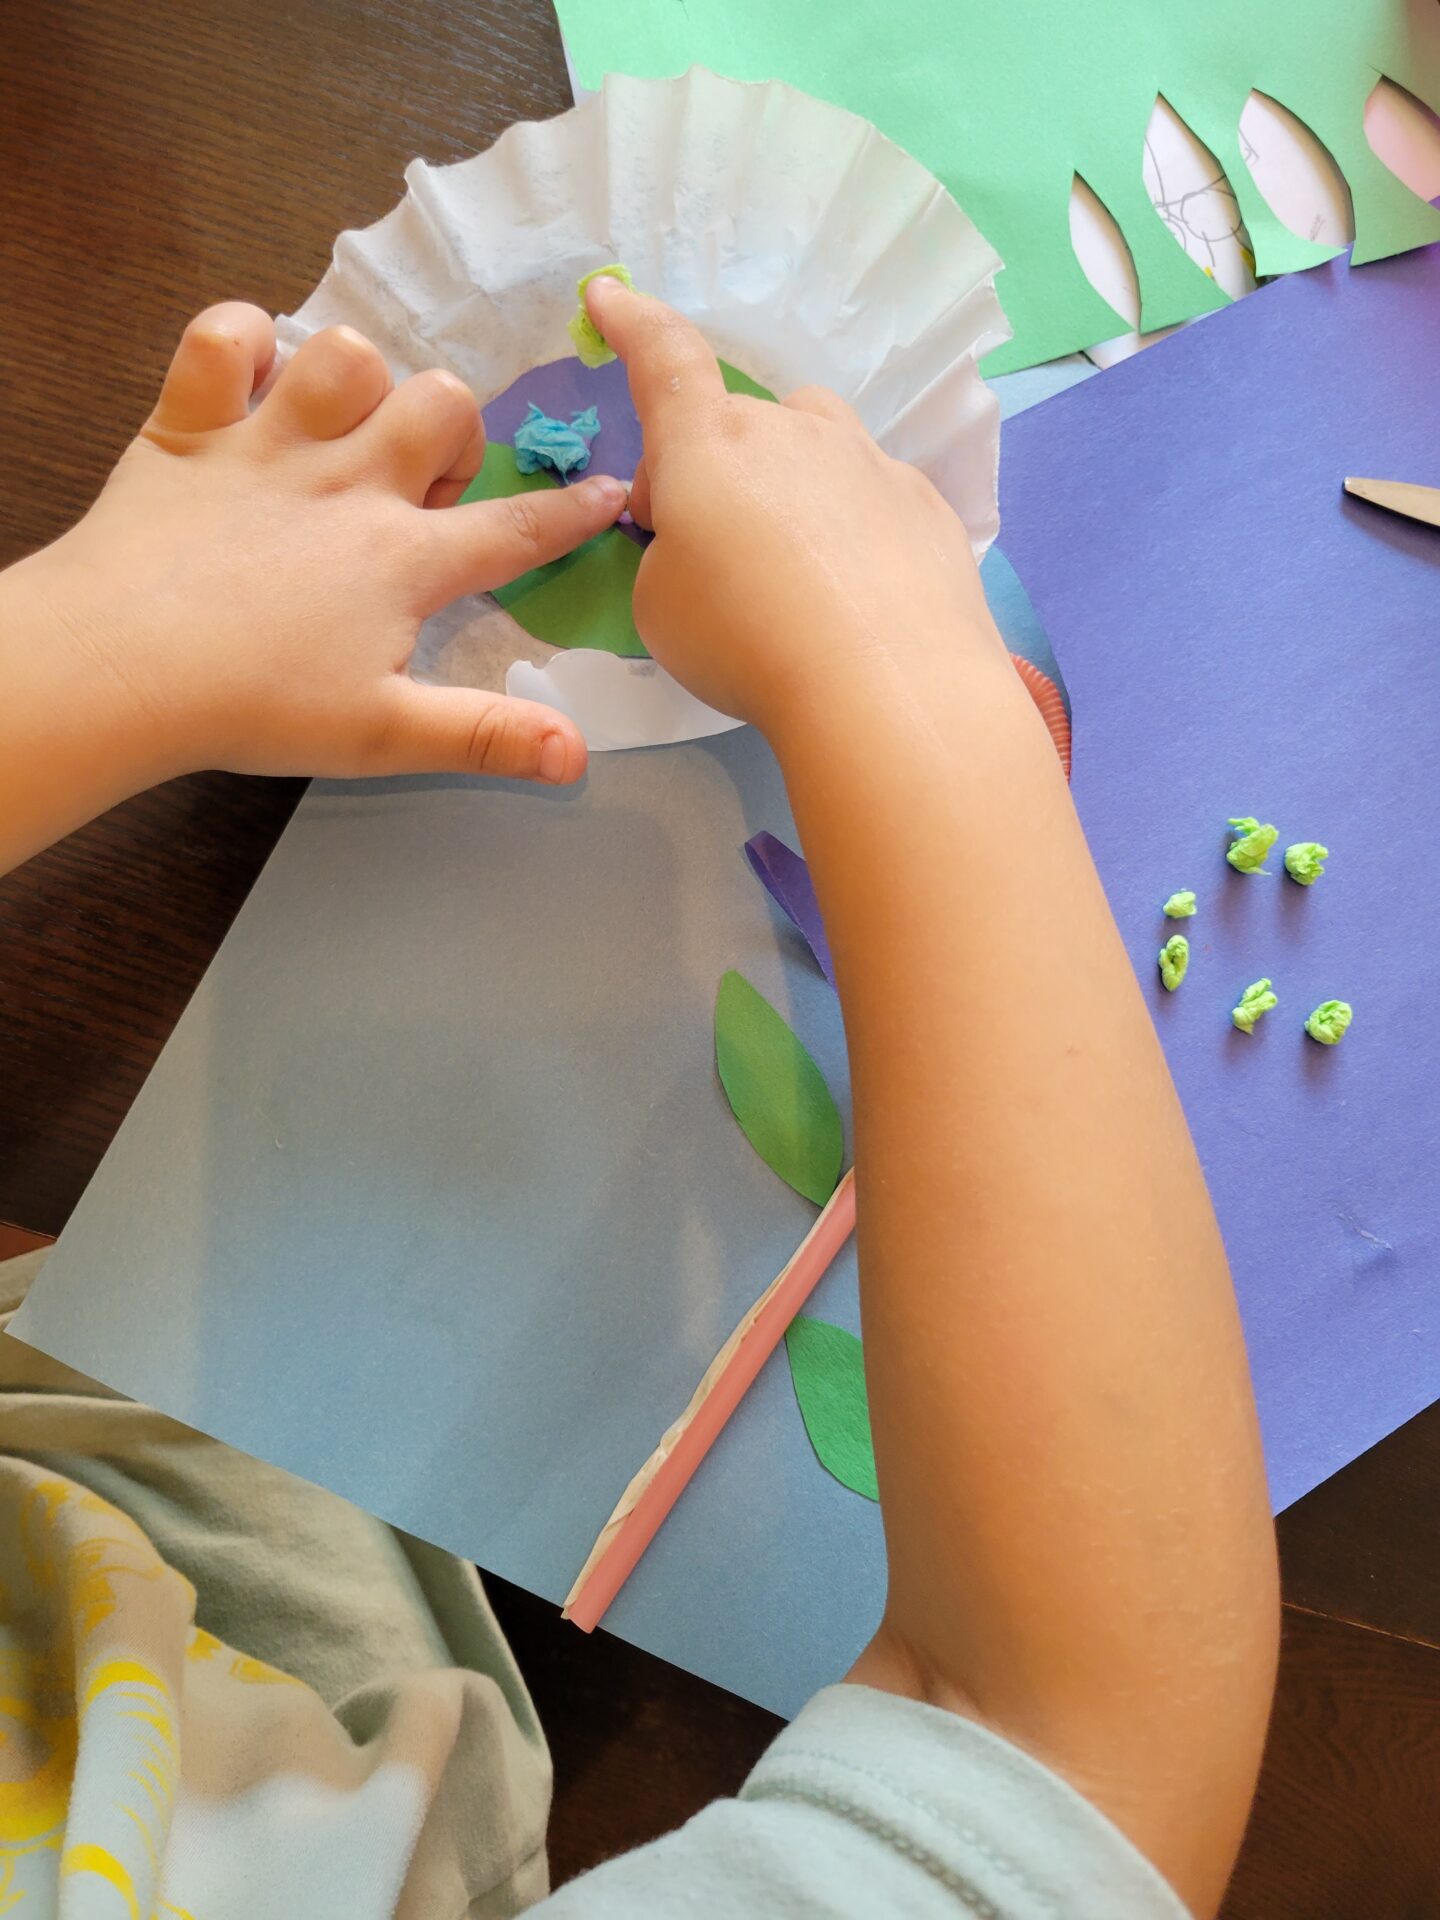
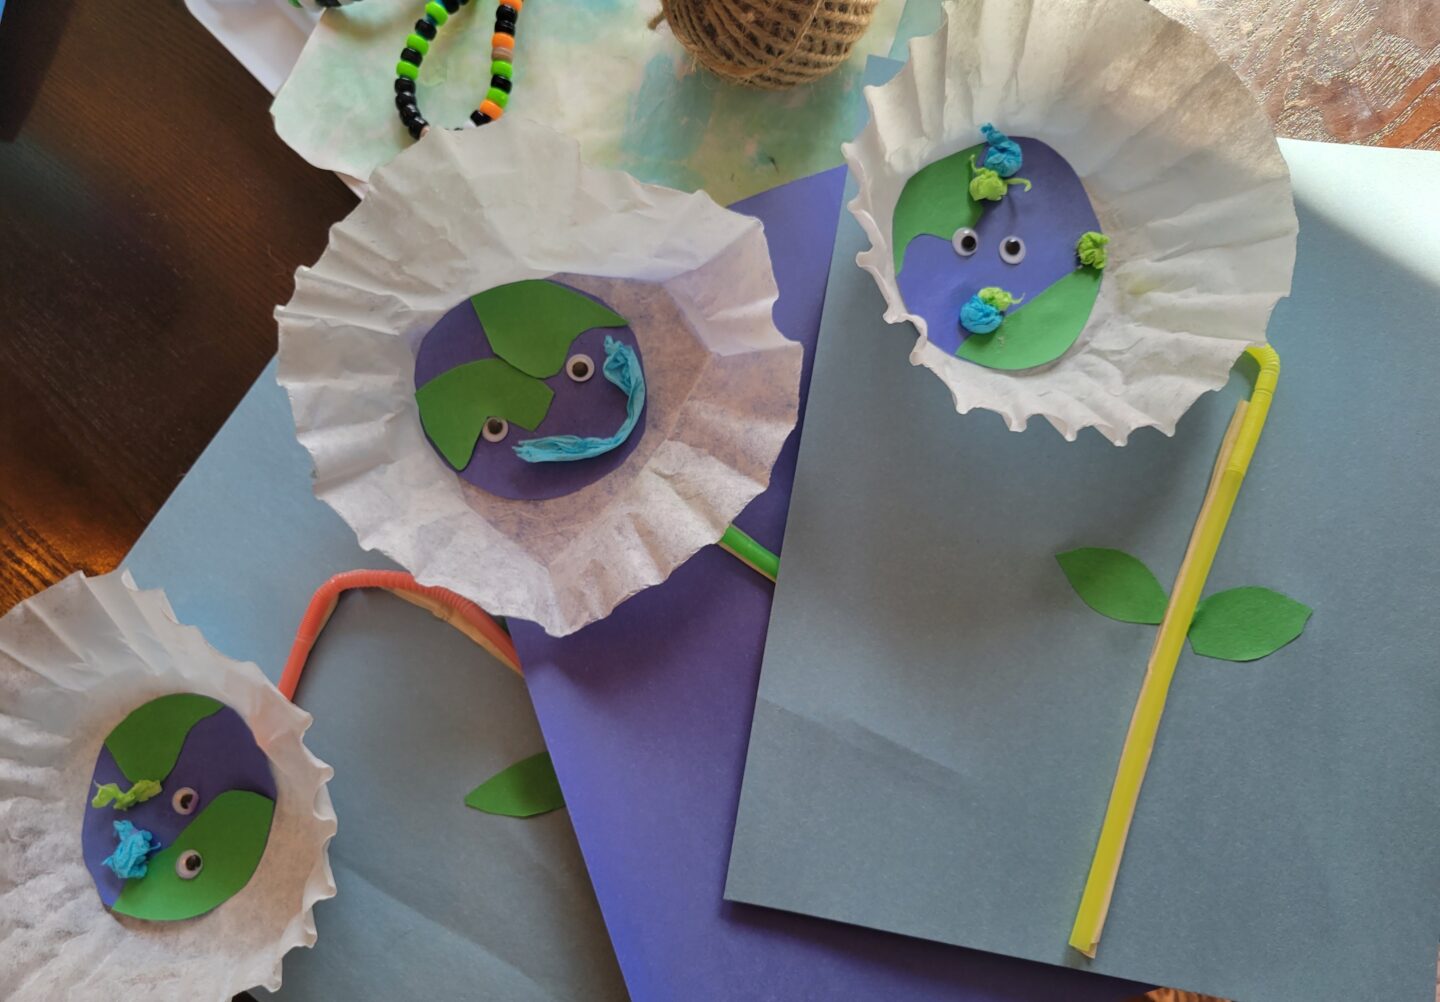
Earth Flowers
Materials needed: Construction paper, scissors, glue sticks, tape, straw, googly eyes and coffee filters.
Start by either rolling a piece of tape to stick your straw down or glue it down. Add the coffee filter to the end of the straw and glue the leaves near the base of the straw to top off the look of a flower.
Cut a circle out of the construction paper to glue inside the filter and add green pieces of paper or balled up crepe paper to resemble planet earth. Add your googly eyes and you’re finished!
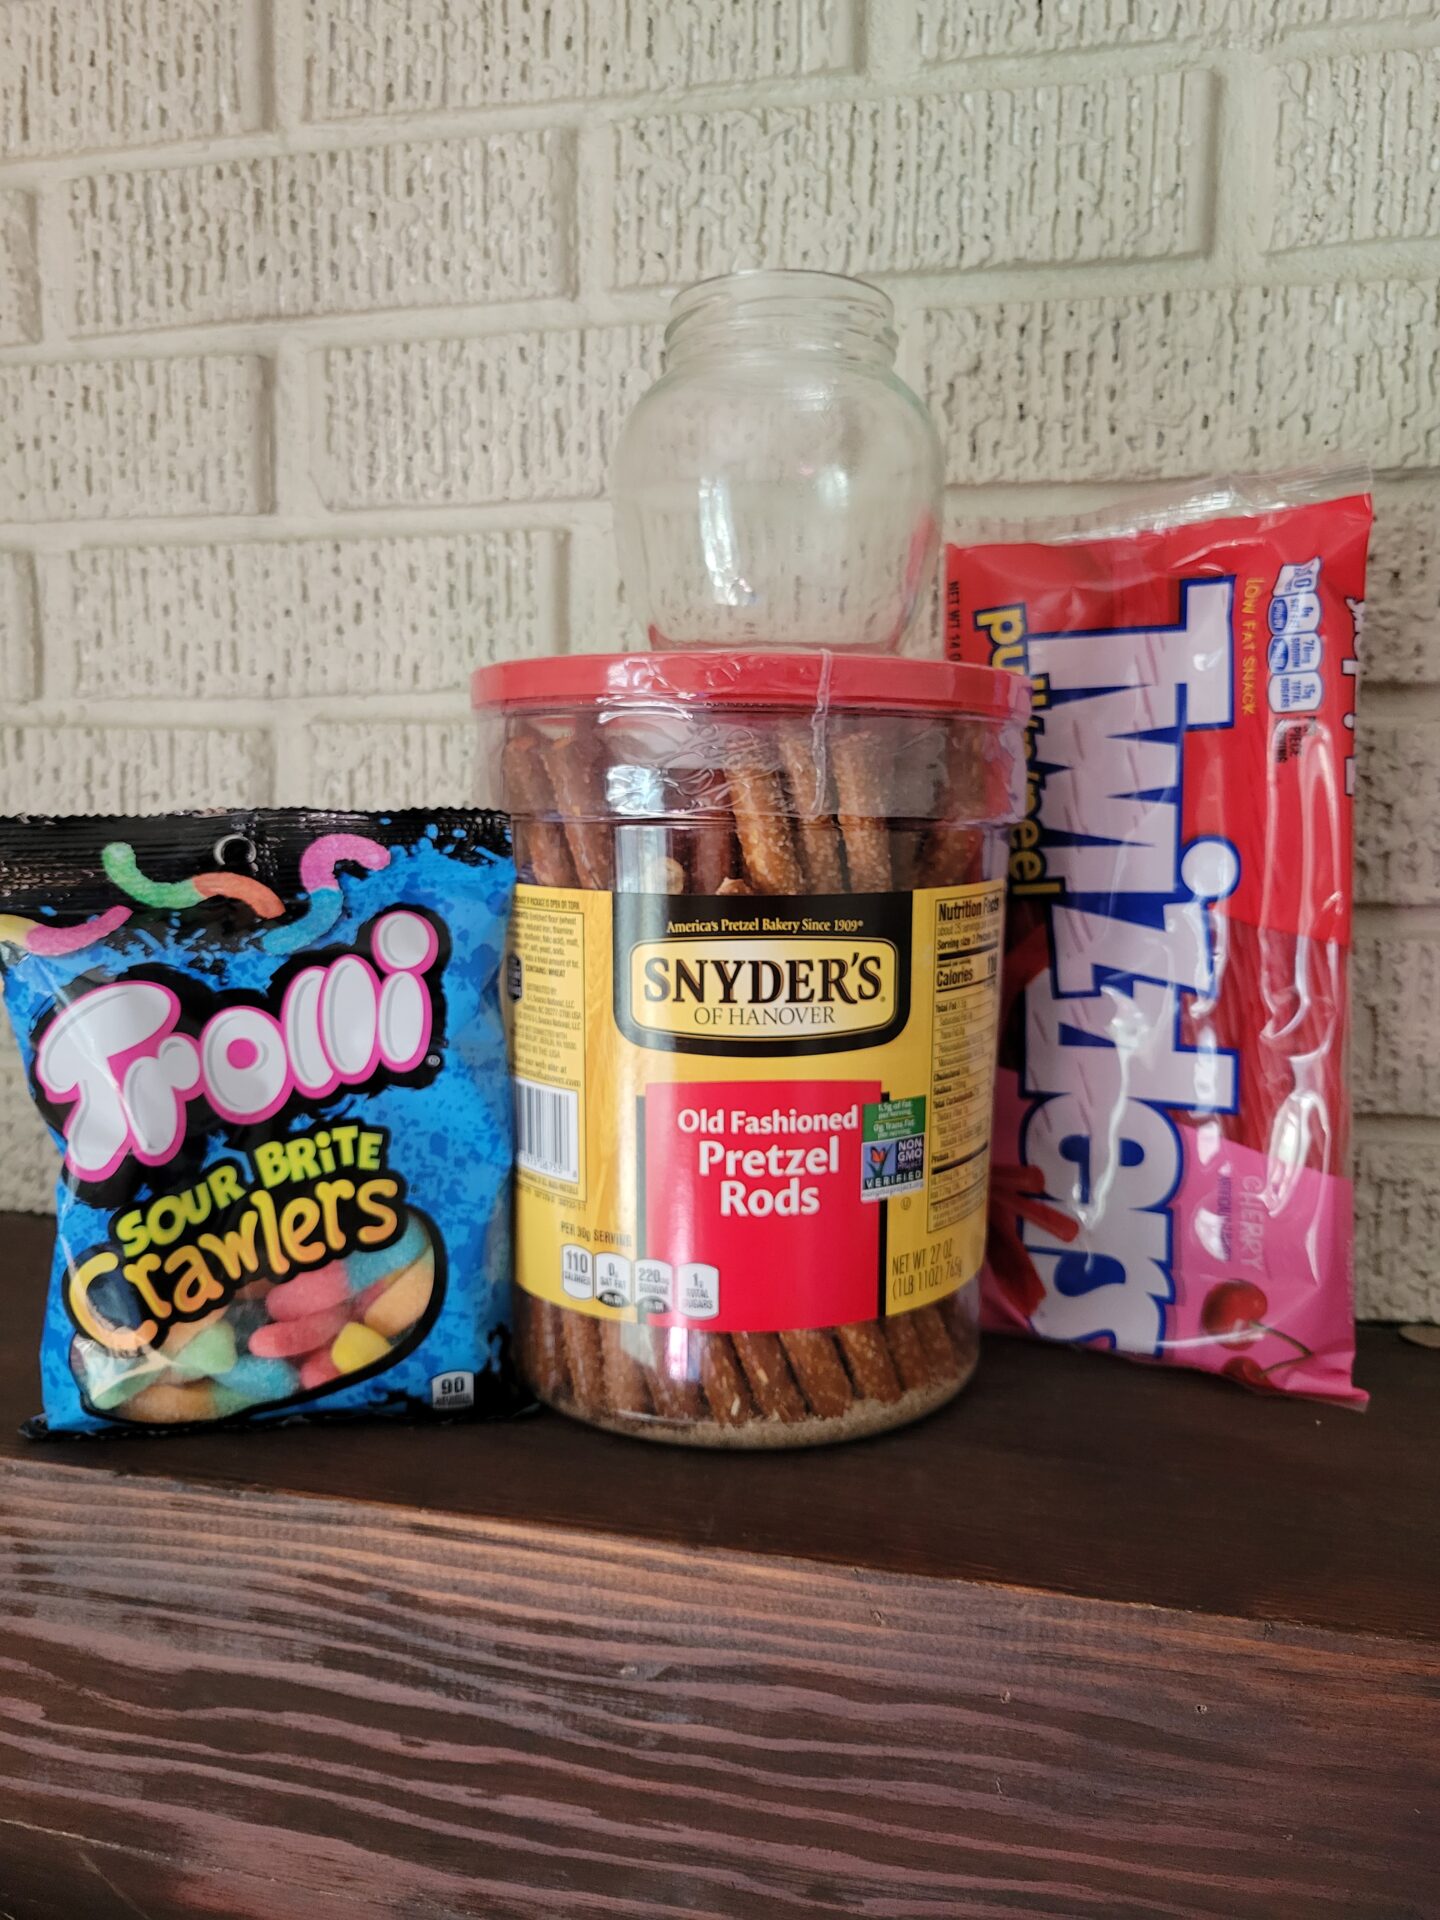
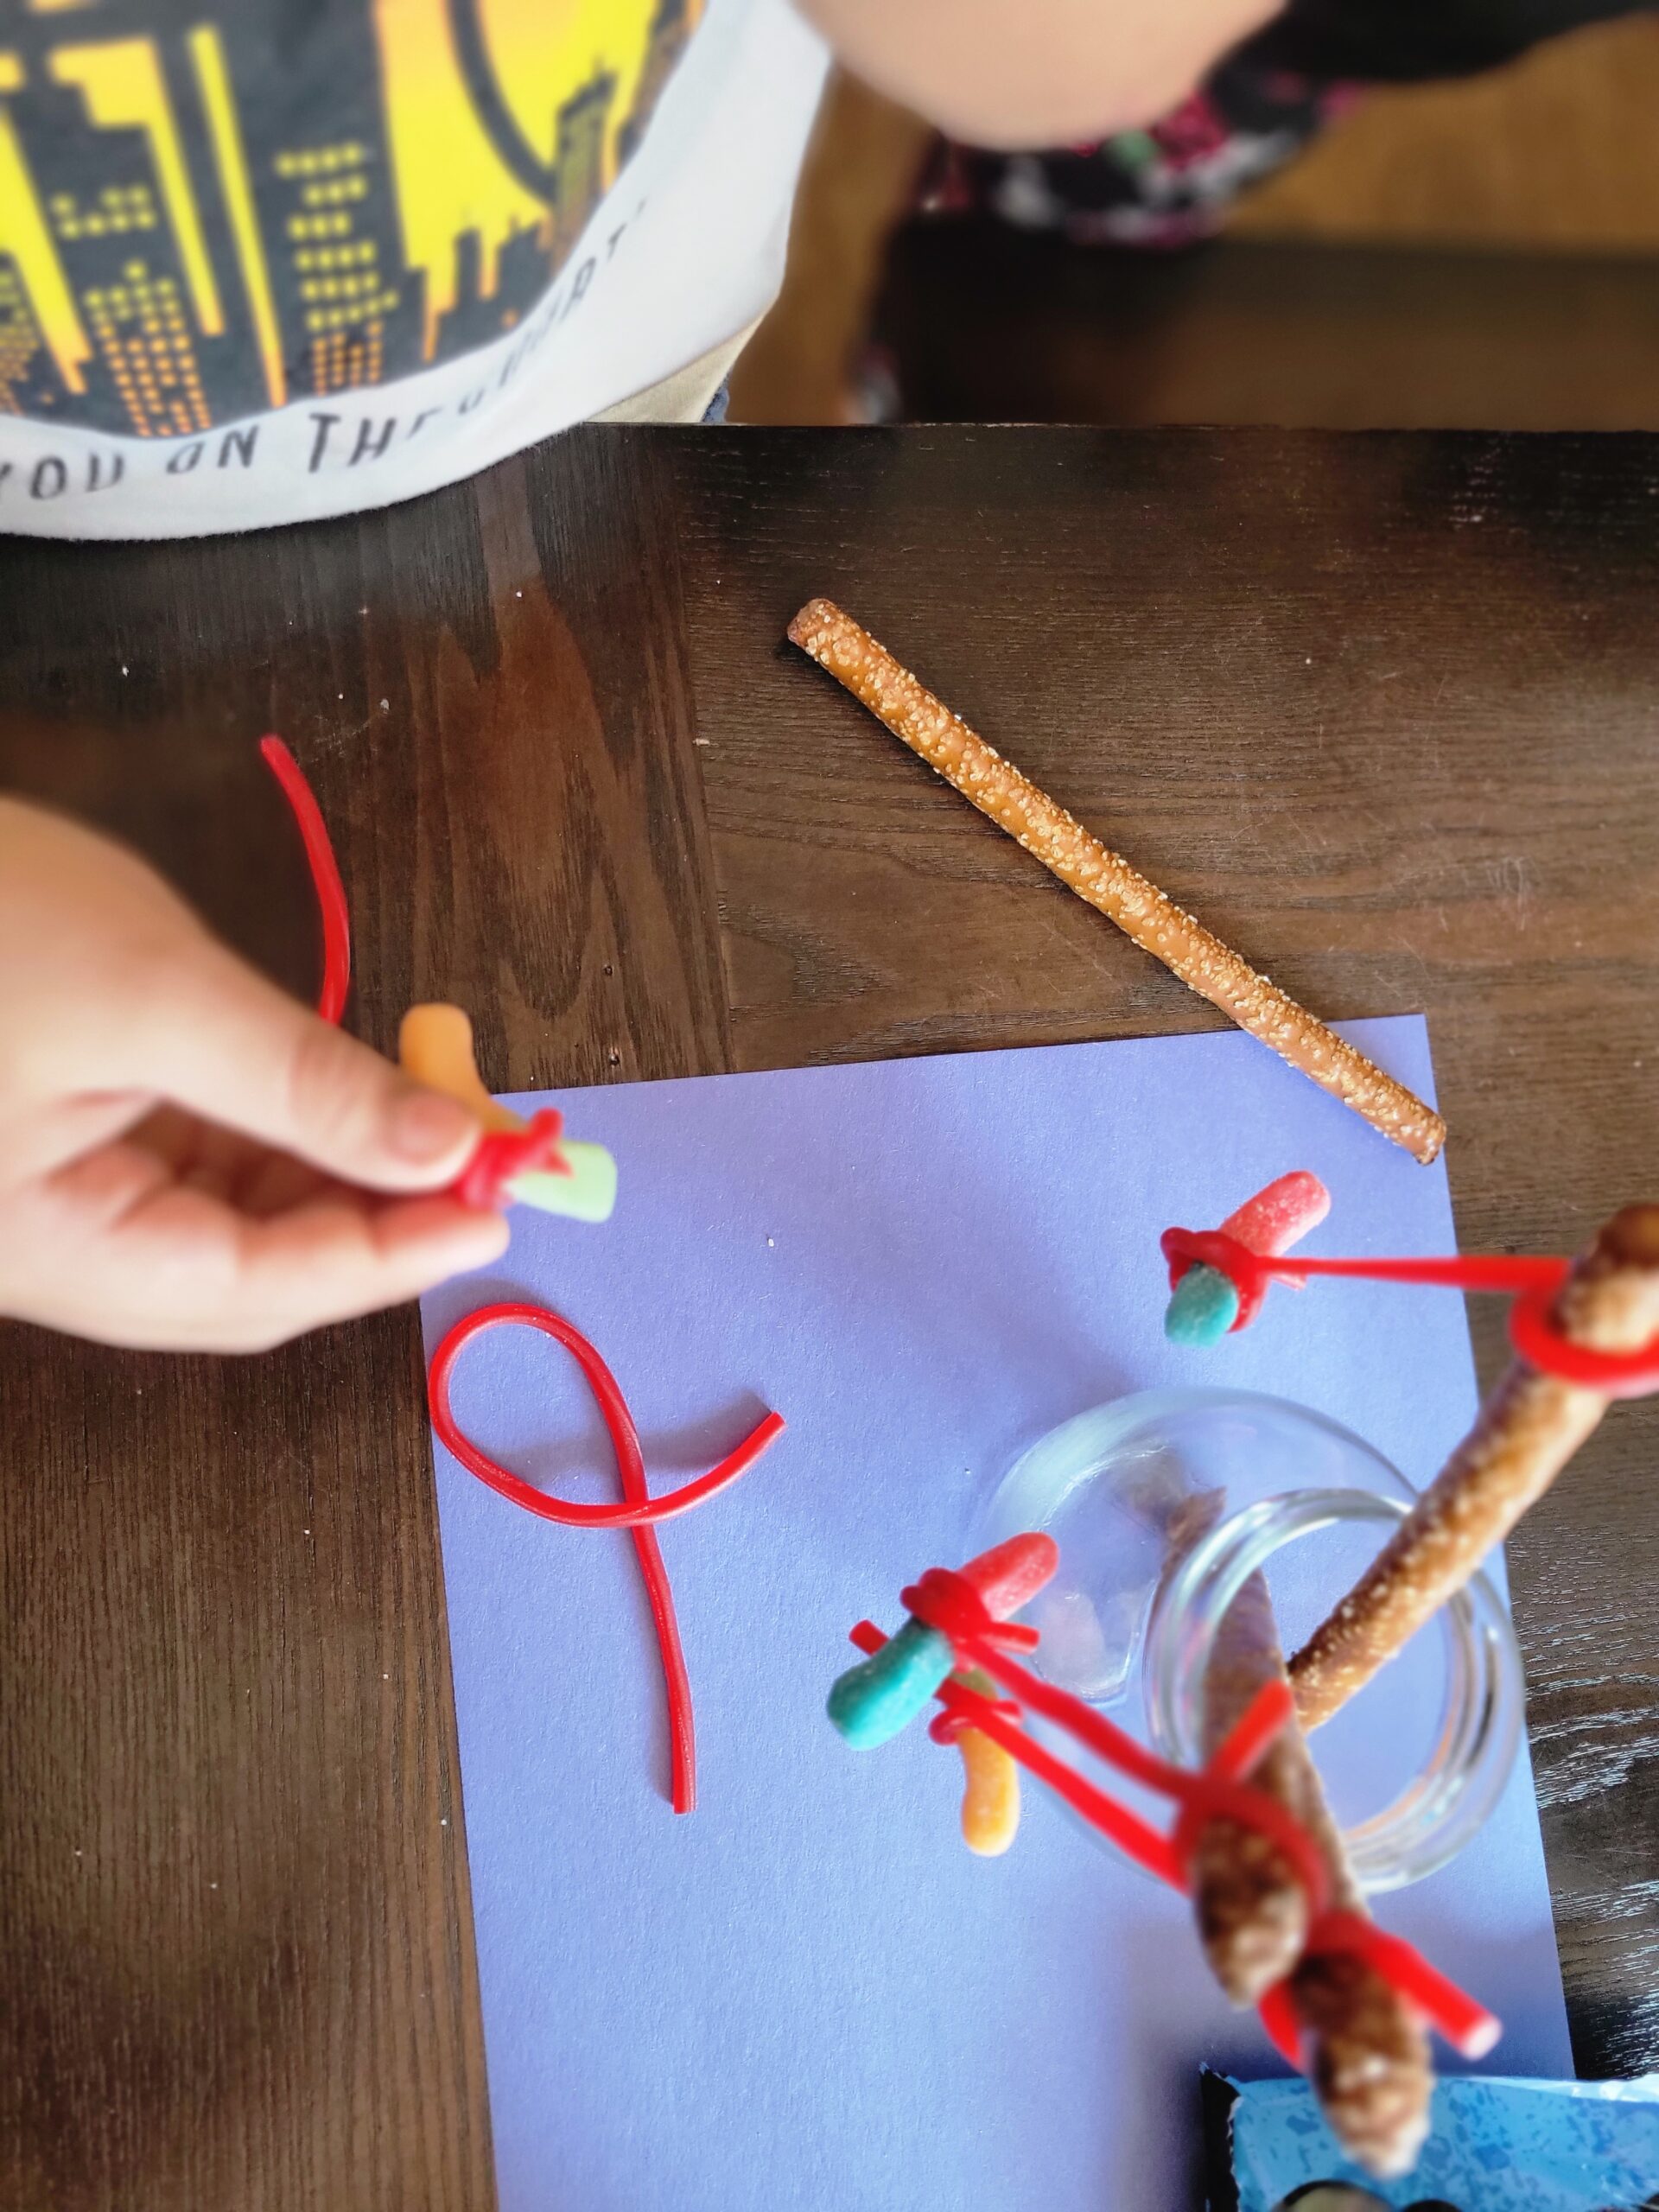
Gone Fishin’
Materials needed: Pretzel Rods, Twizzlers pull and peel & Gummy worms.
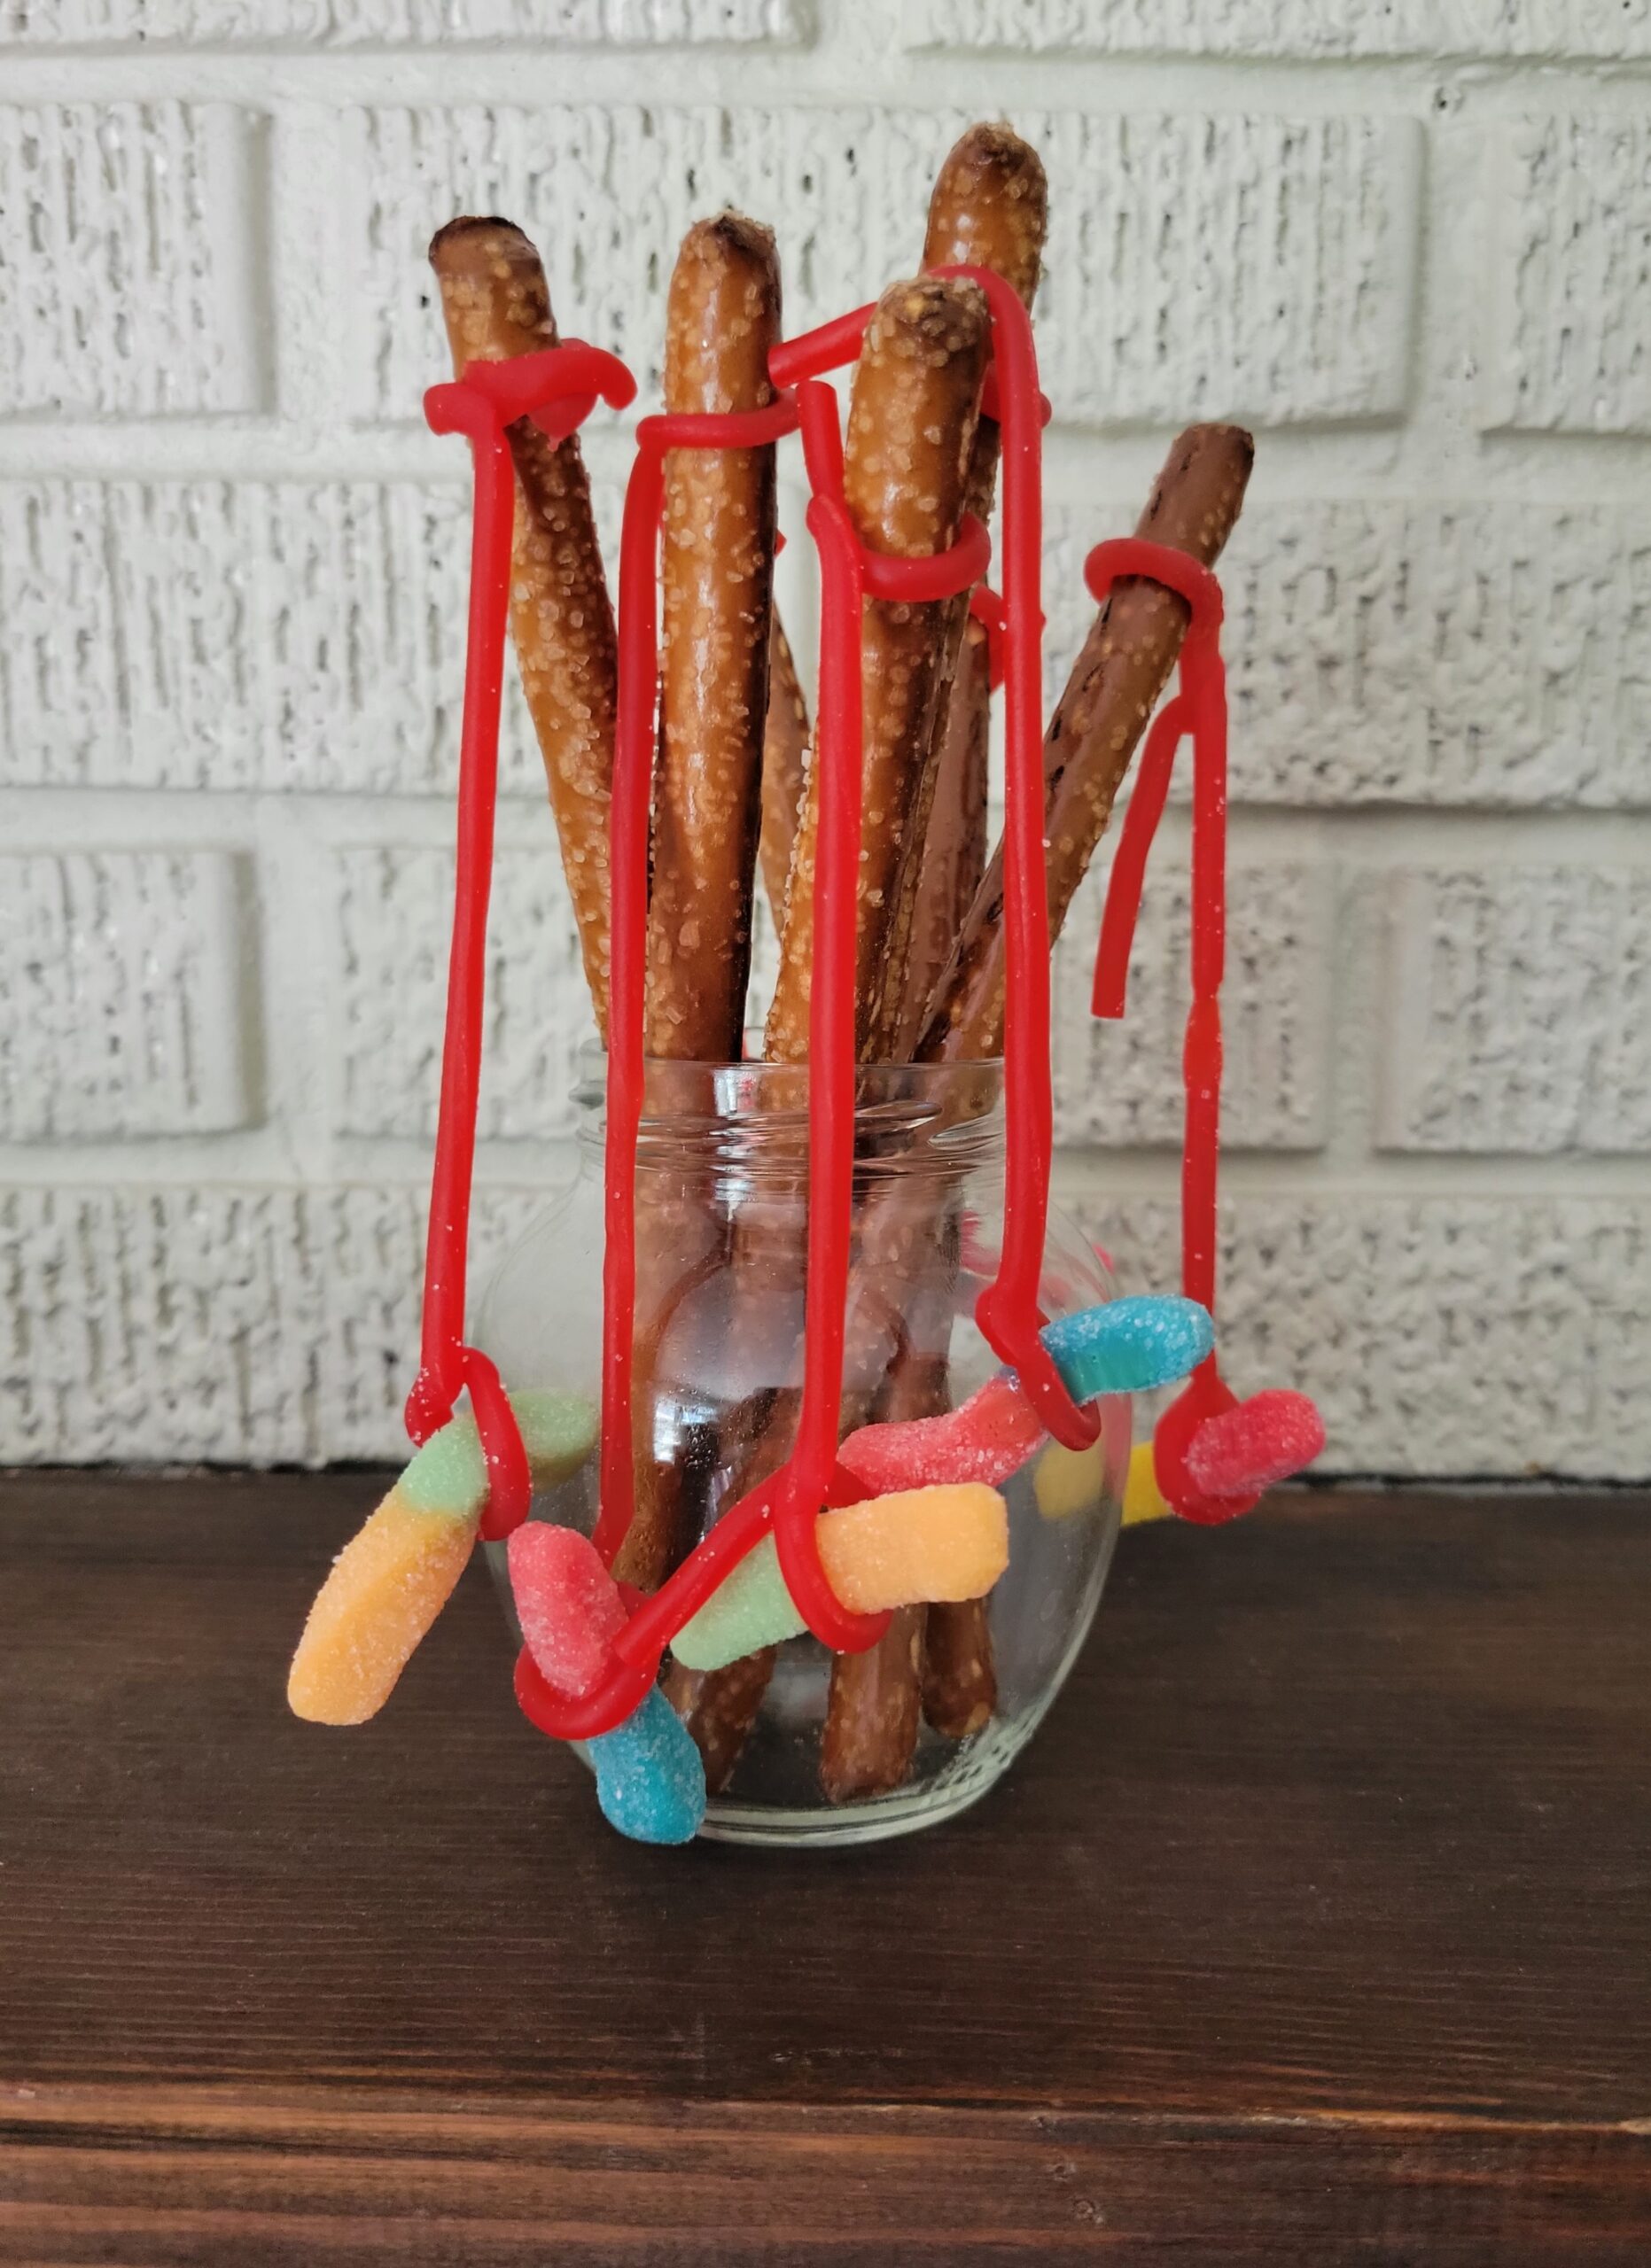
Start by pulling apart your twizzlers, they’re a little sticky and rip easy so remind students to pull gently. Twist one end of your twizzler around the rod and pinch together not tie then follow this same technique with the gummy worm.
This was a super simple snack to make, and the kids really got a kick out of the idea.
We talked about fish being an important part of the eco system and food chain. For birds as well as many other animals so, this tied in well with the bird feeder we made previously.
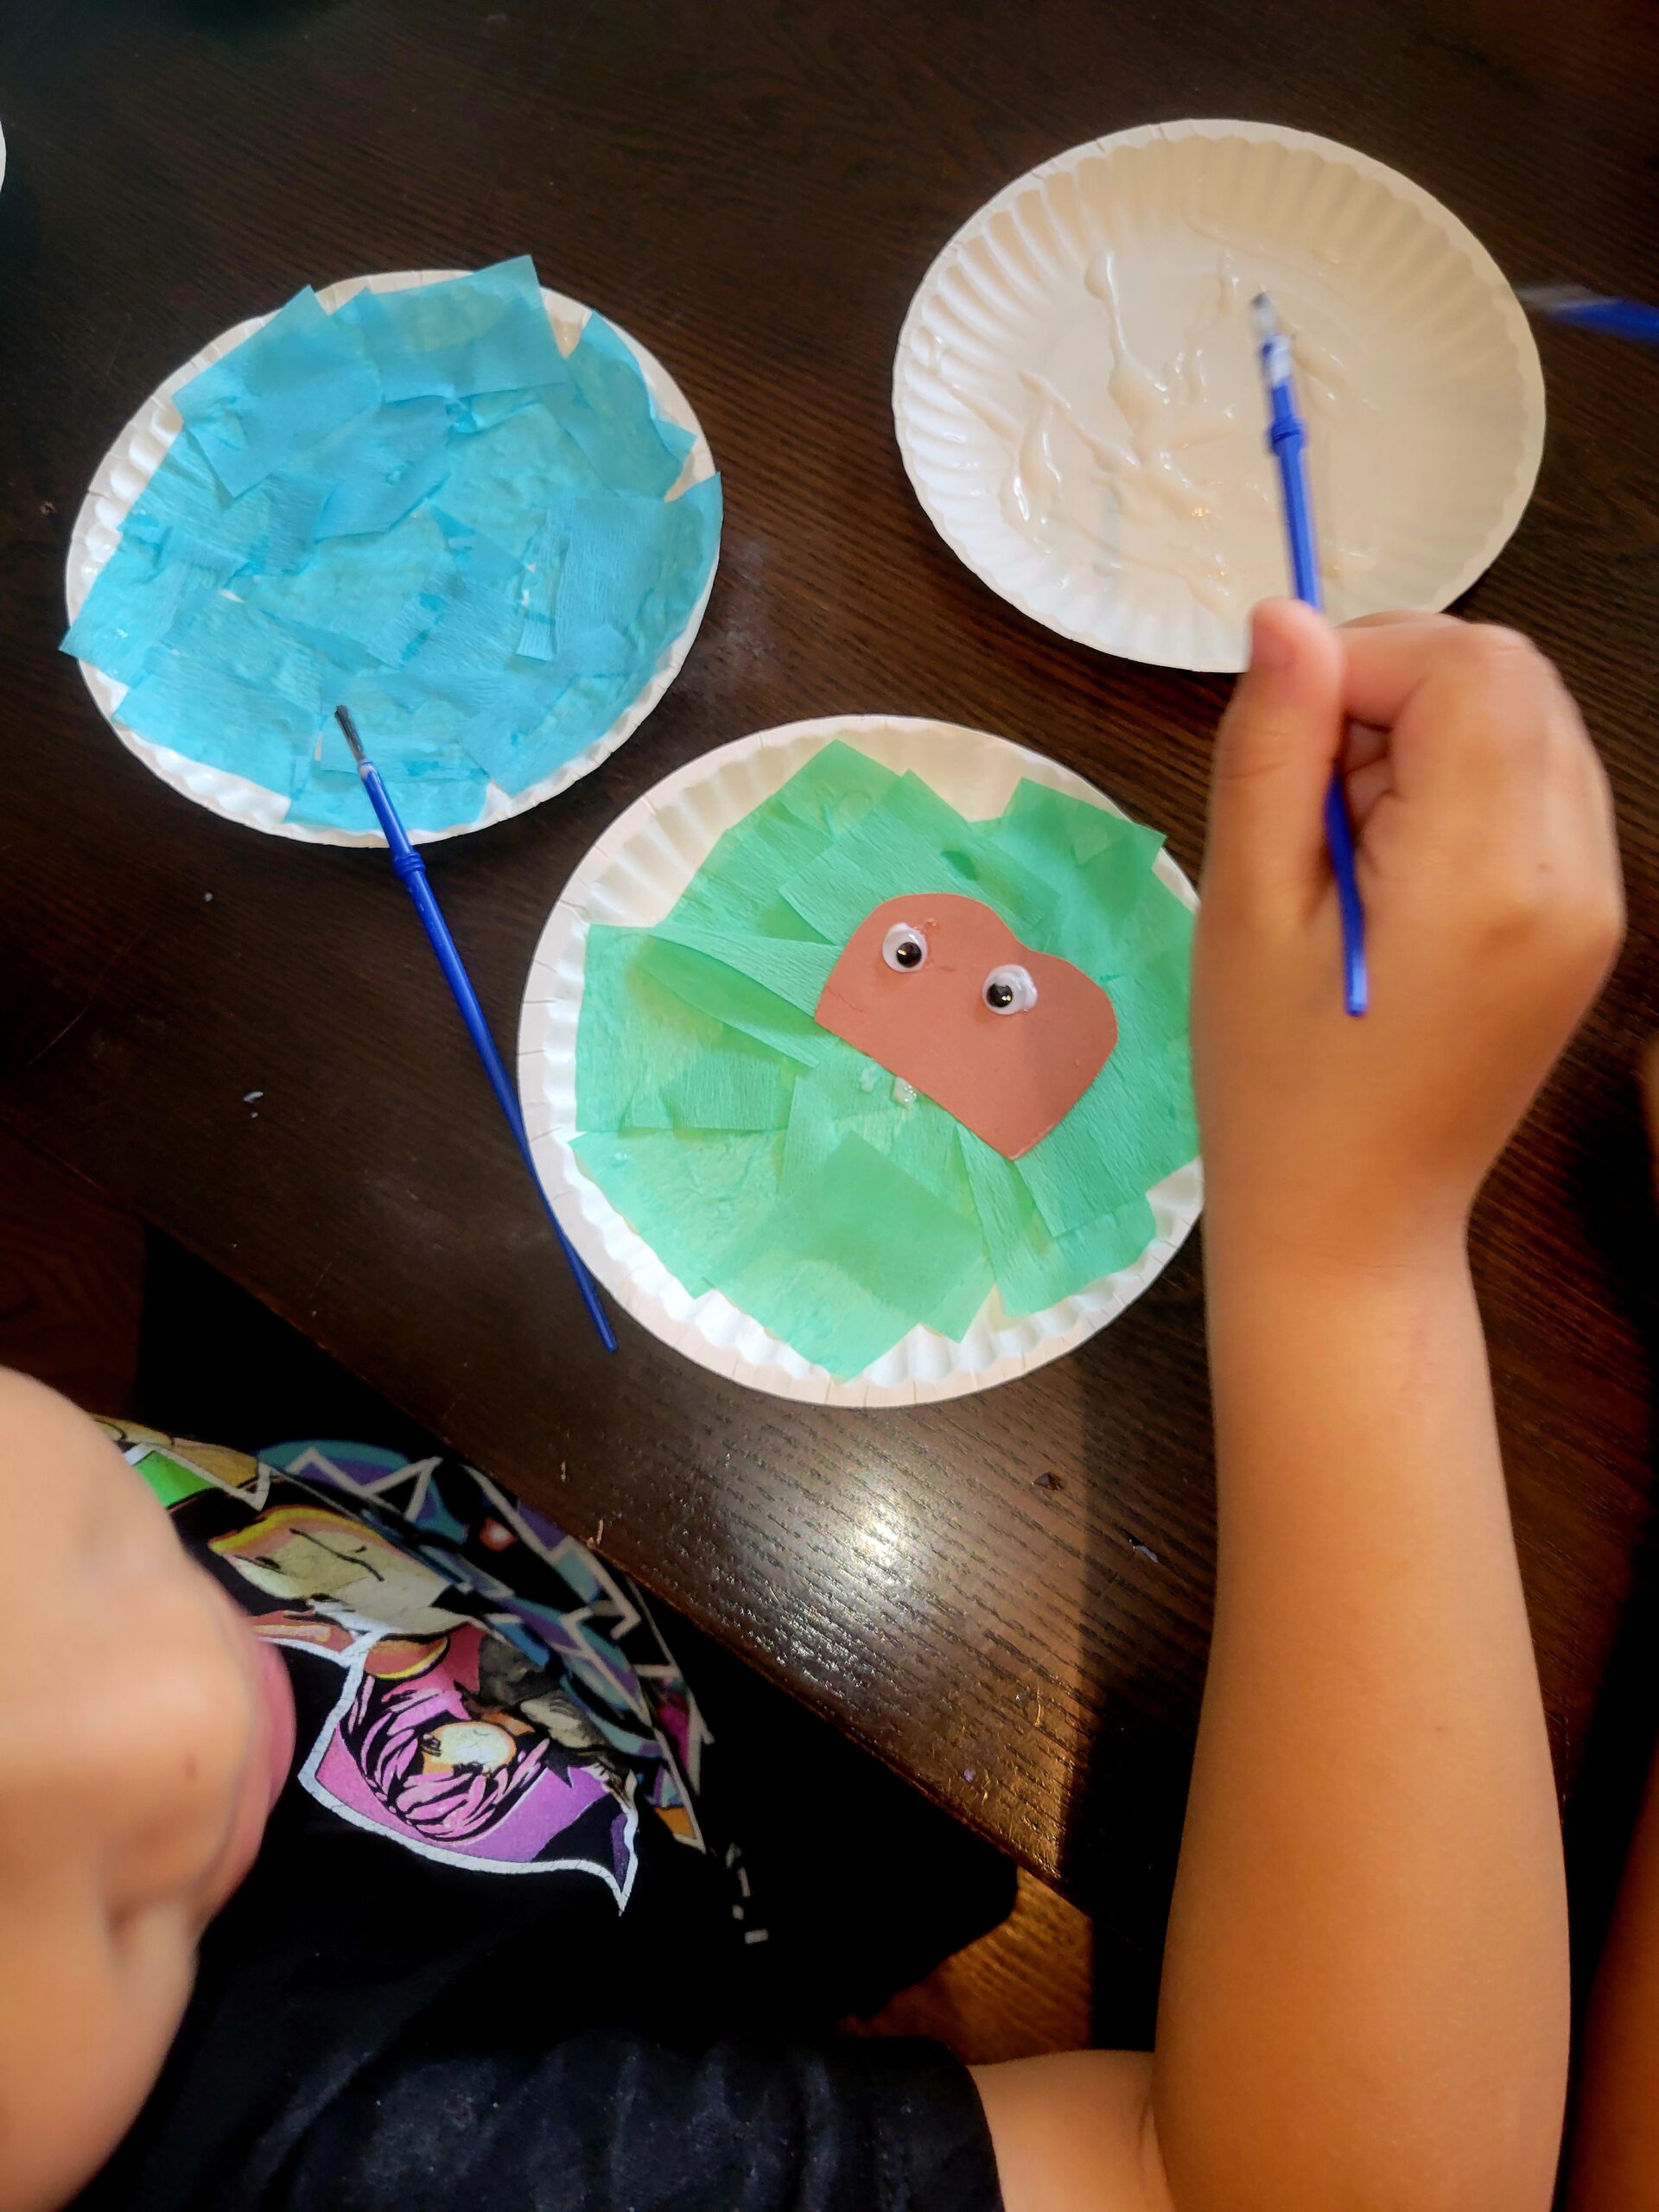
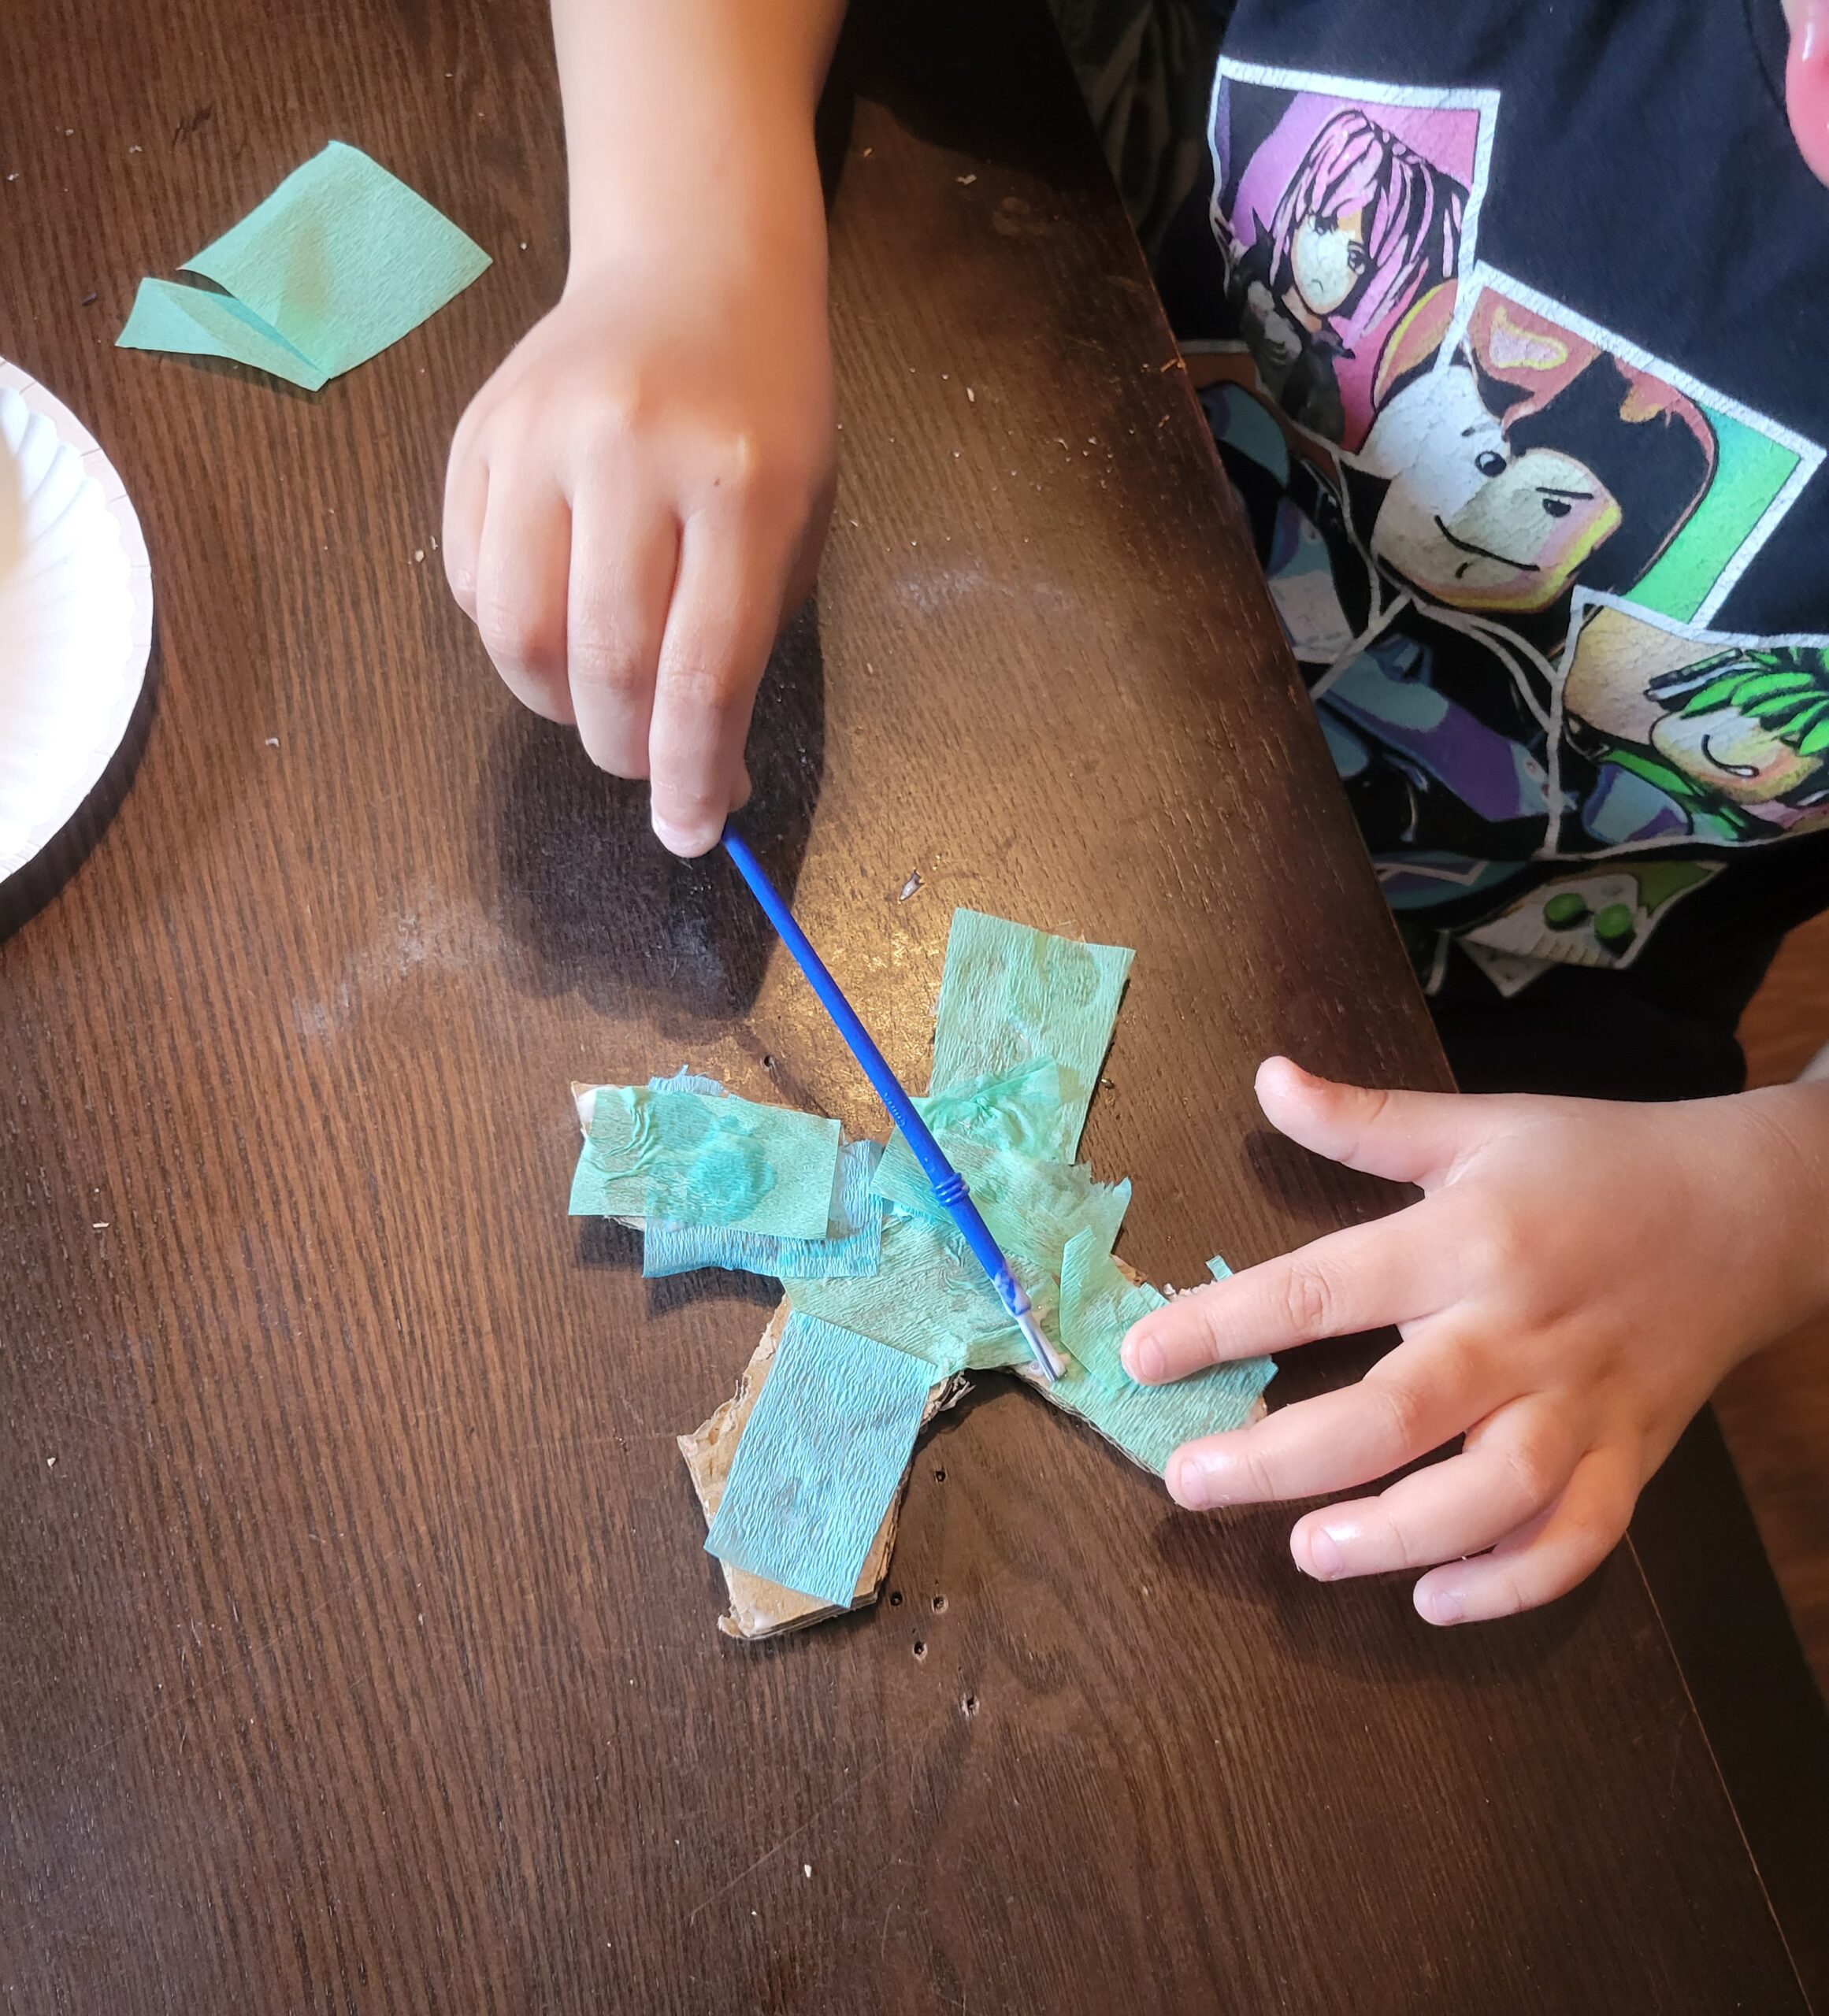

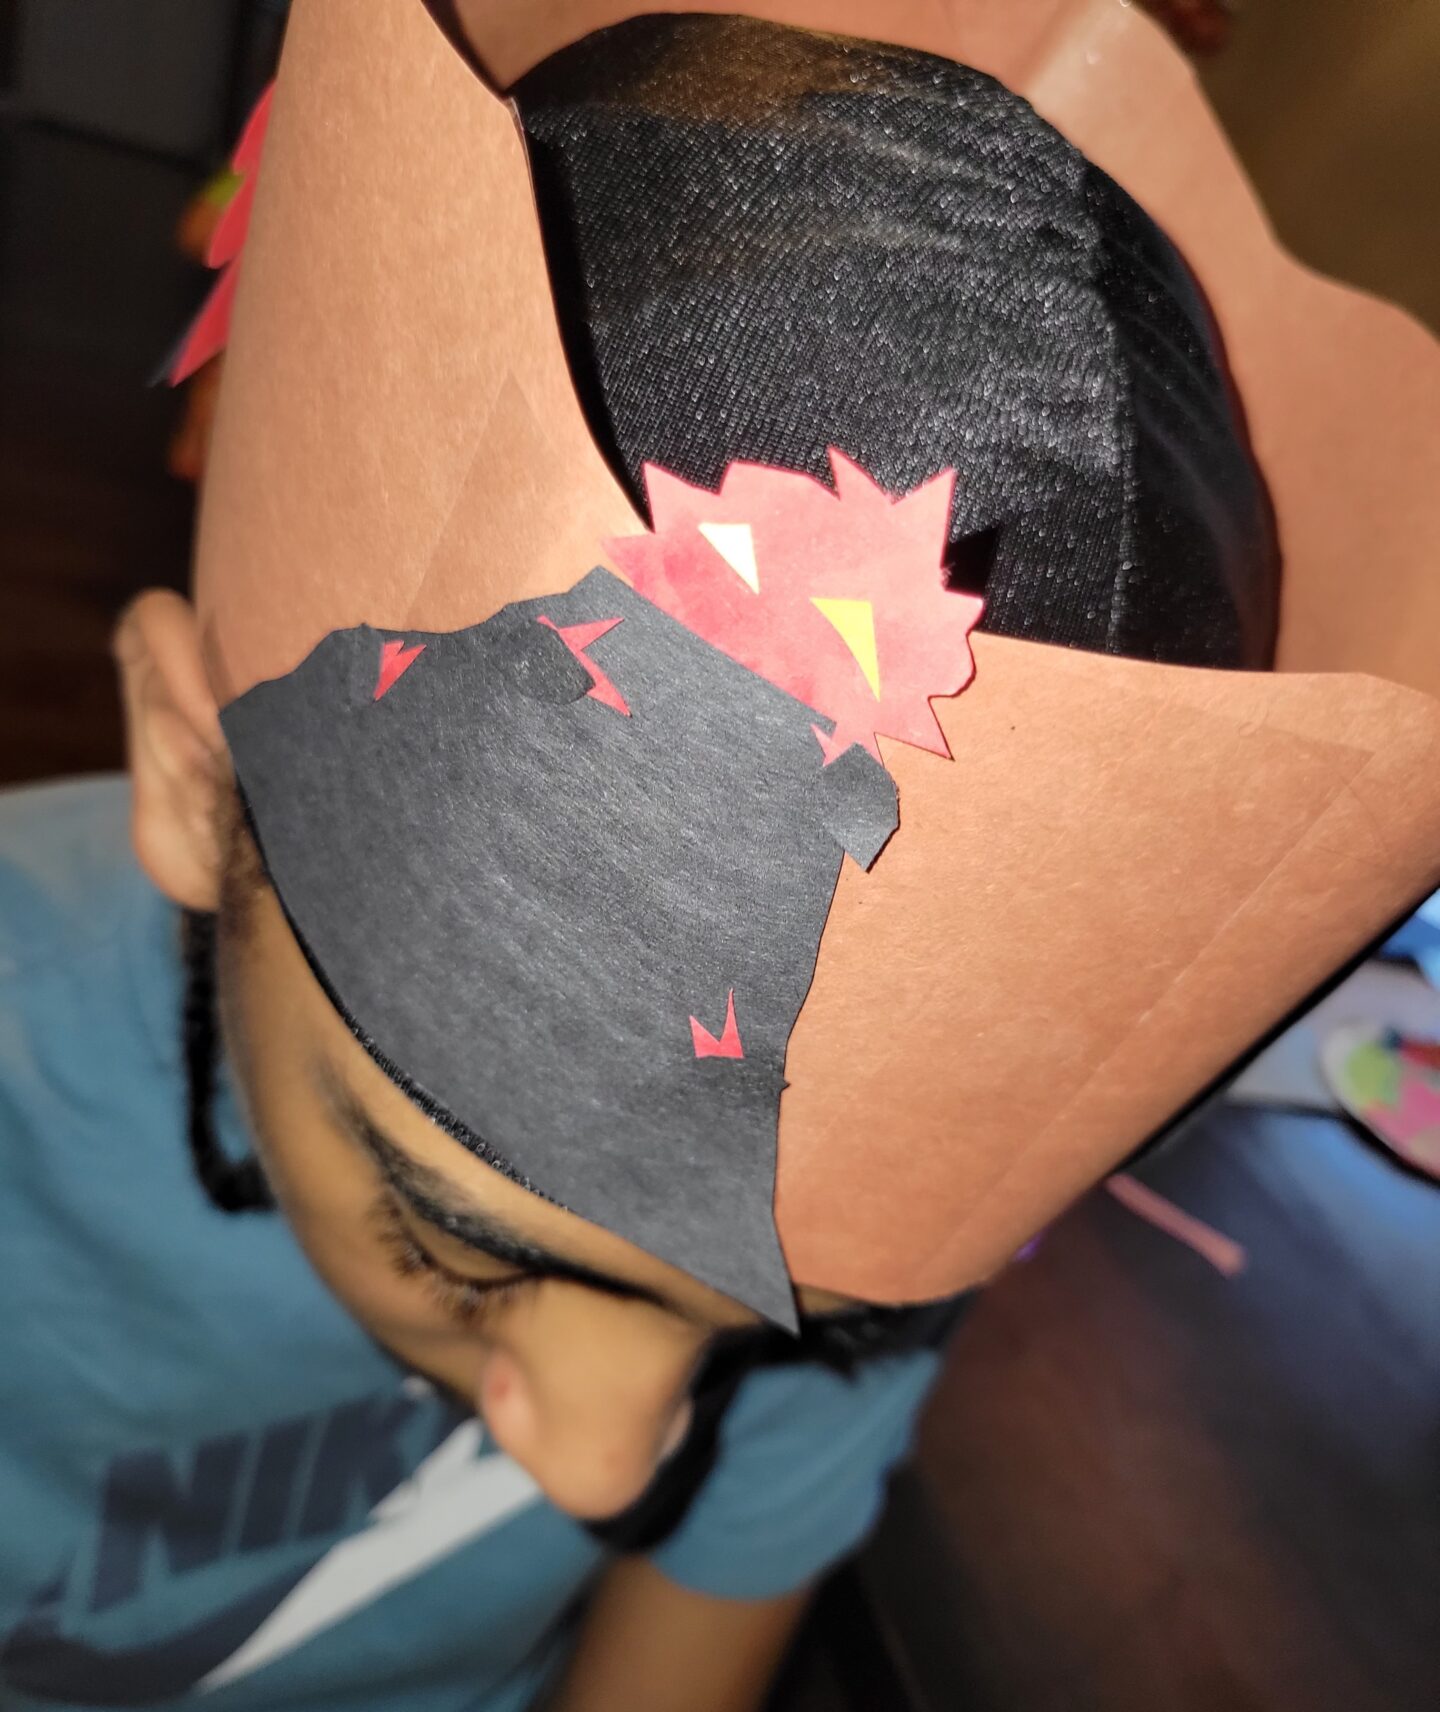
Recyclable Ninjas and Stars
Materials needed: Paper plates, tissue paper, glue, paintbrushes, googly eyes, scissors, construction paper and cardboard.
Start by cutting your tissue paper in squares, drop some glue on the paper plate and use your paintbrush to spread the glue all over. Start sticking the color paper you want your ninja to be on the glued area. Use construction paper to cut a little oval to appear like eyes through a mask and either draw or glue your eyes on.
We used recycled cardboard to cut out and decorate x’s for ninja stars the same way.
This was an easy but inviting craft for all ages.
I used this craft to go along with our “Earth Ninja” book.
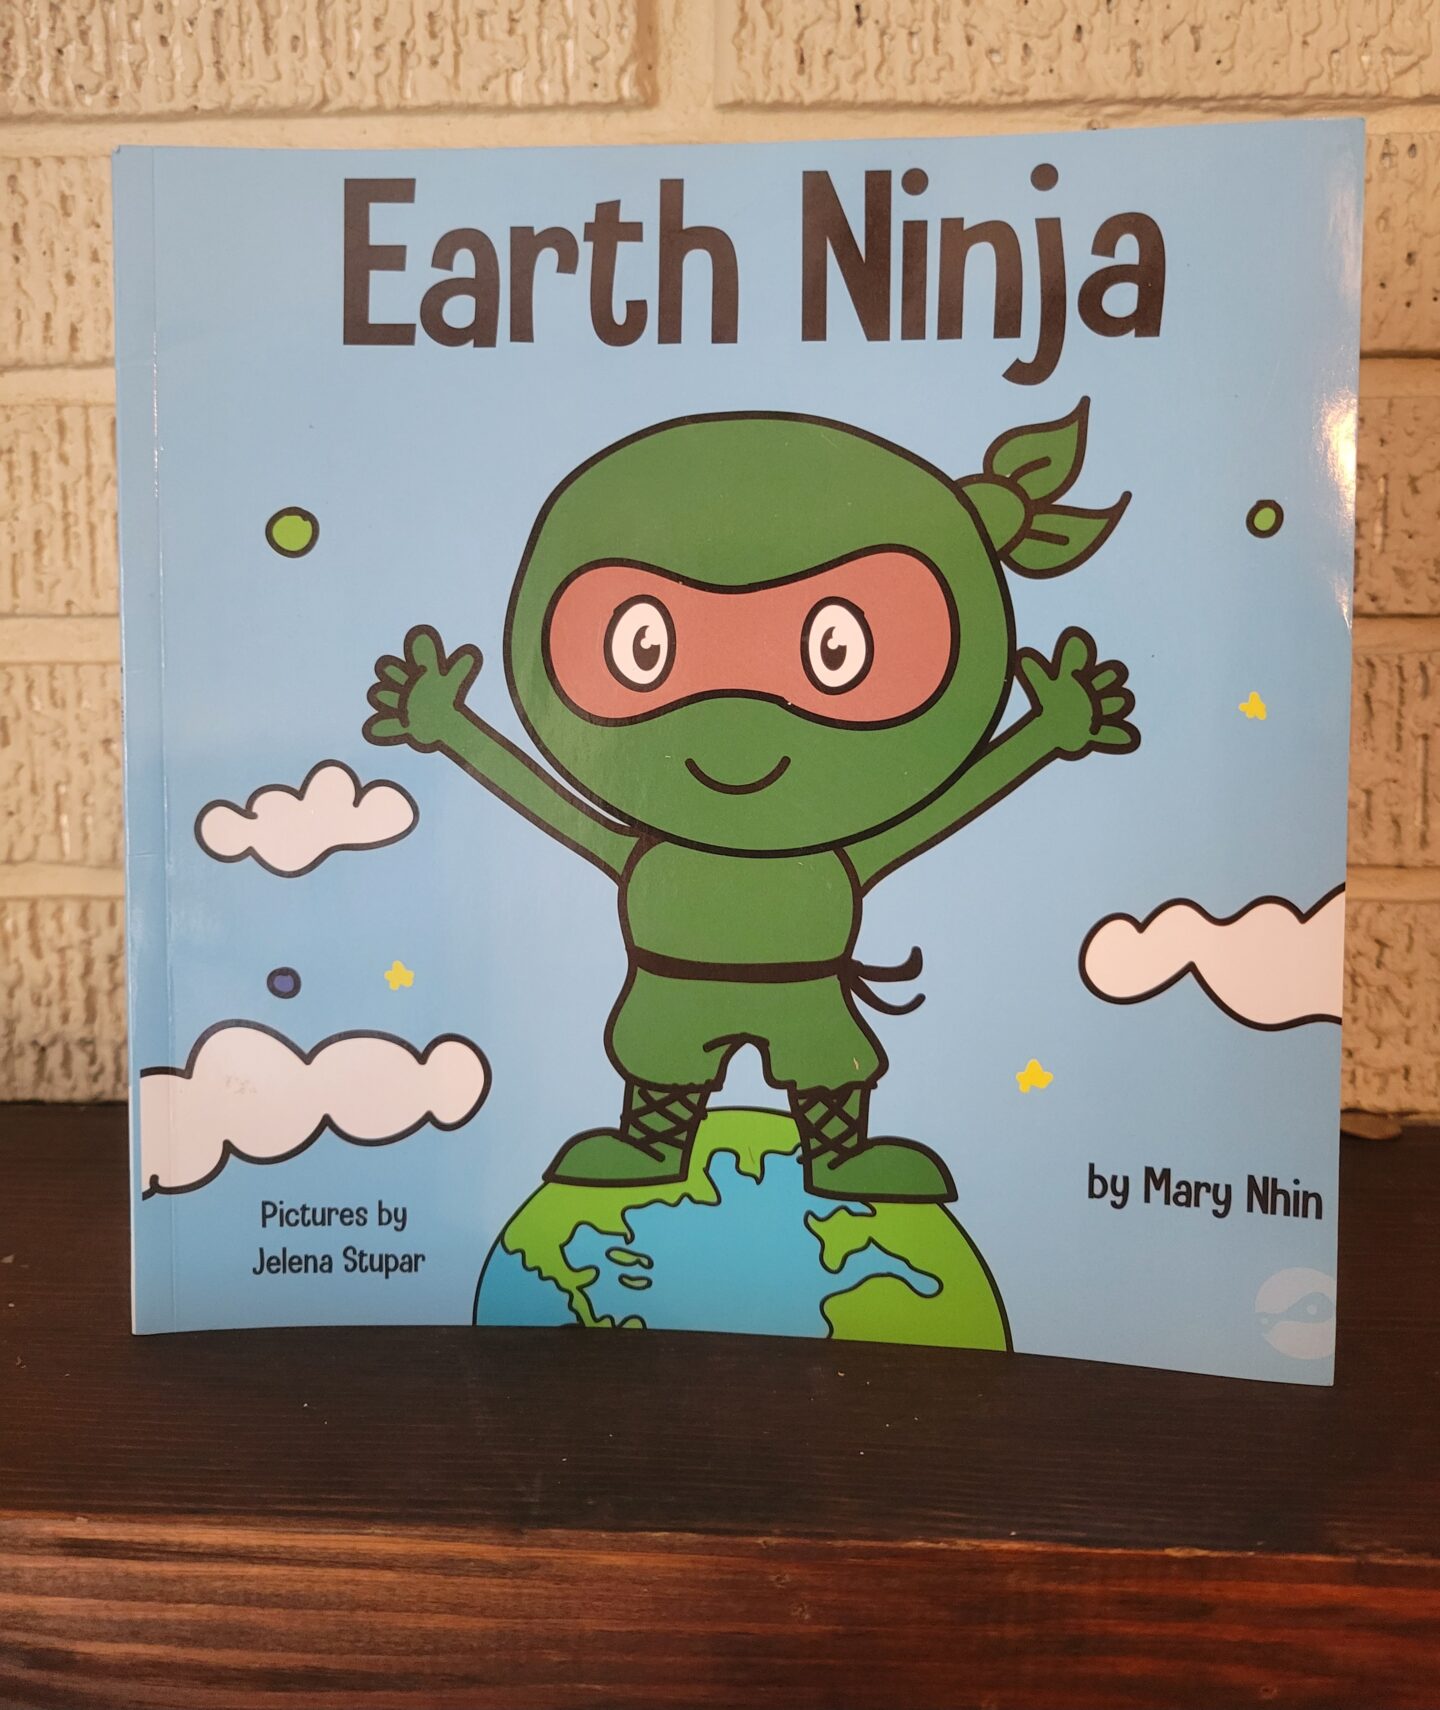

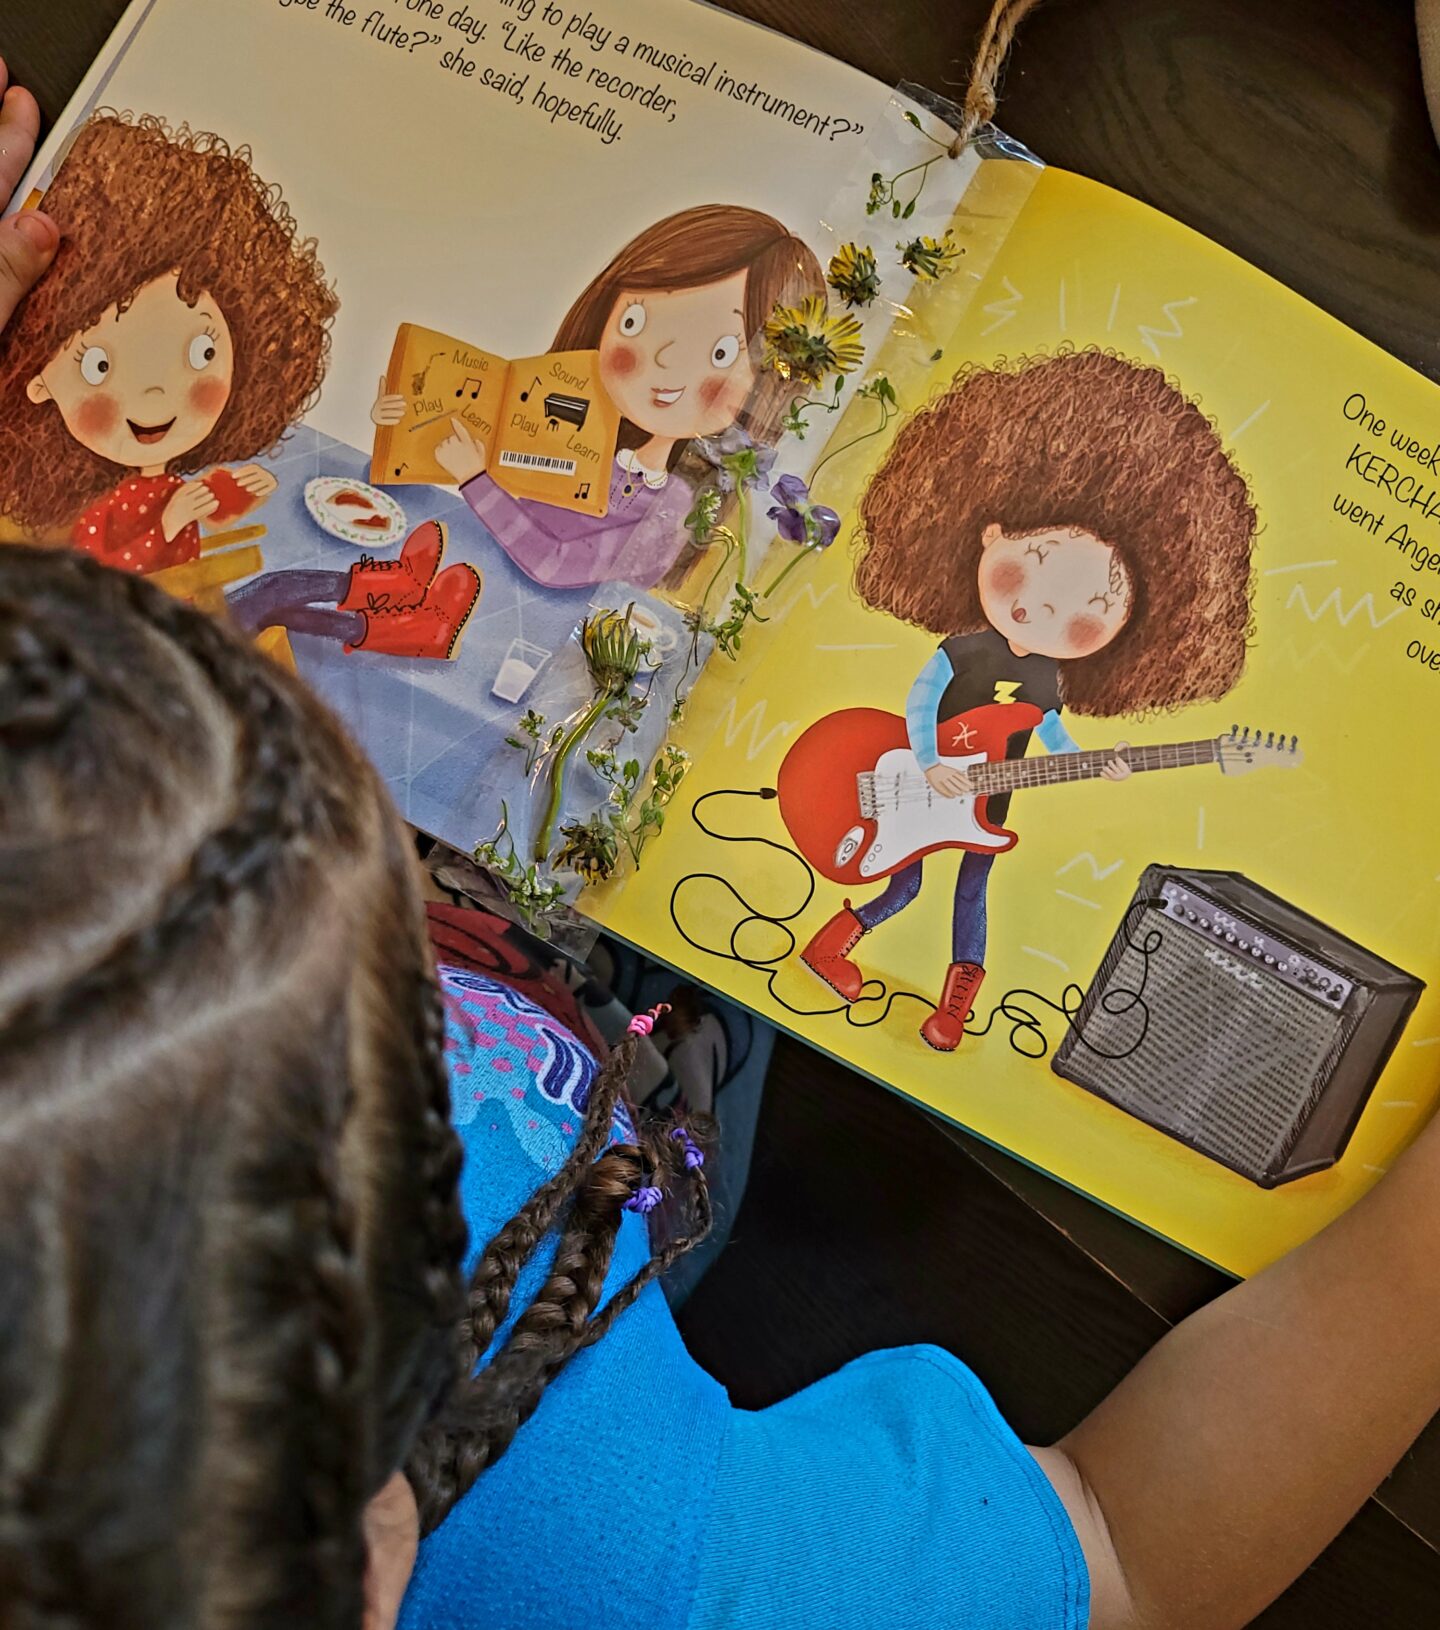
Earth Ninja
This book was SO cute and made the importance of recycling for our planet easily understandable without boring the older readers.
We used this book as inspiration to make our own ninjas out of recyclable paper and cardboard to enjoy.
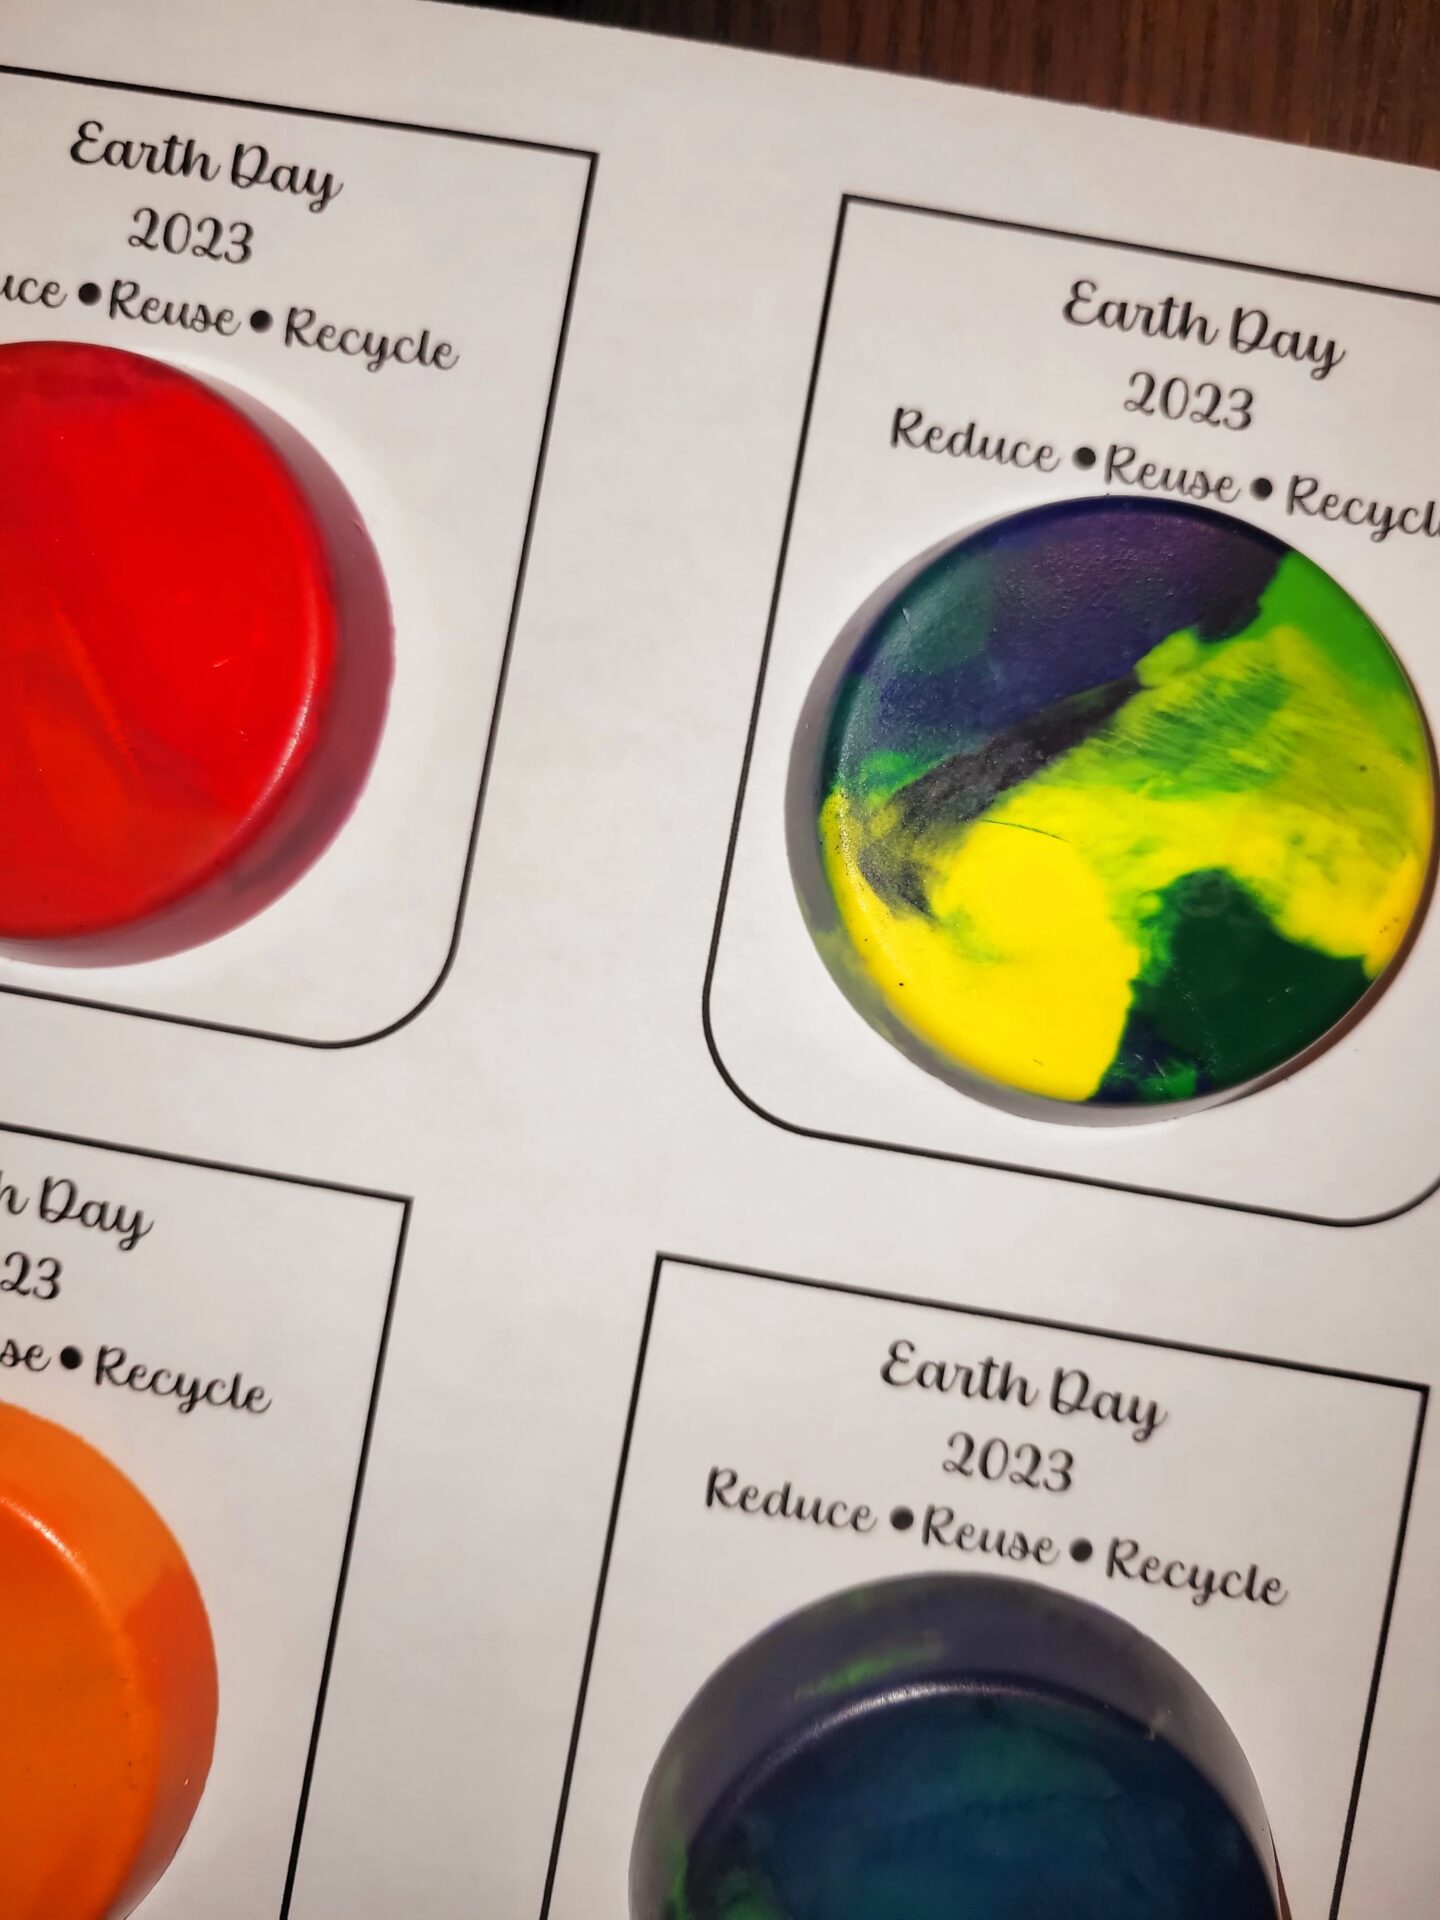
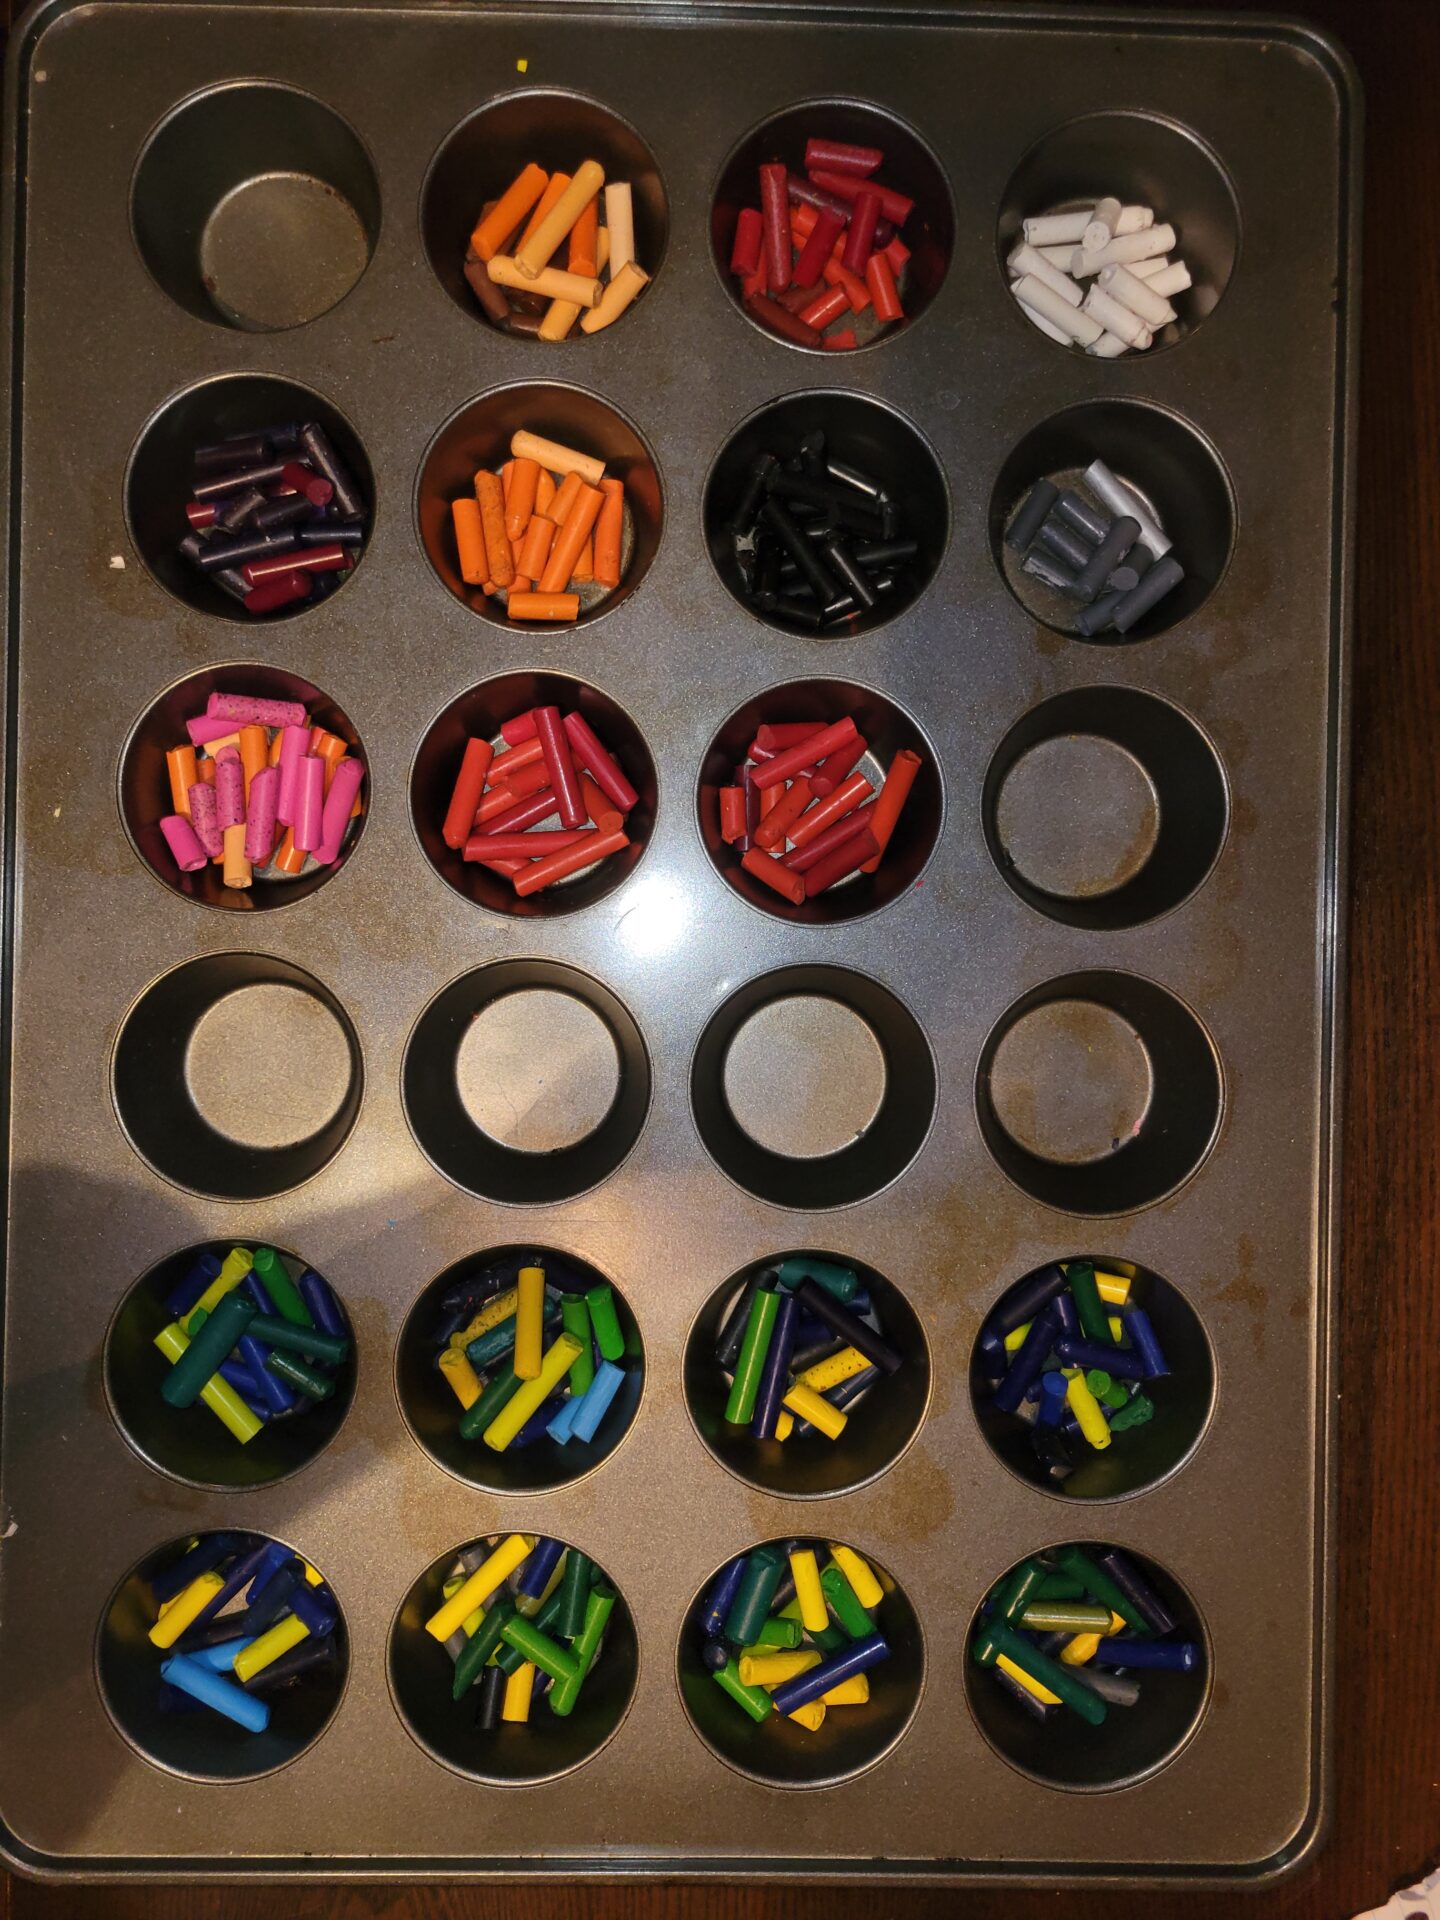
Recycled Crayon Pucks
Materials needed: Broken crayons, silicone or metal cupcake pan and source of heat.
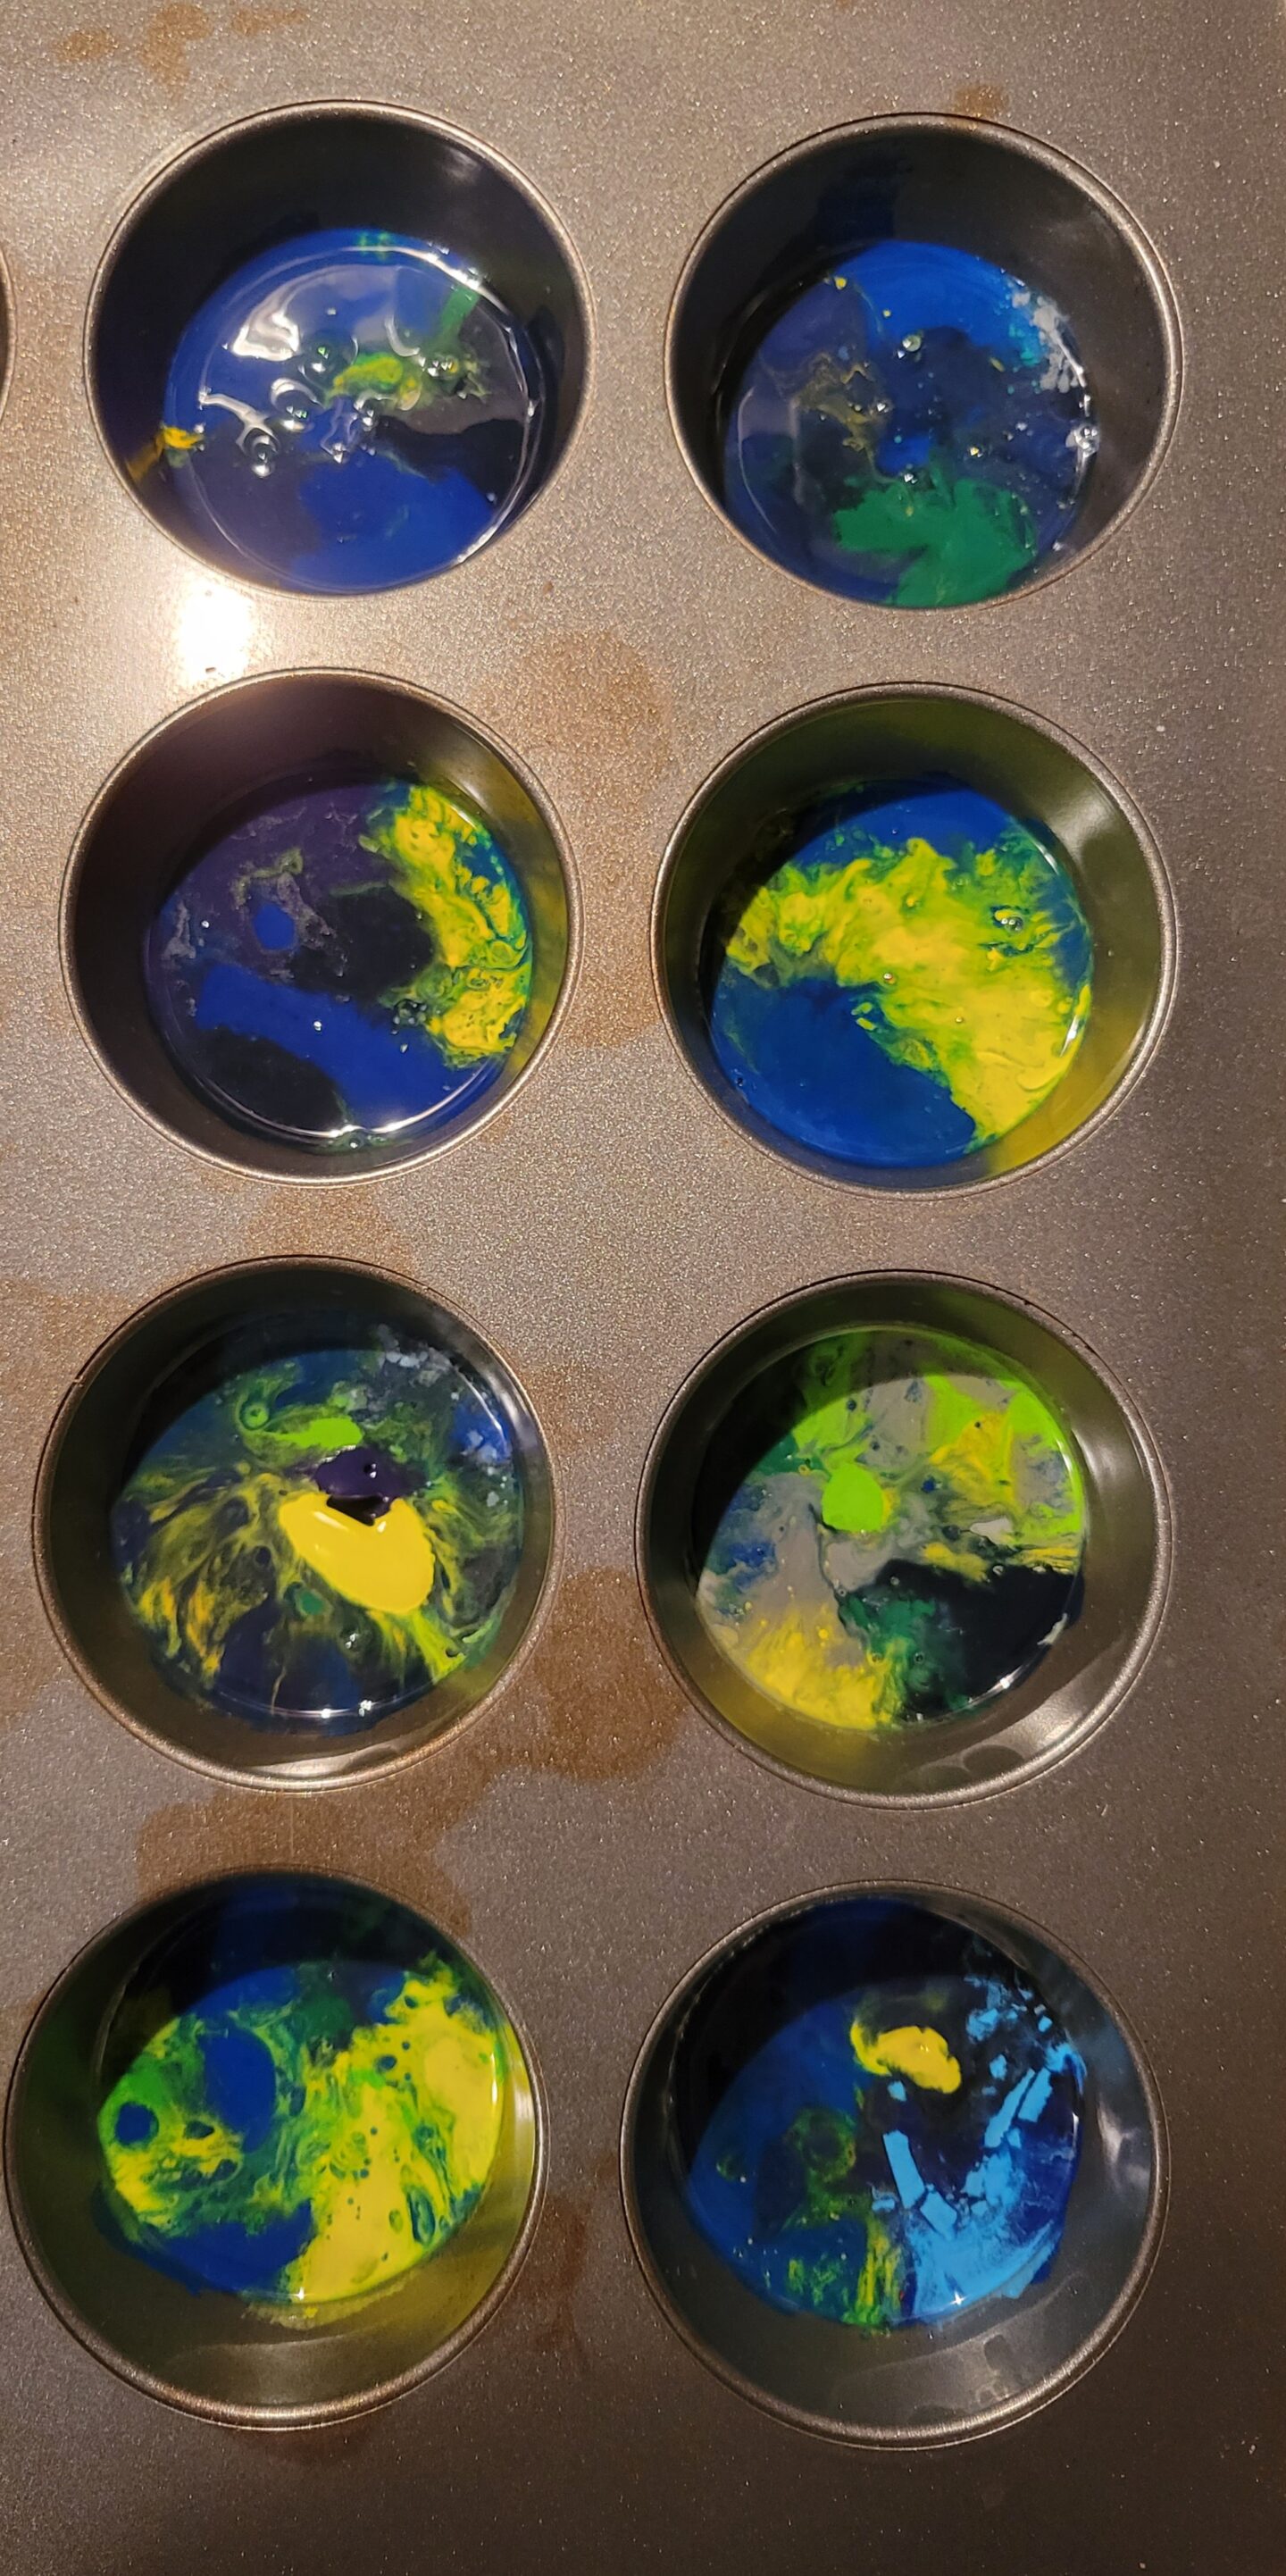
Start by peeling all the remnants of paper off your crayon pieces. This was extremely tedious work and took quite long than anticipated so I’m not sure this could be done in class. Once all pieces have no paper left you can put them into your baking cups in whichever colors you would like together. We made quite a few took look like mini earths and then just stuck overall the matching colors together.
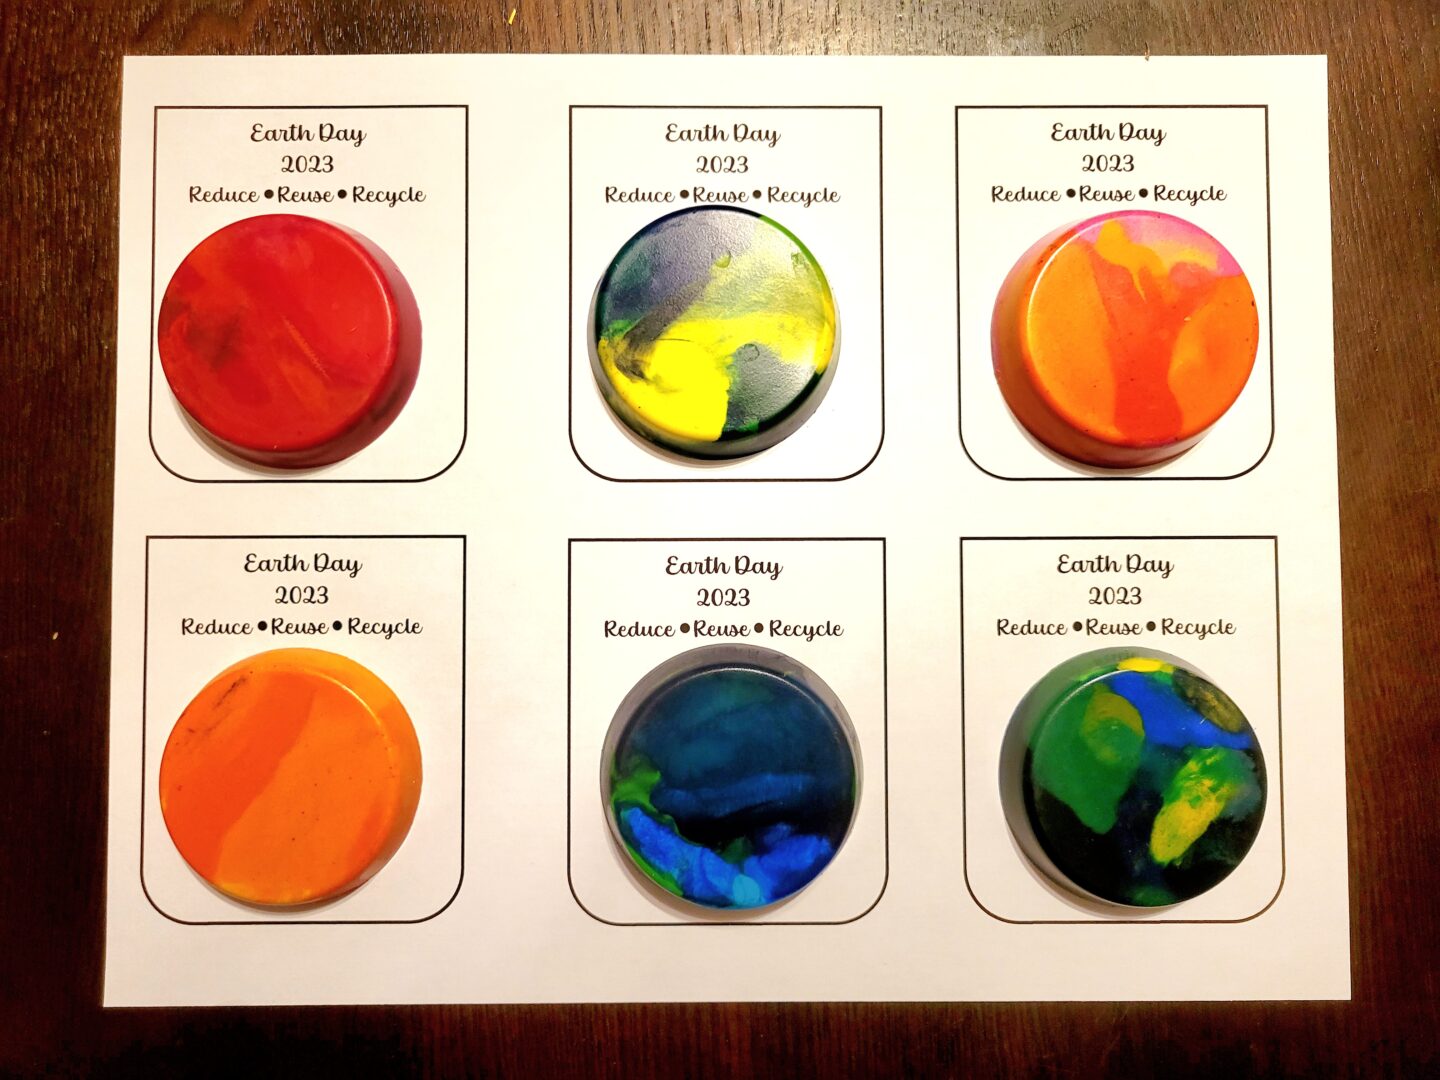
You could make this a science experiment by leaving them in a windowsill to melt by the heat of the sun or use an oven which only takes about 5 minutes of cooking time at 350 degrees. Usually, the cafeteria won’t mind heating them up for you quickly, but I also think this would be awesome to leave in a window to gradually melt over the day as well.
We then put ours in little baggies to give out at gifts for Earth Day with labels I had pre-made!
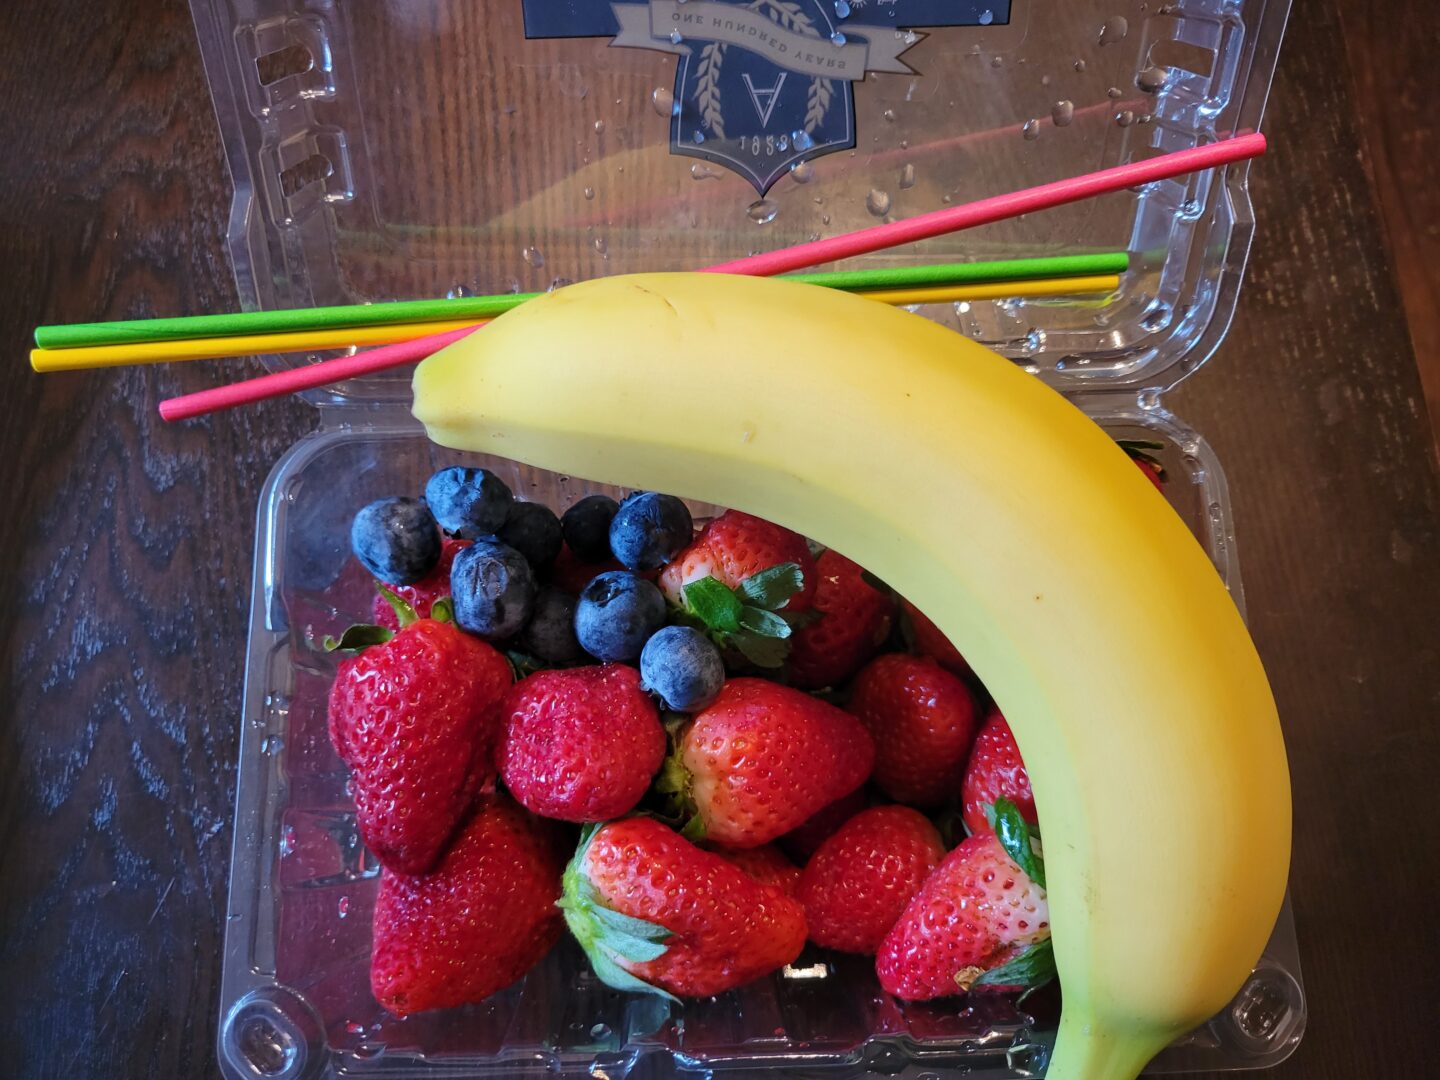
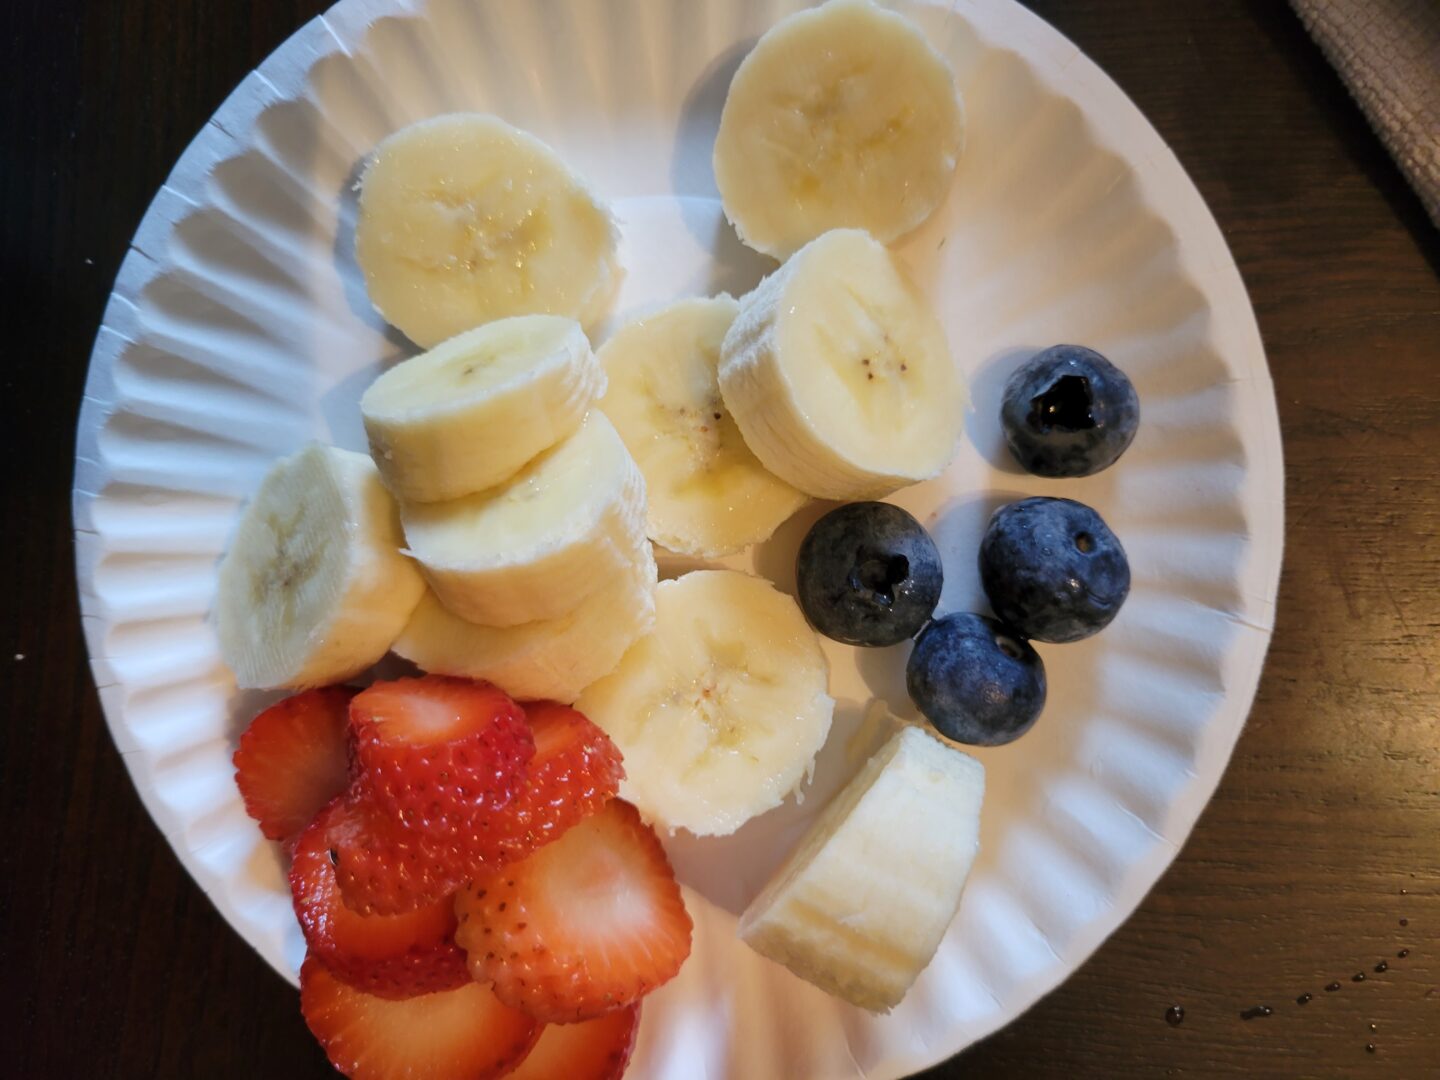
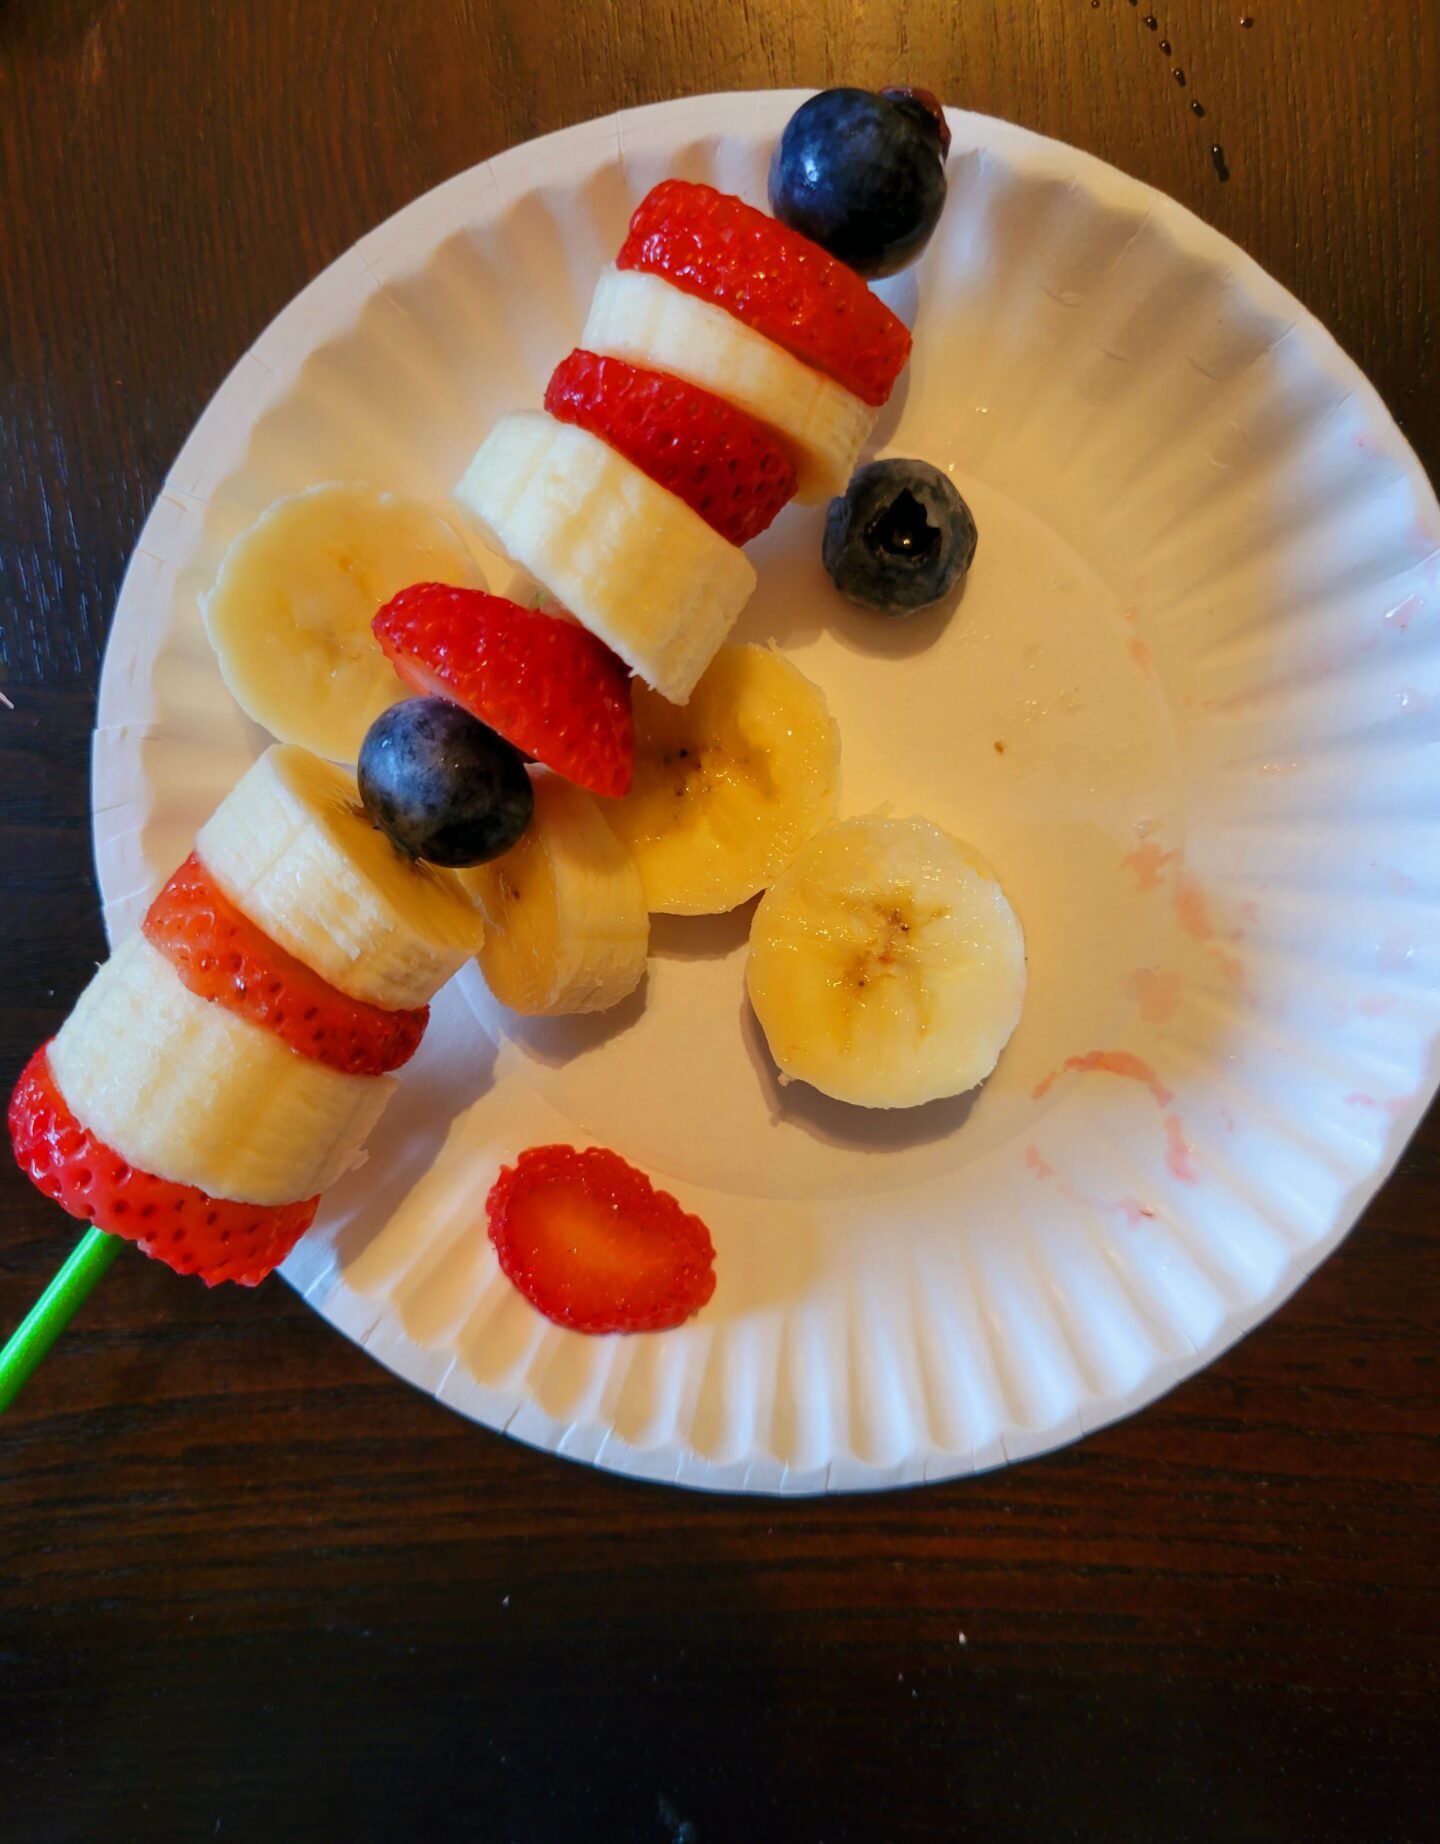
Fruity Kabobs!
Materials needed: Any kind of fruit you specifically enjoy, skewers and something to cut with.
Start by washing your hands and fruit, once that’s done start slicing fruit (Adult job) to be skewed. Push your fruit on in any order you would like and even better you could use some chocolate sauce to spice it up.
This is a super easy and quick snack that screams spring is upon us but also something nutritional for the kids.
All of the waste from this snack can be use as compost. I took the advantage of that to show and explain what this “waste” does for our planet and also to show not all “waste” is bad waste.
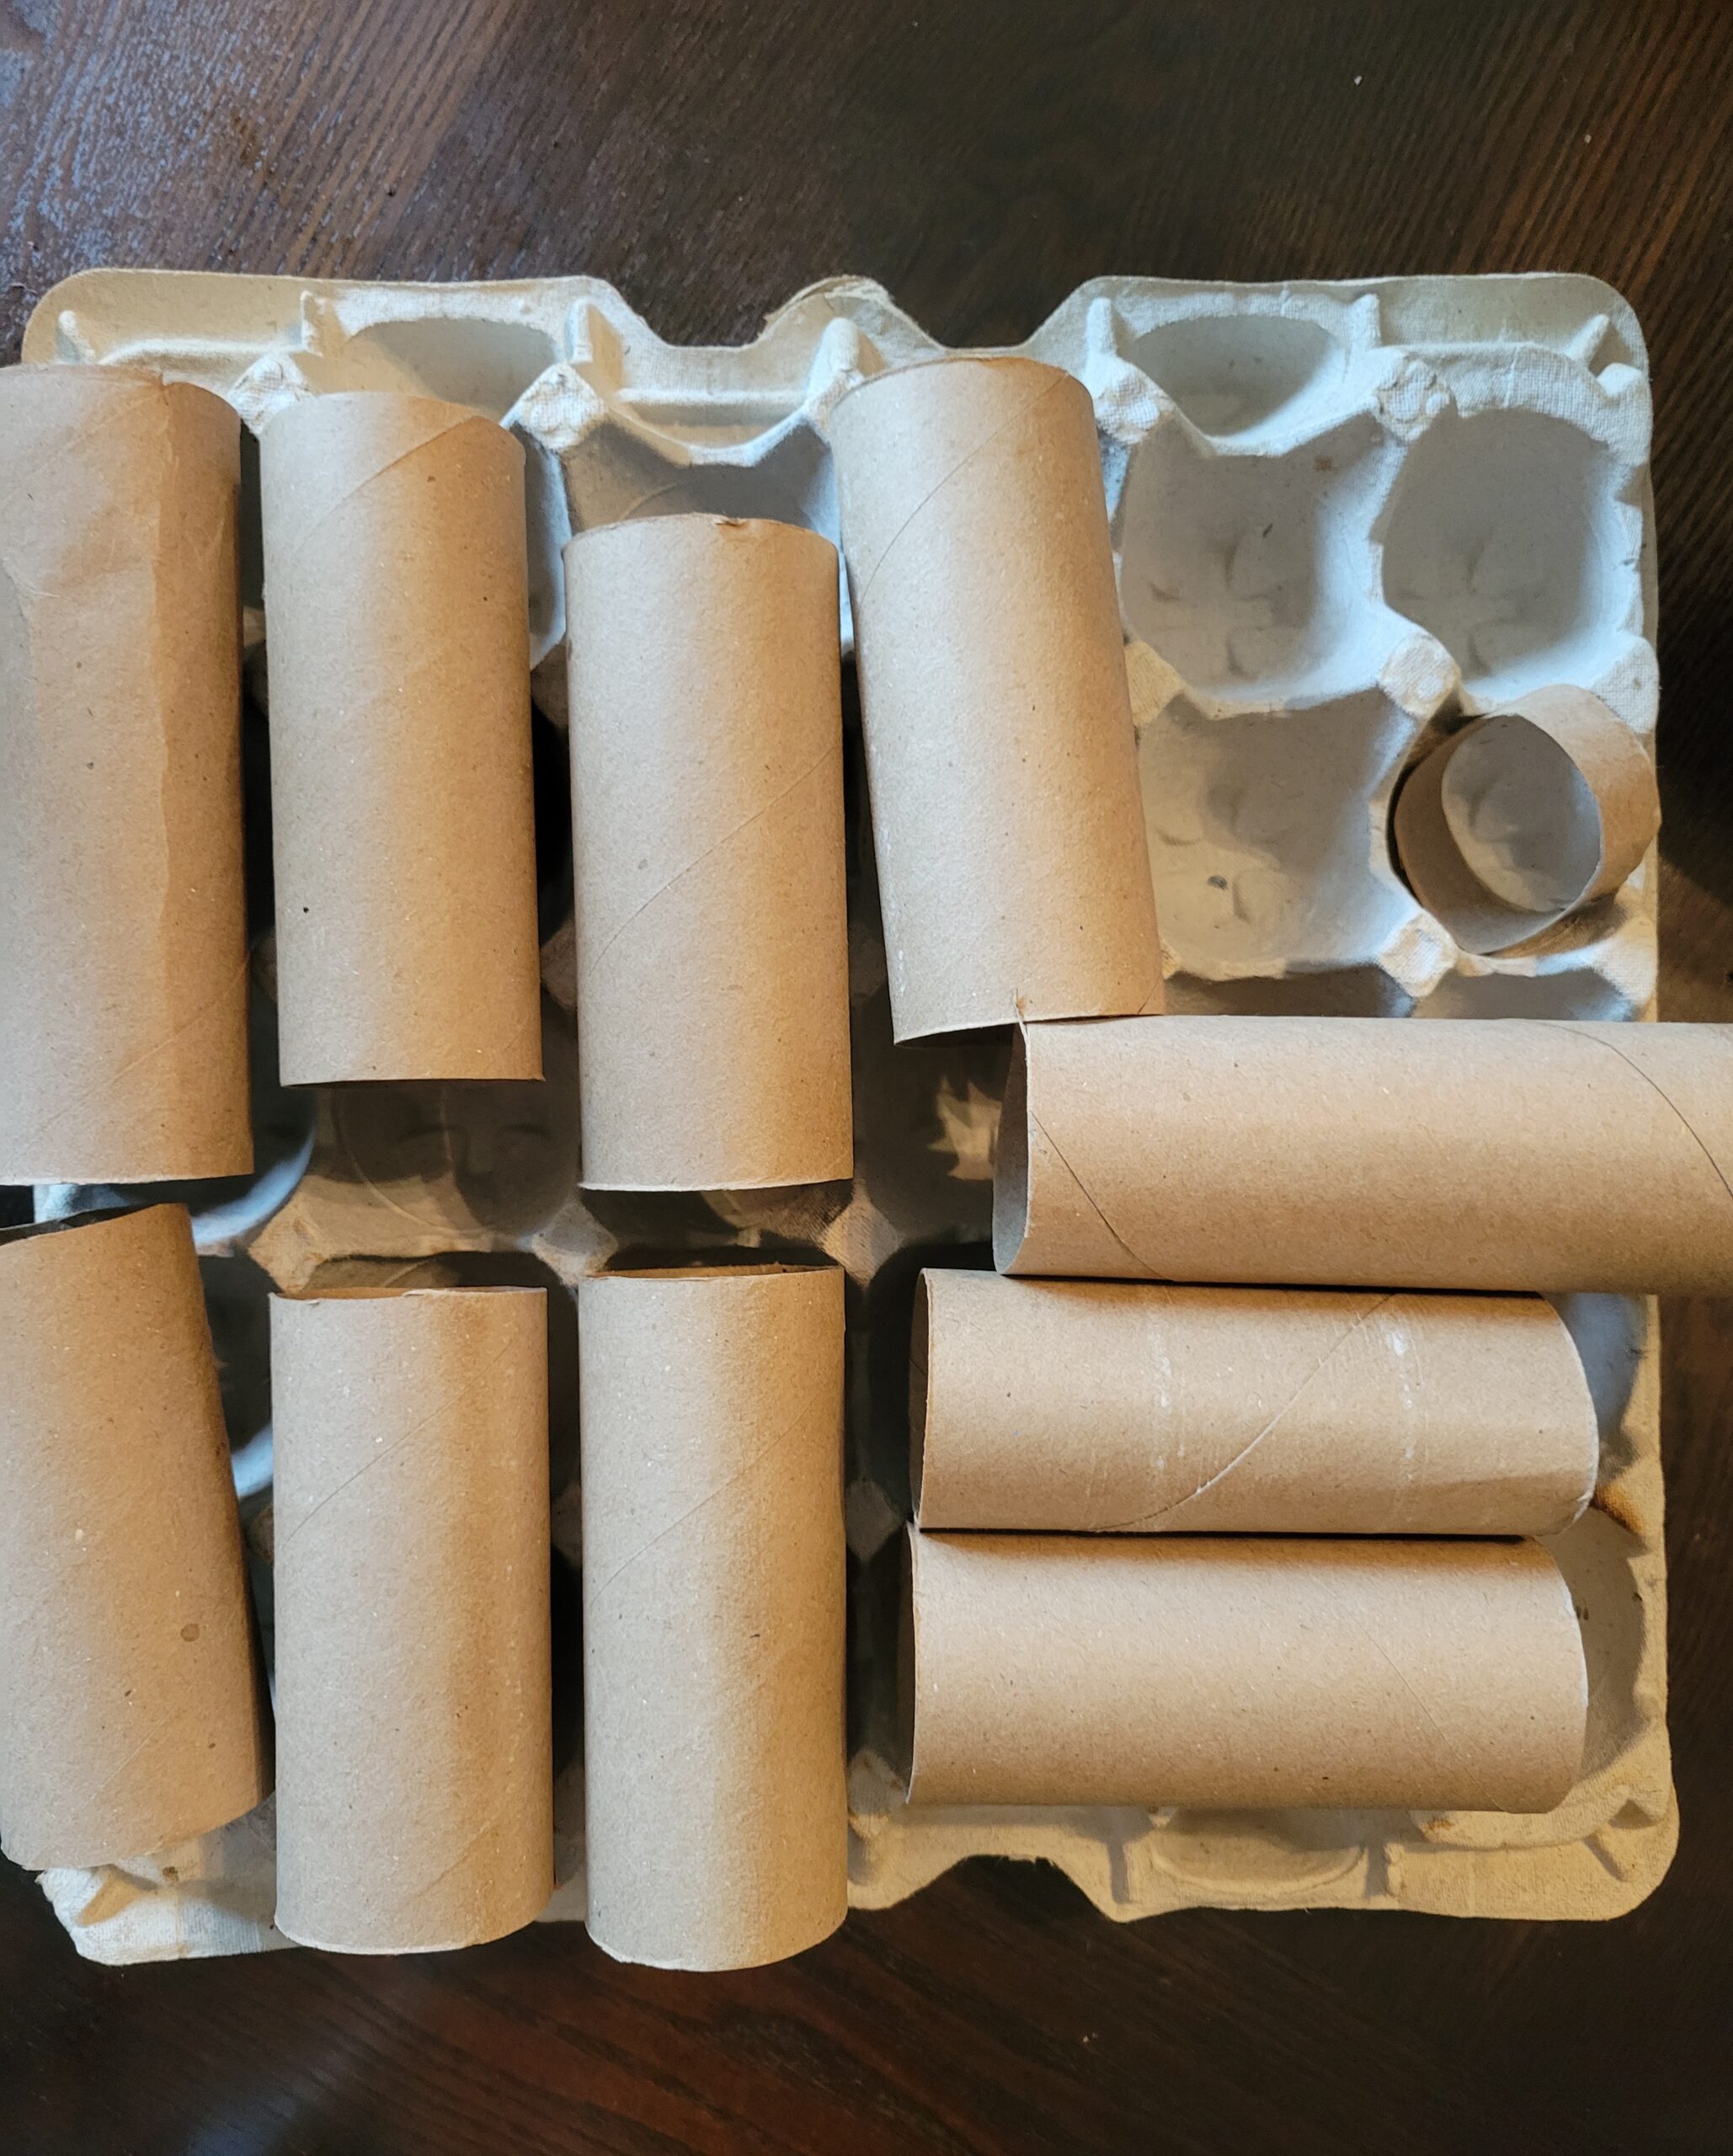
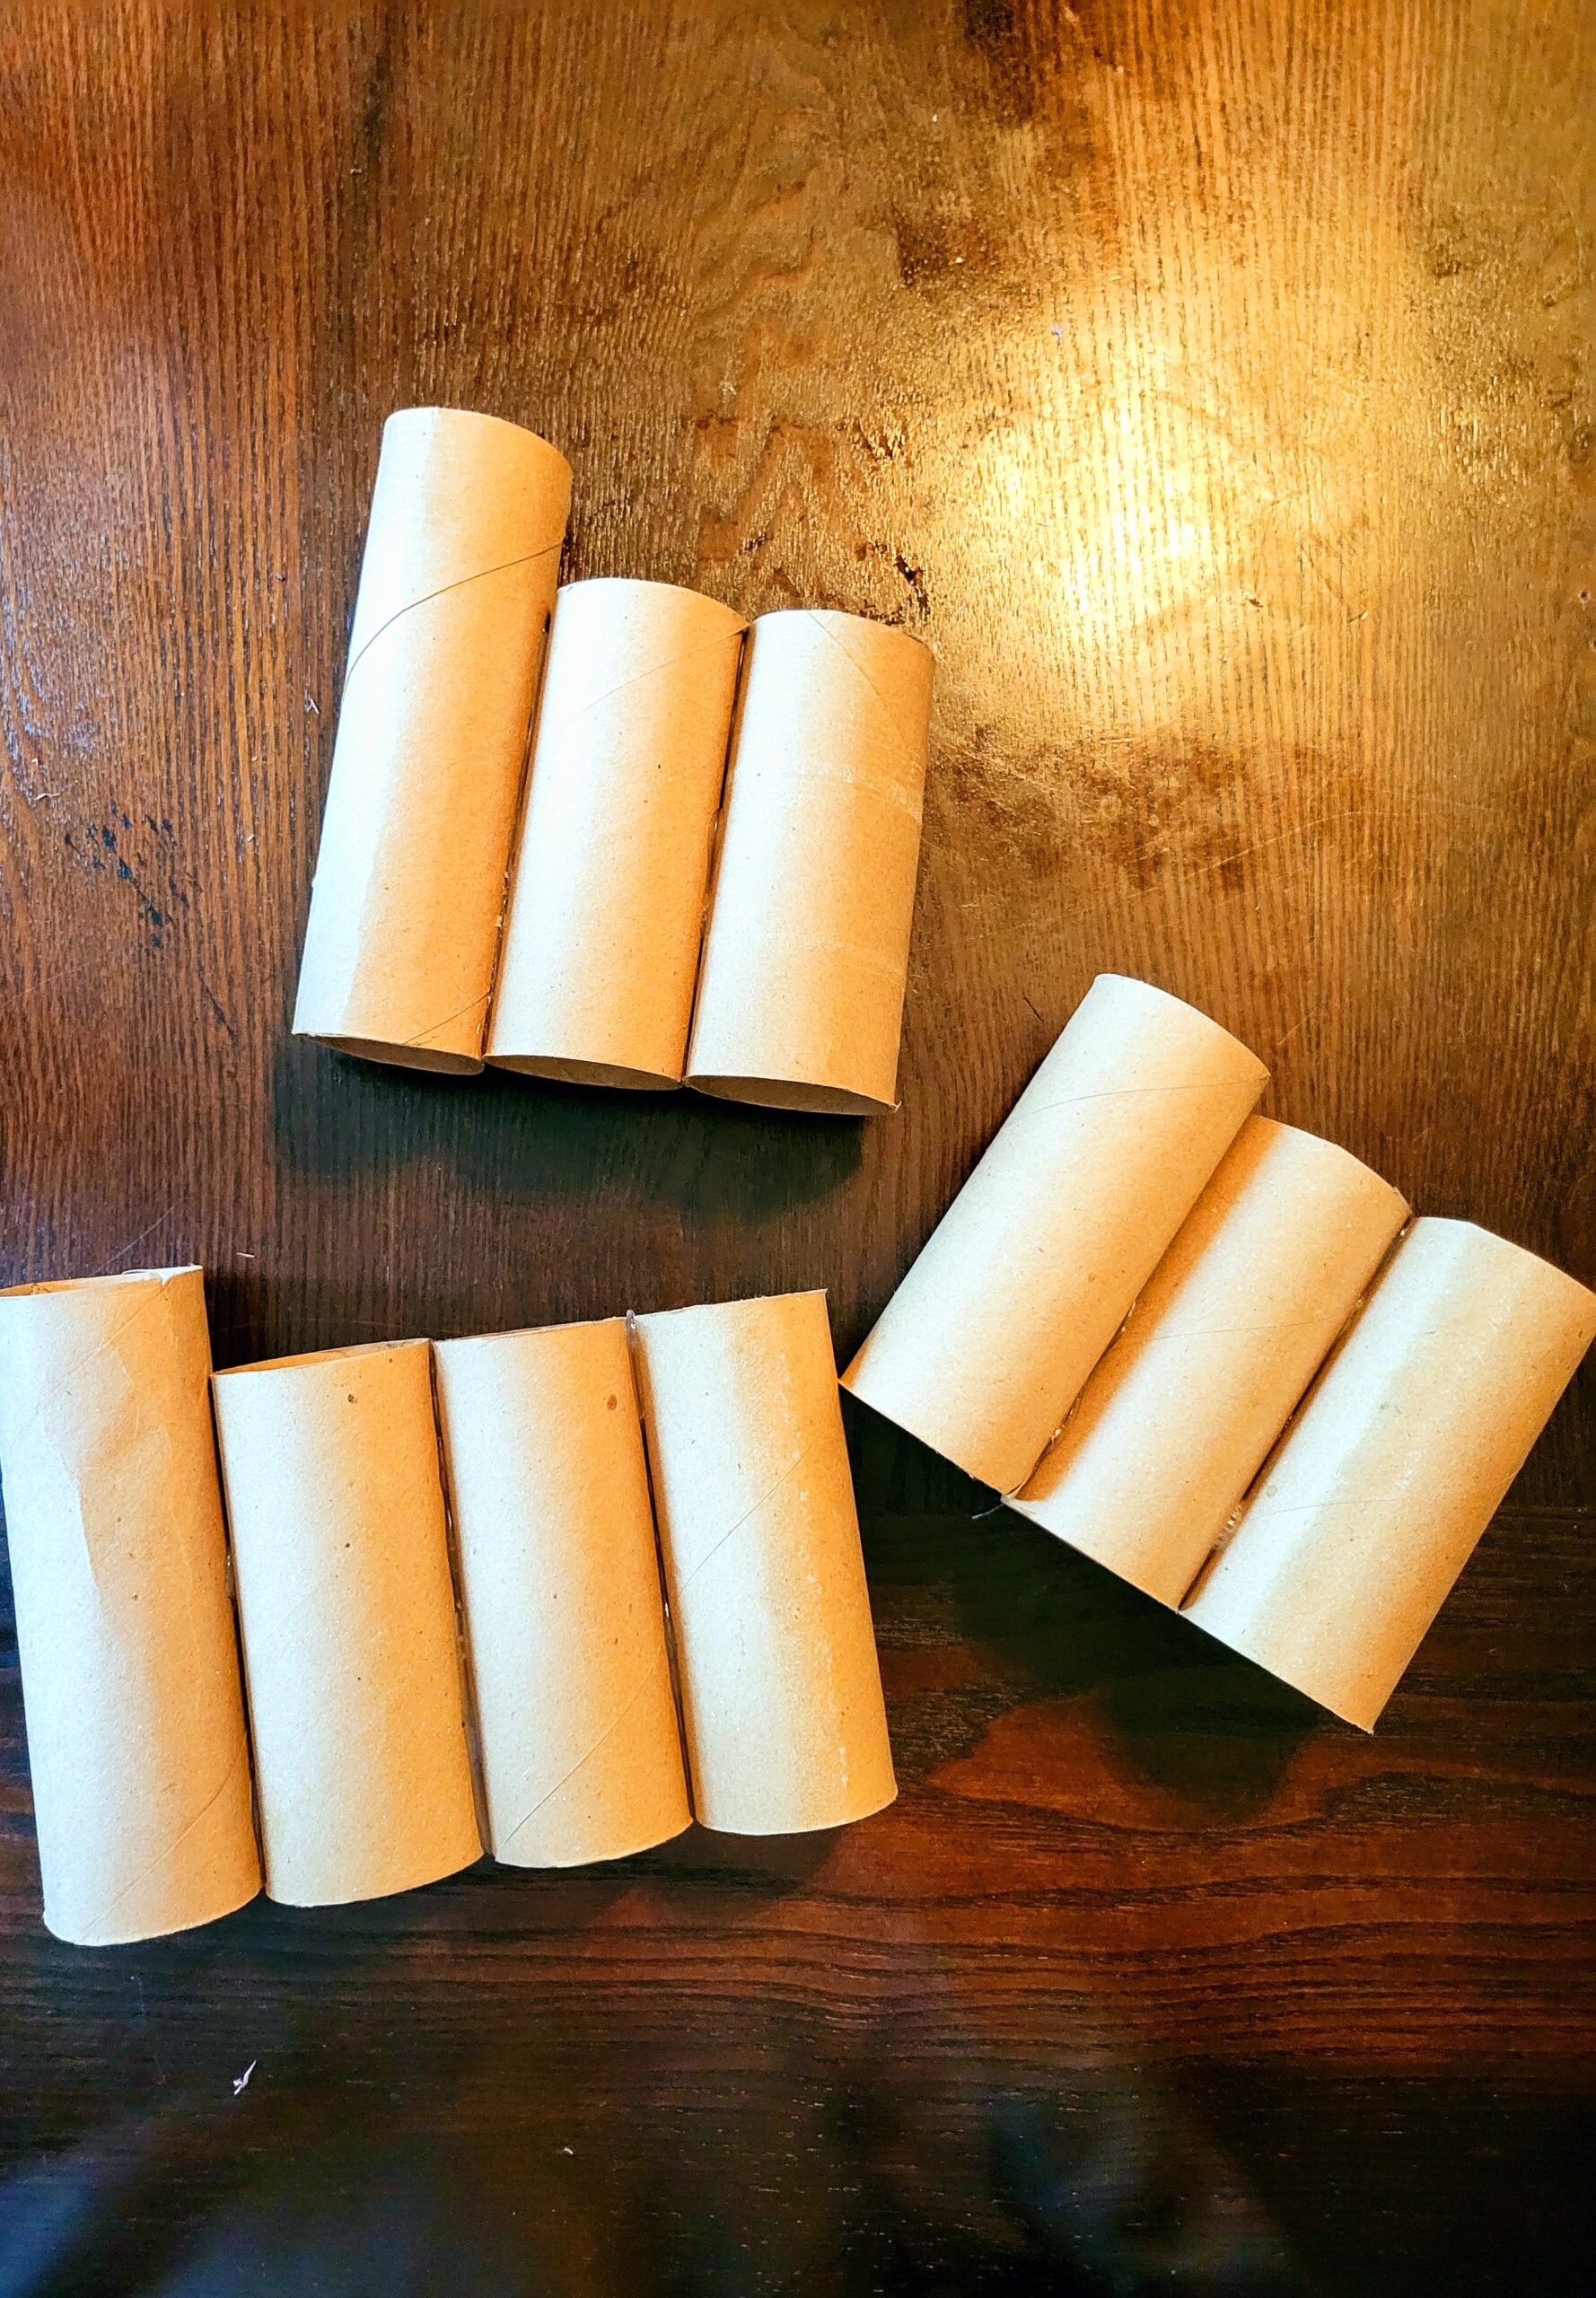
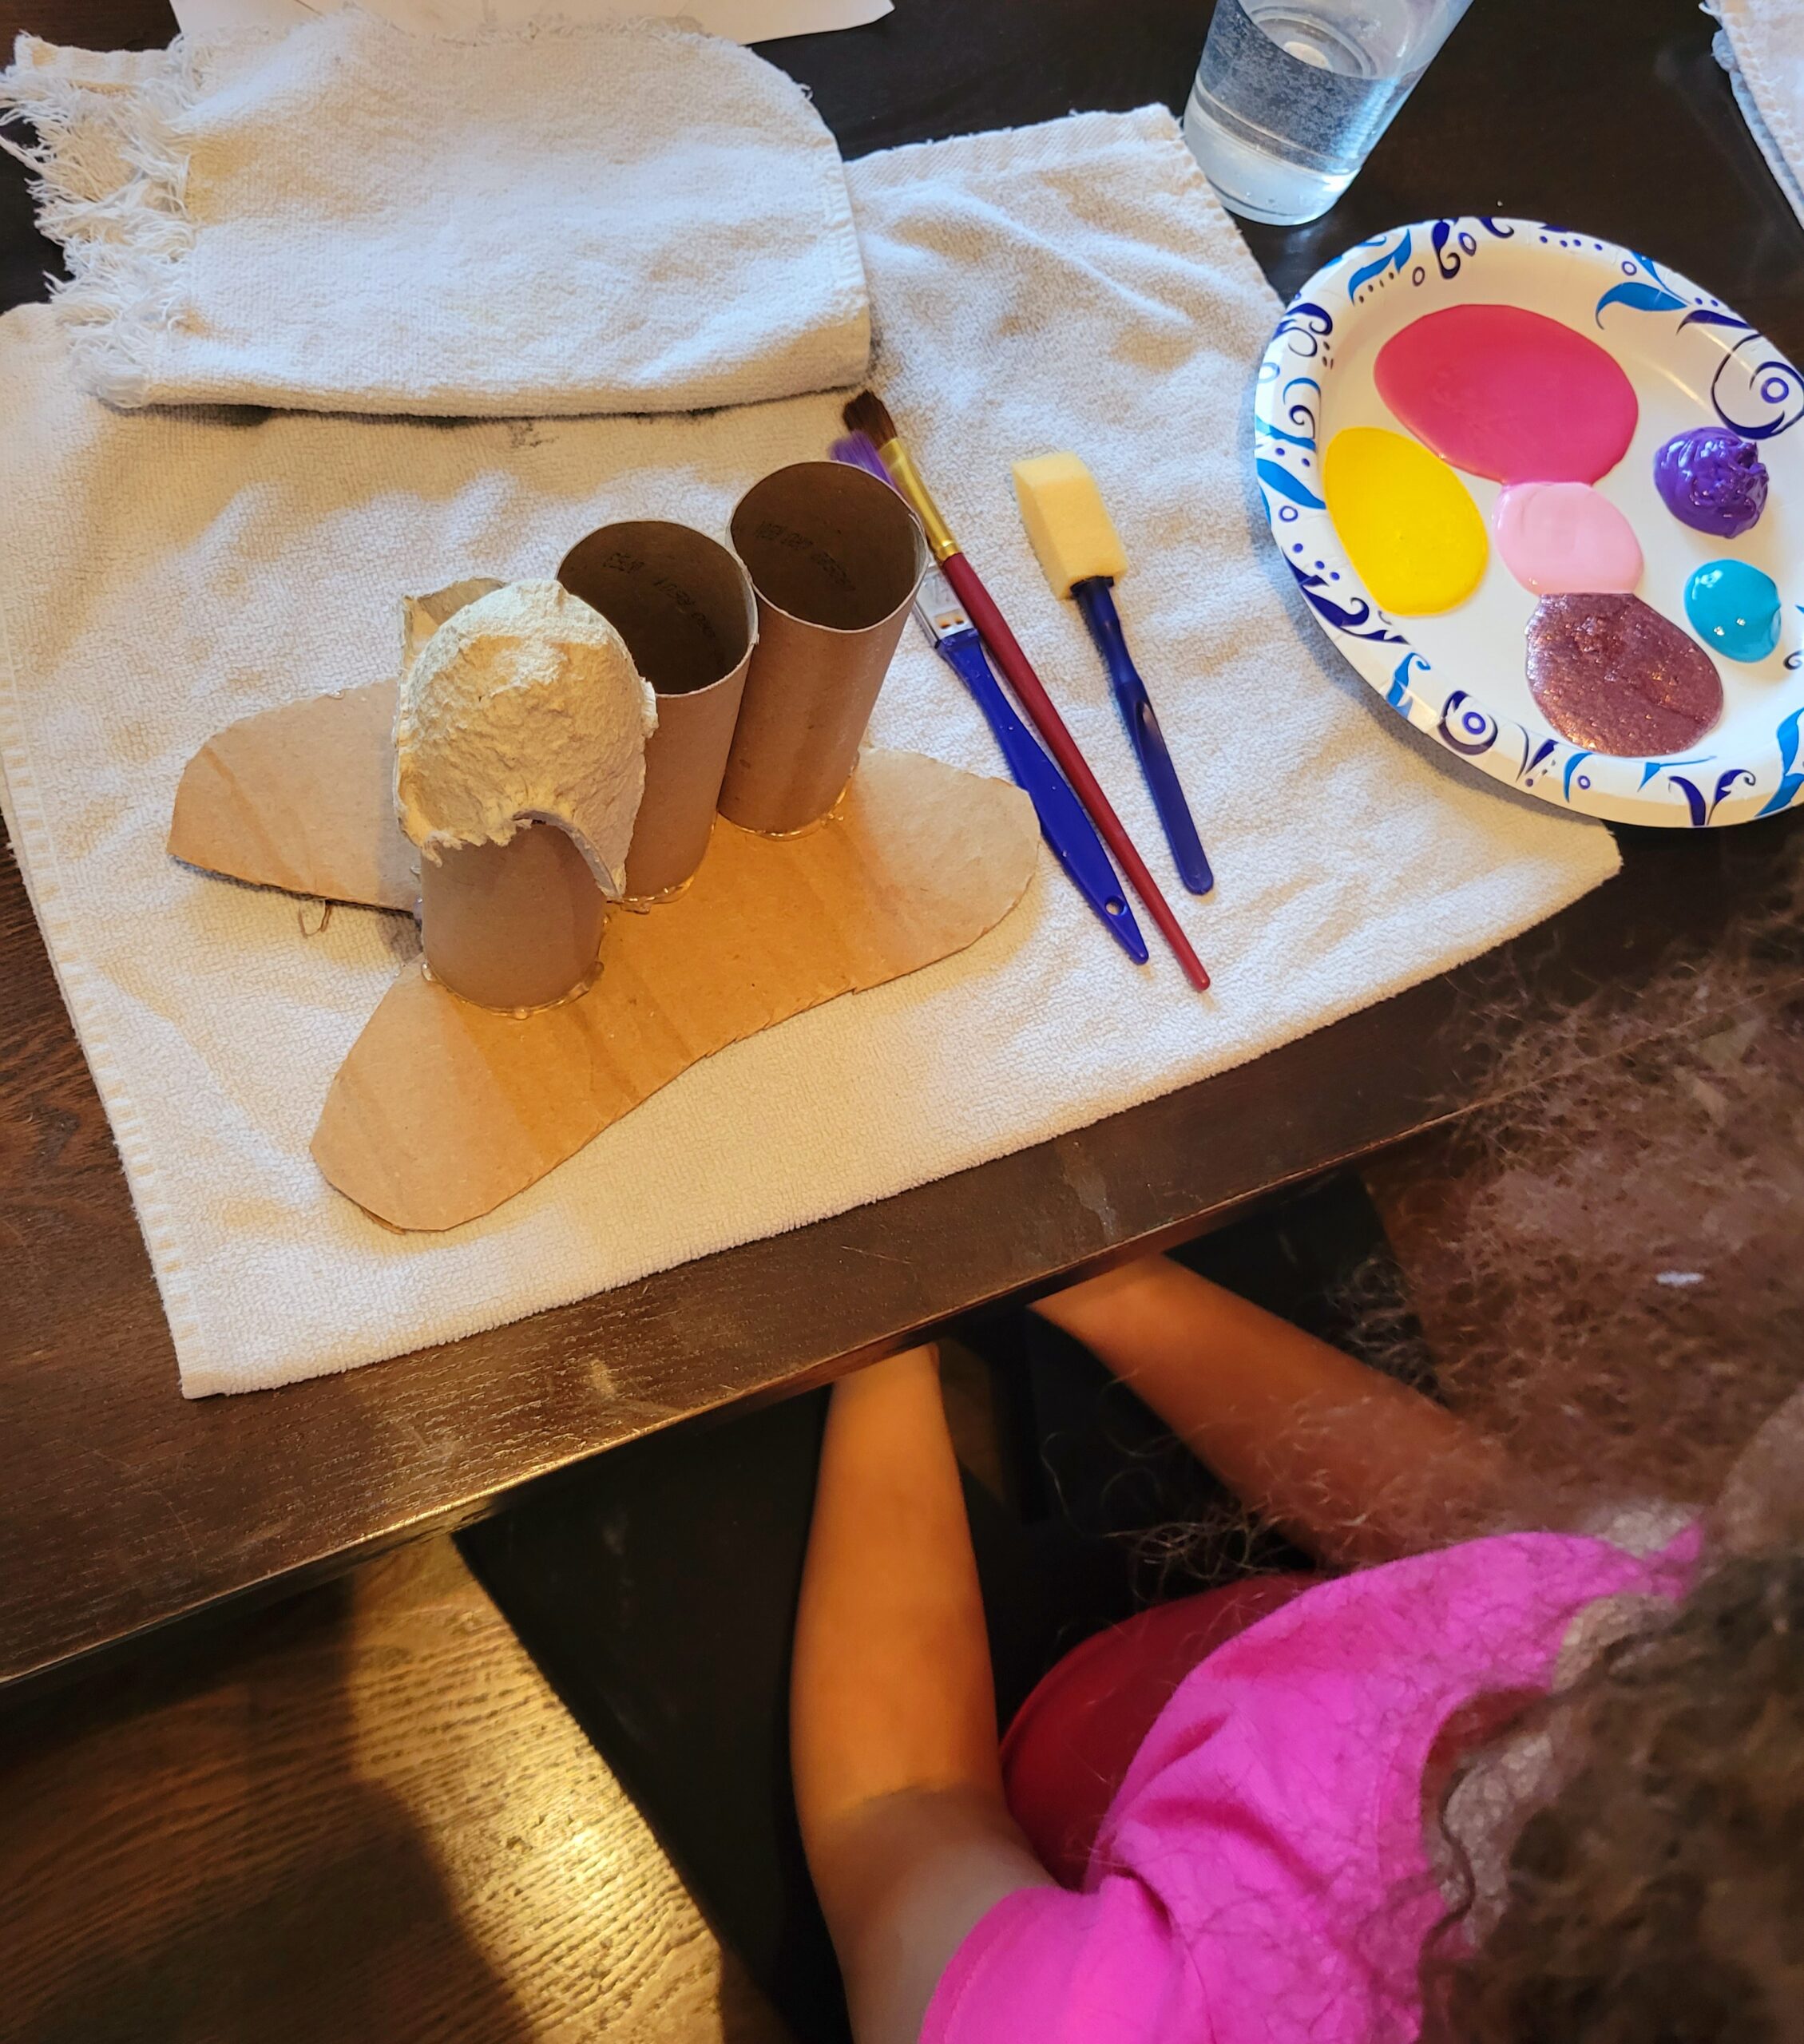
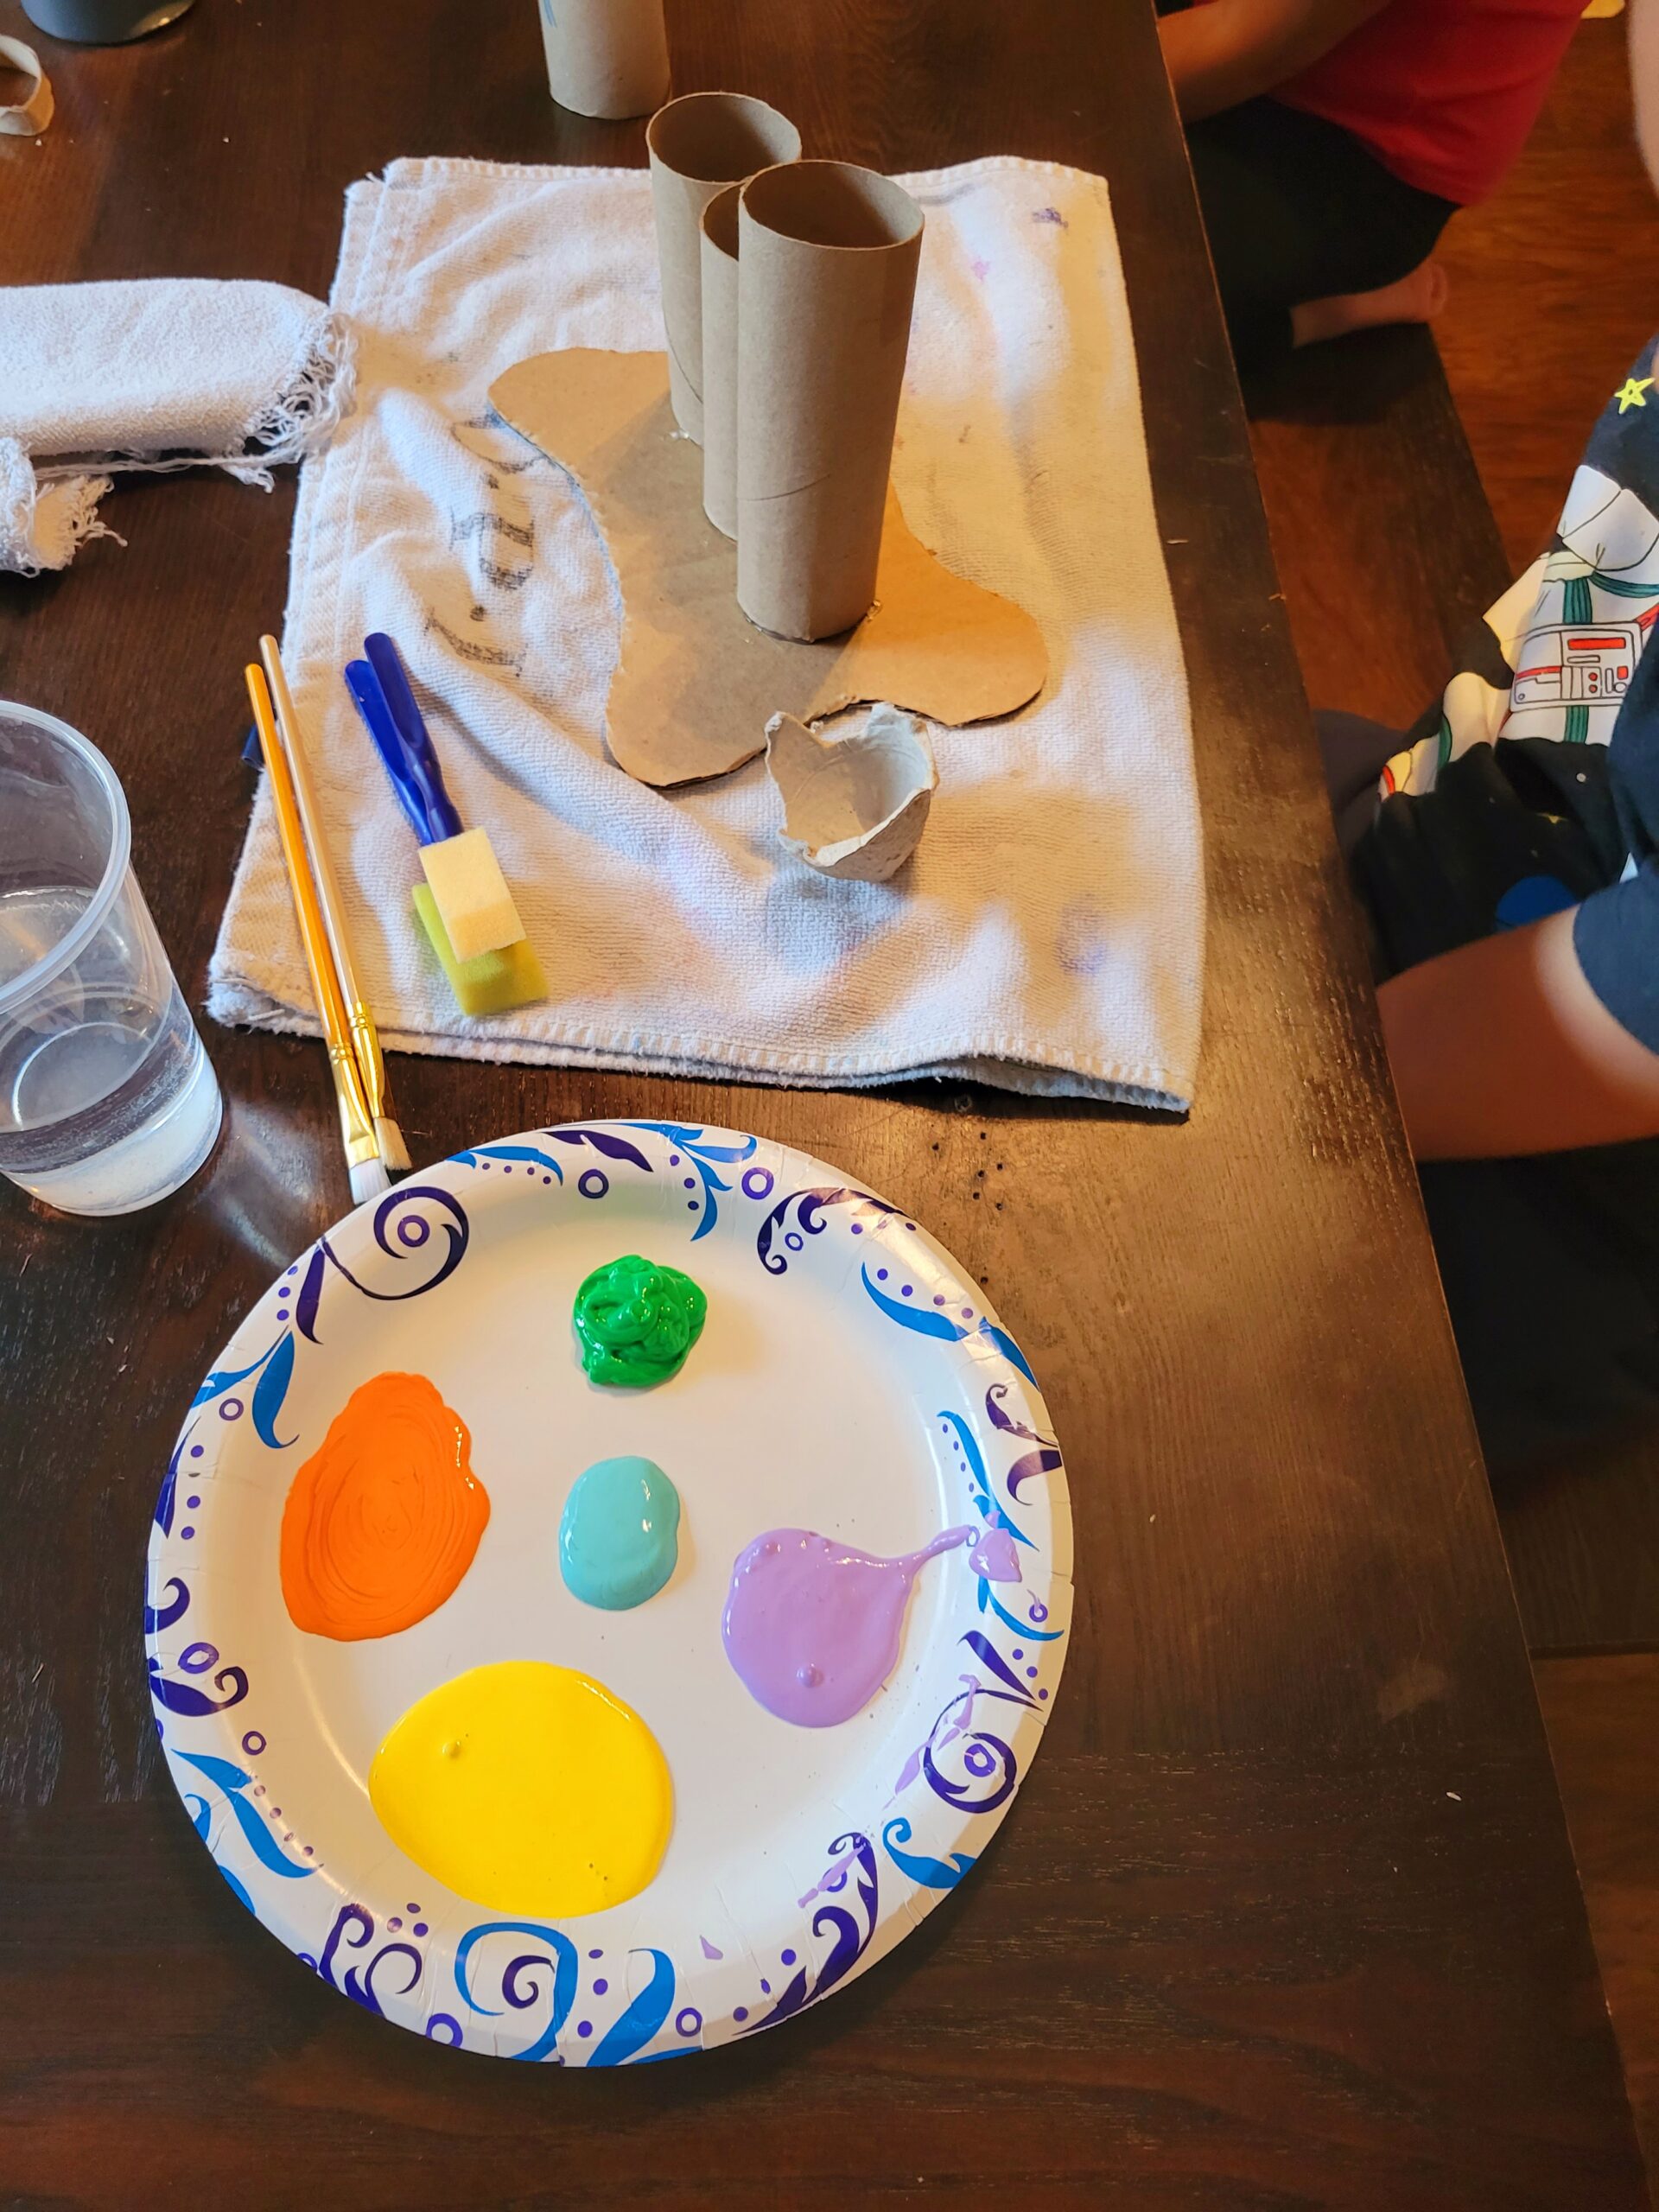
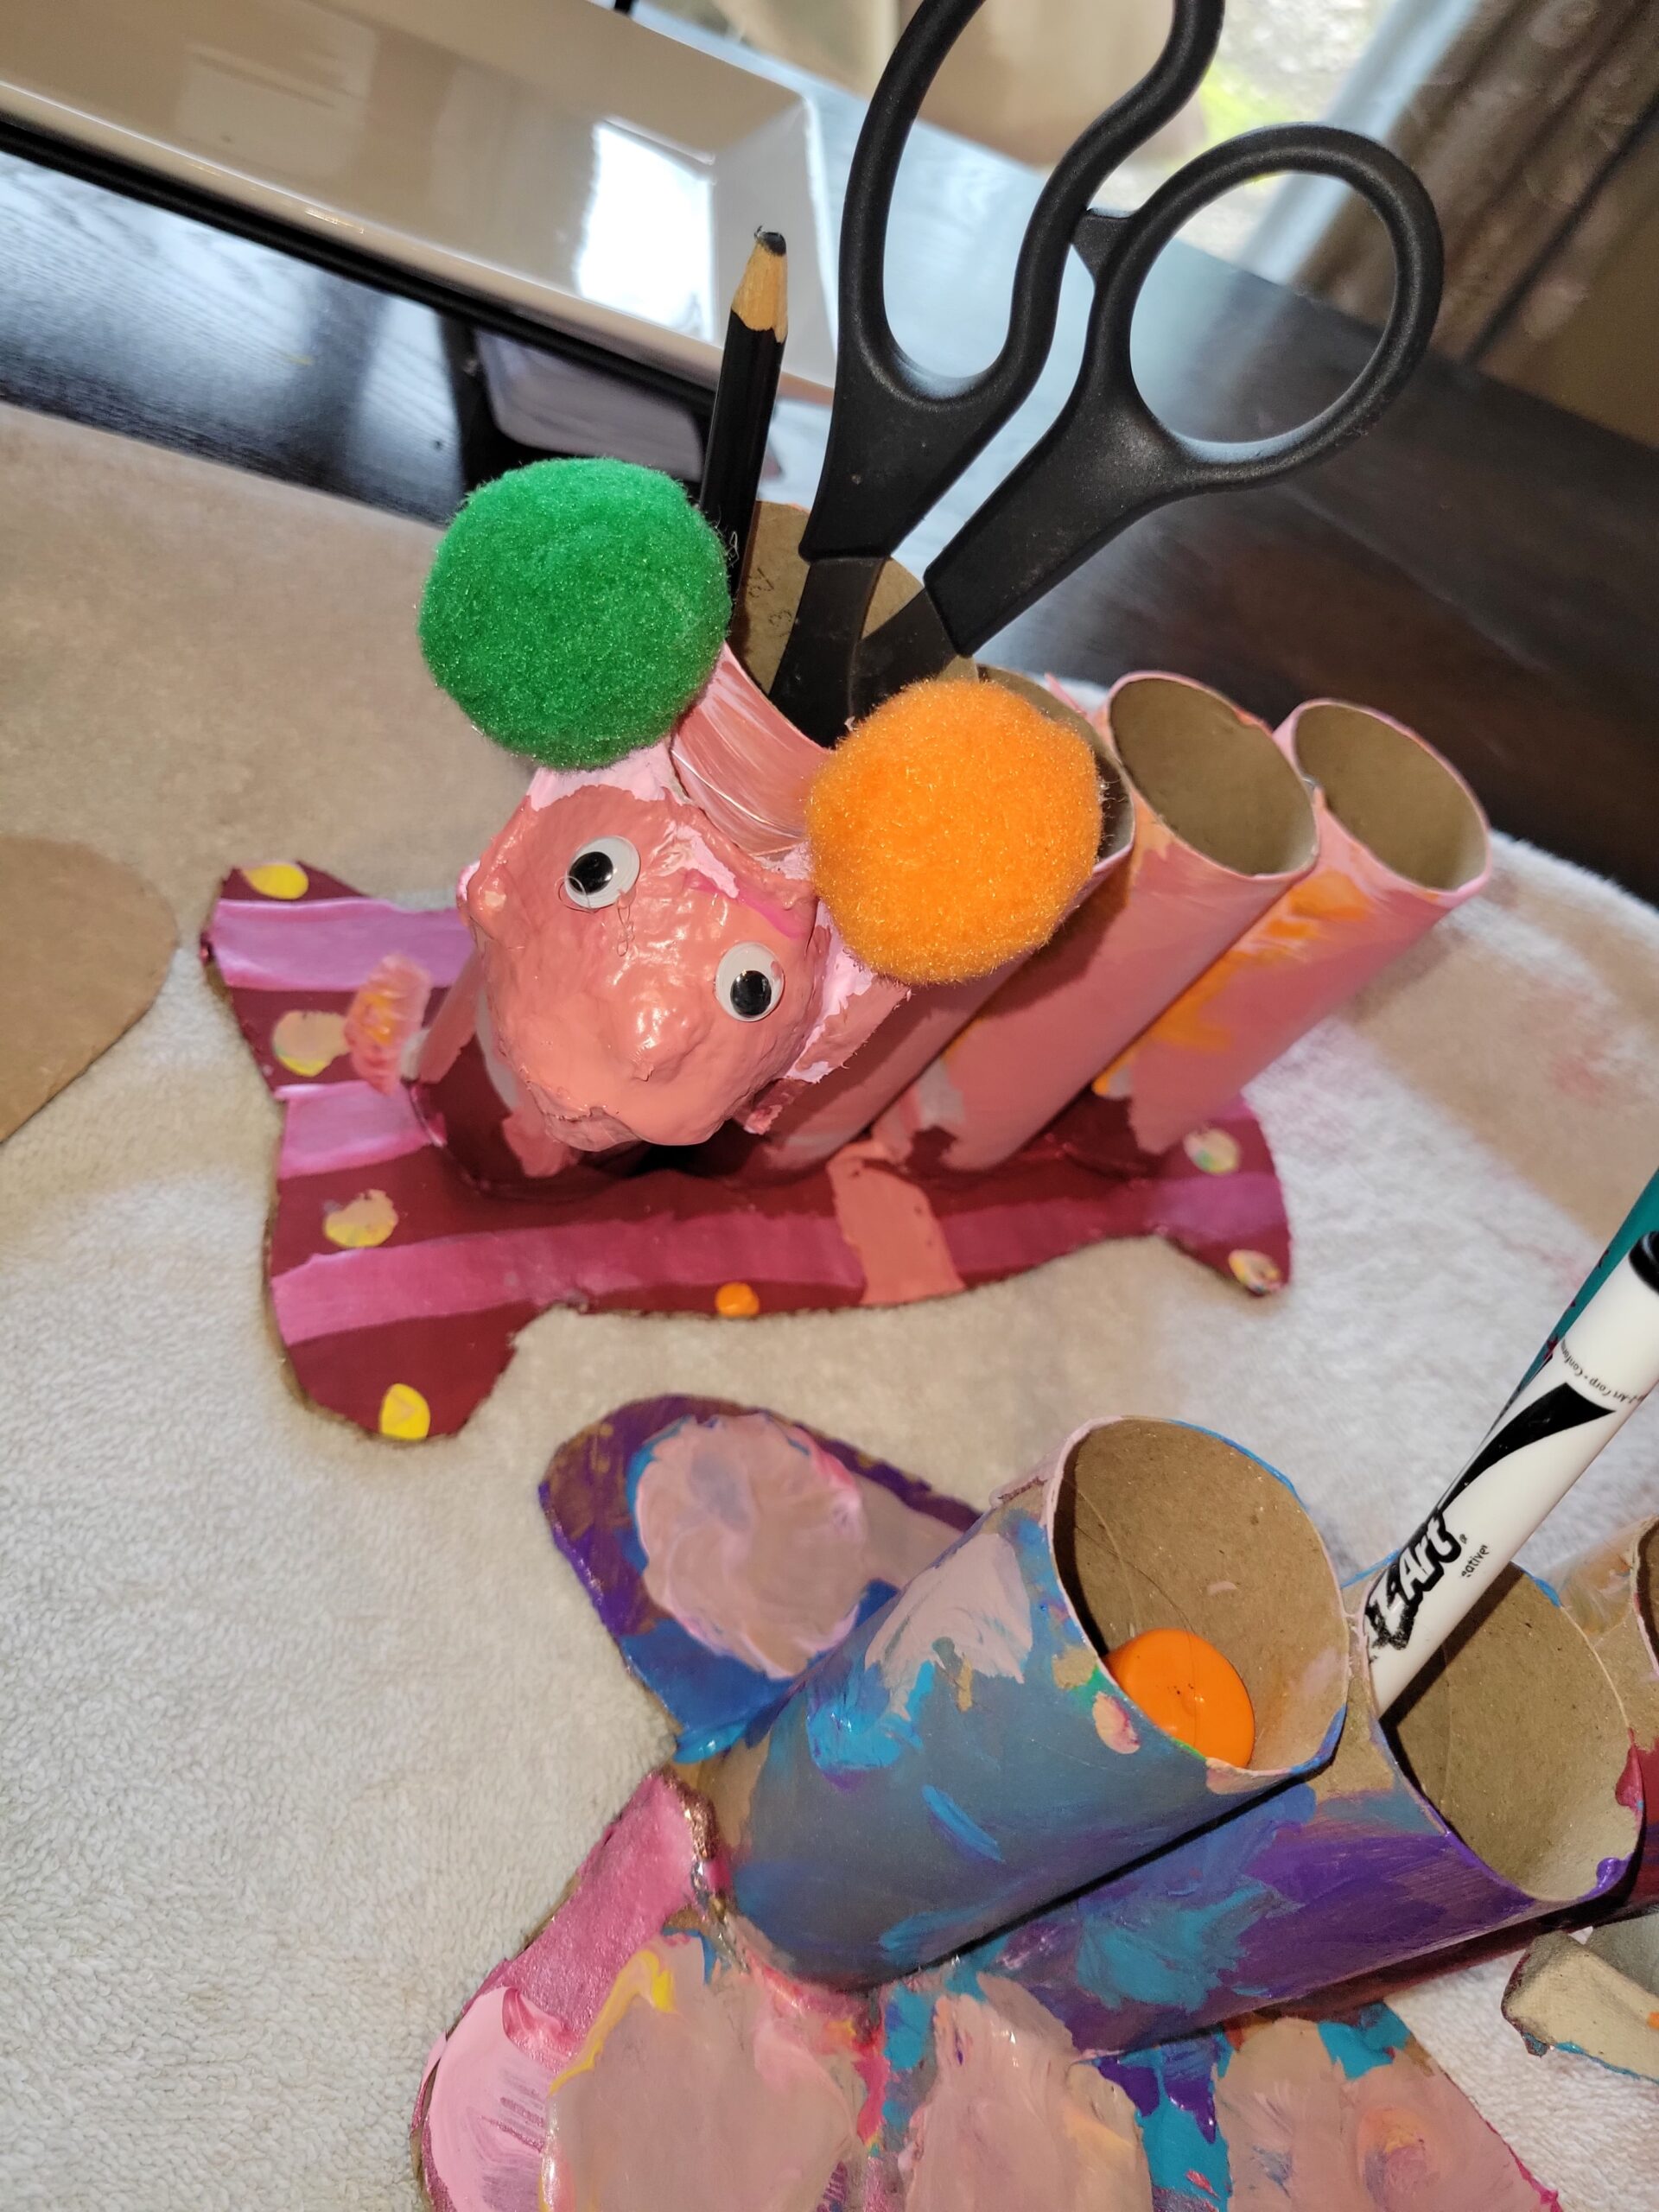
Desk Organizers
Materials needed: Recycled tubes, egg carton, cardboard, paint, googly eyes, pipe cleaners, paintbrushes and glue gun or paste.
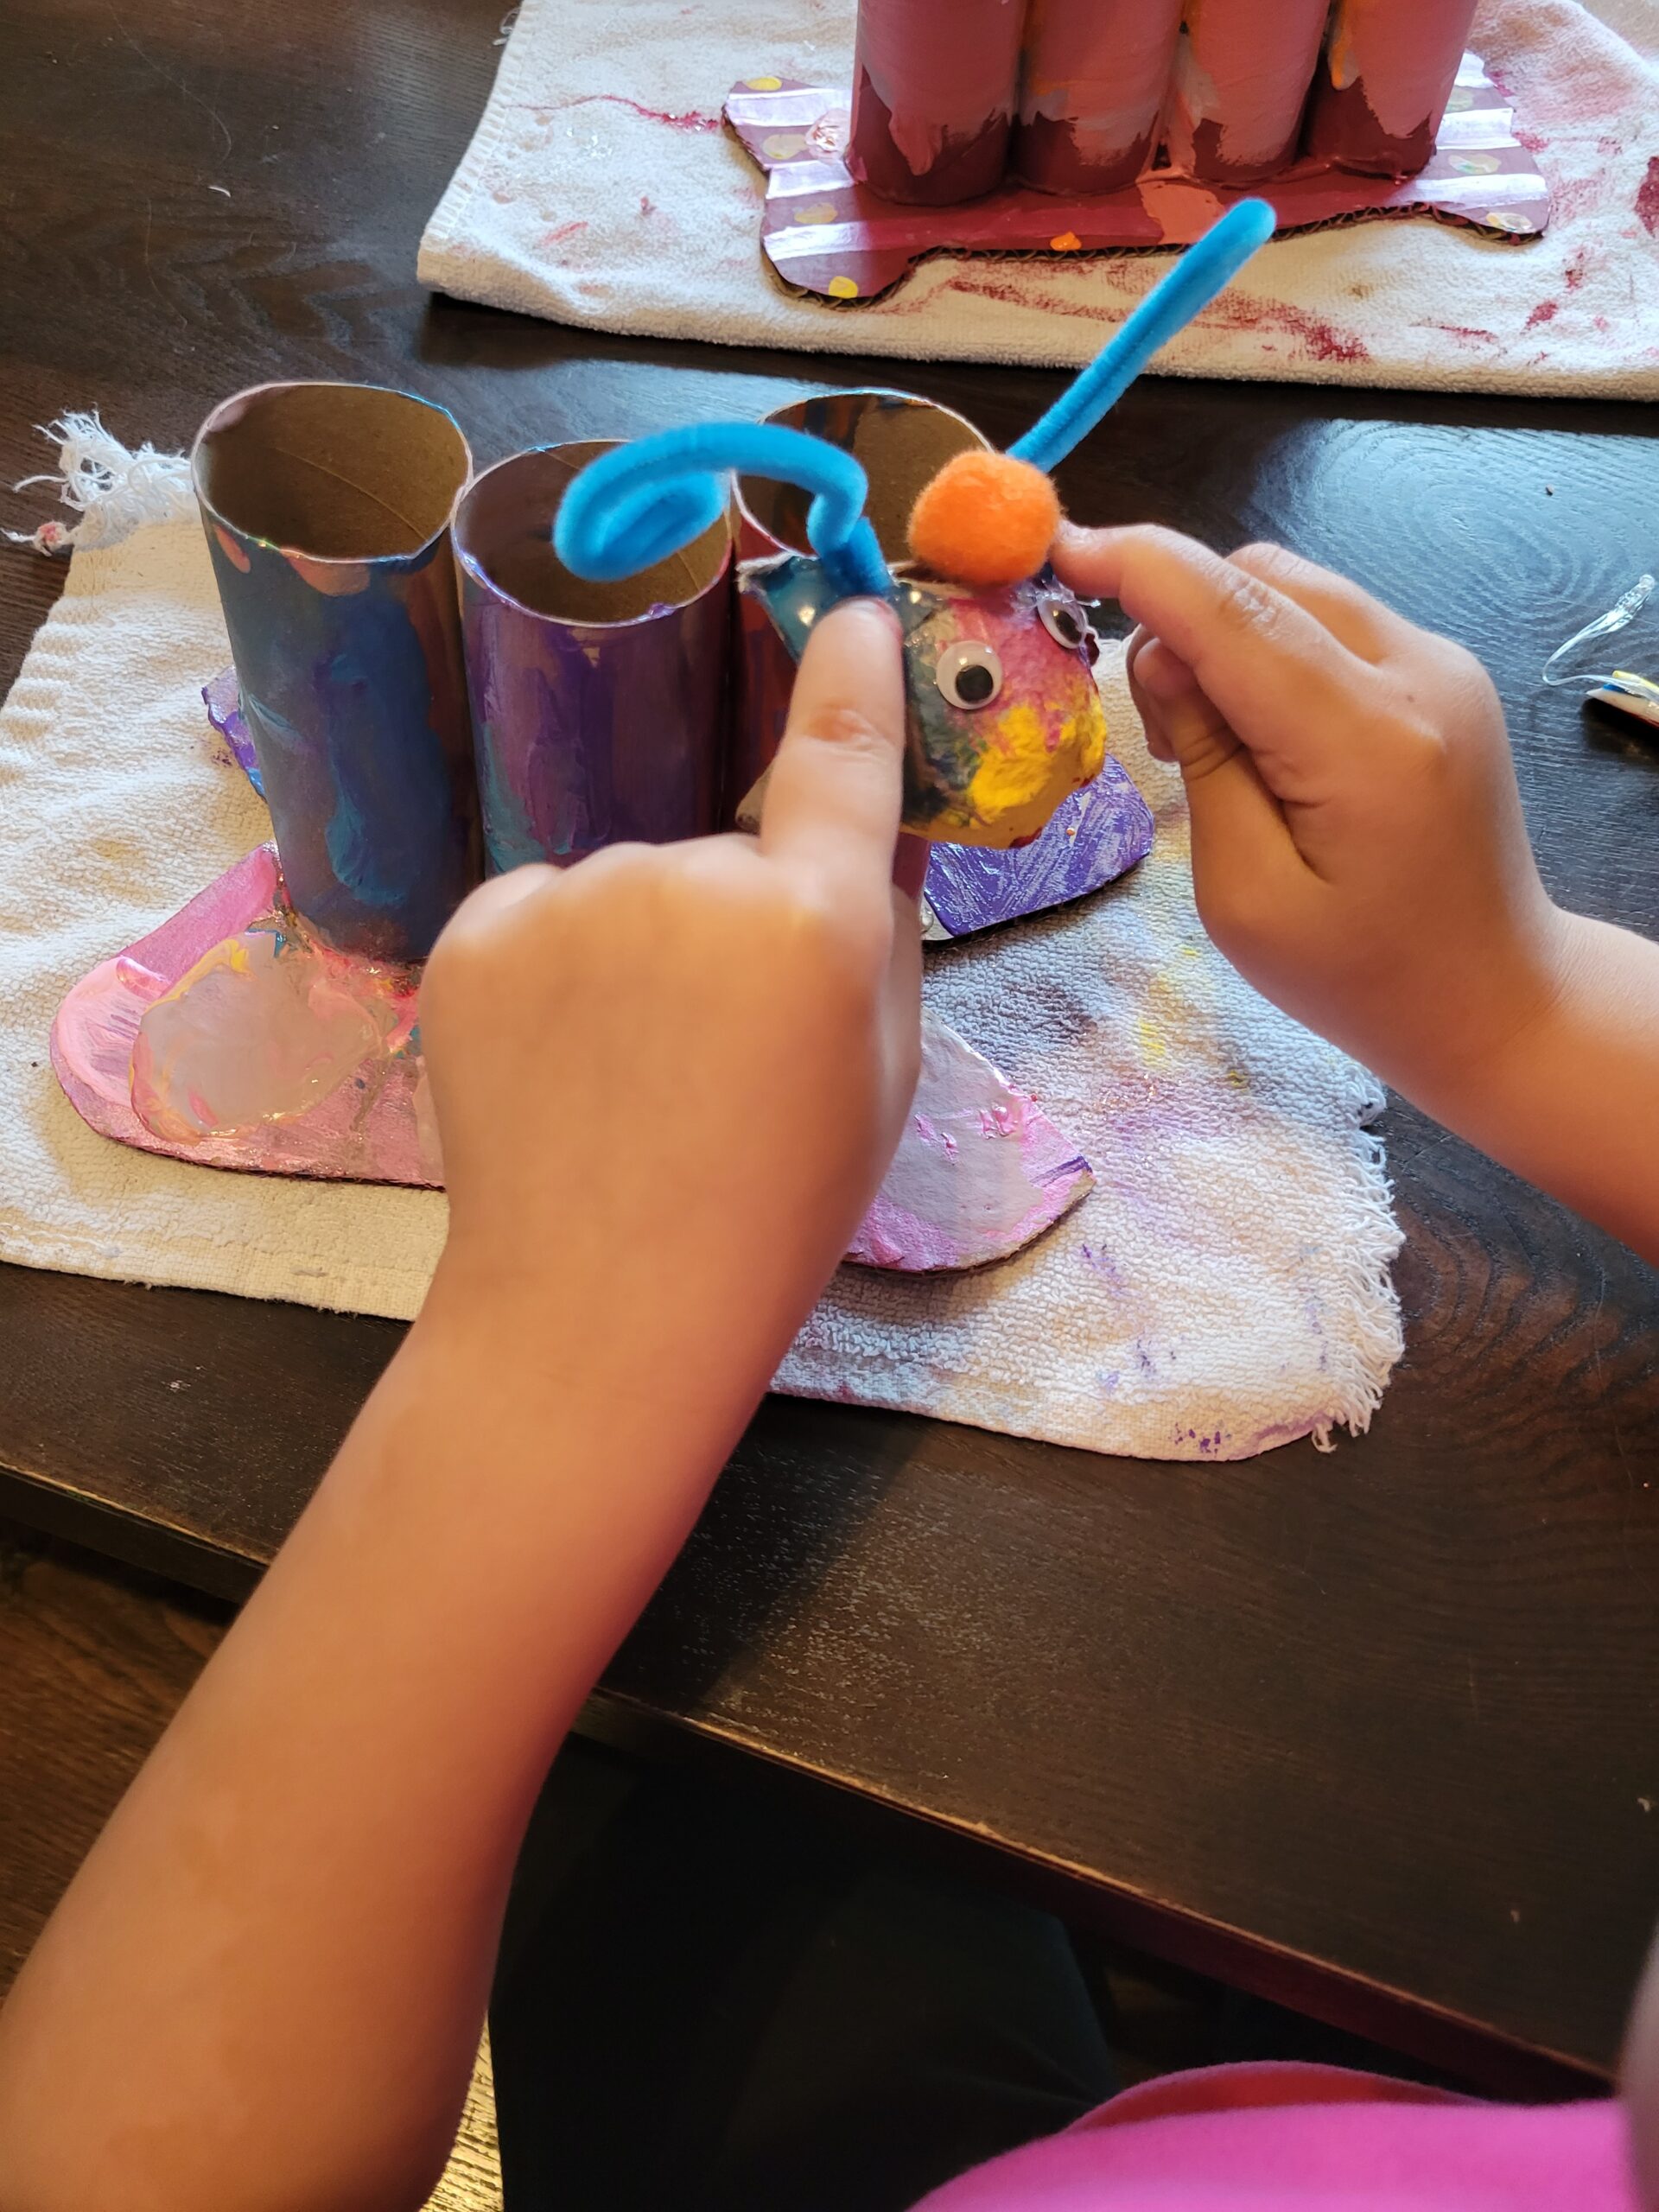
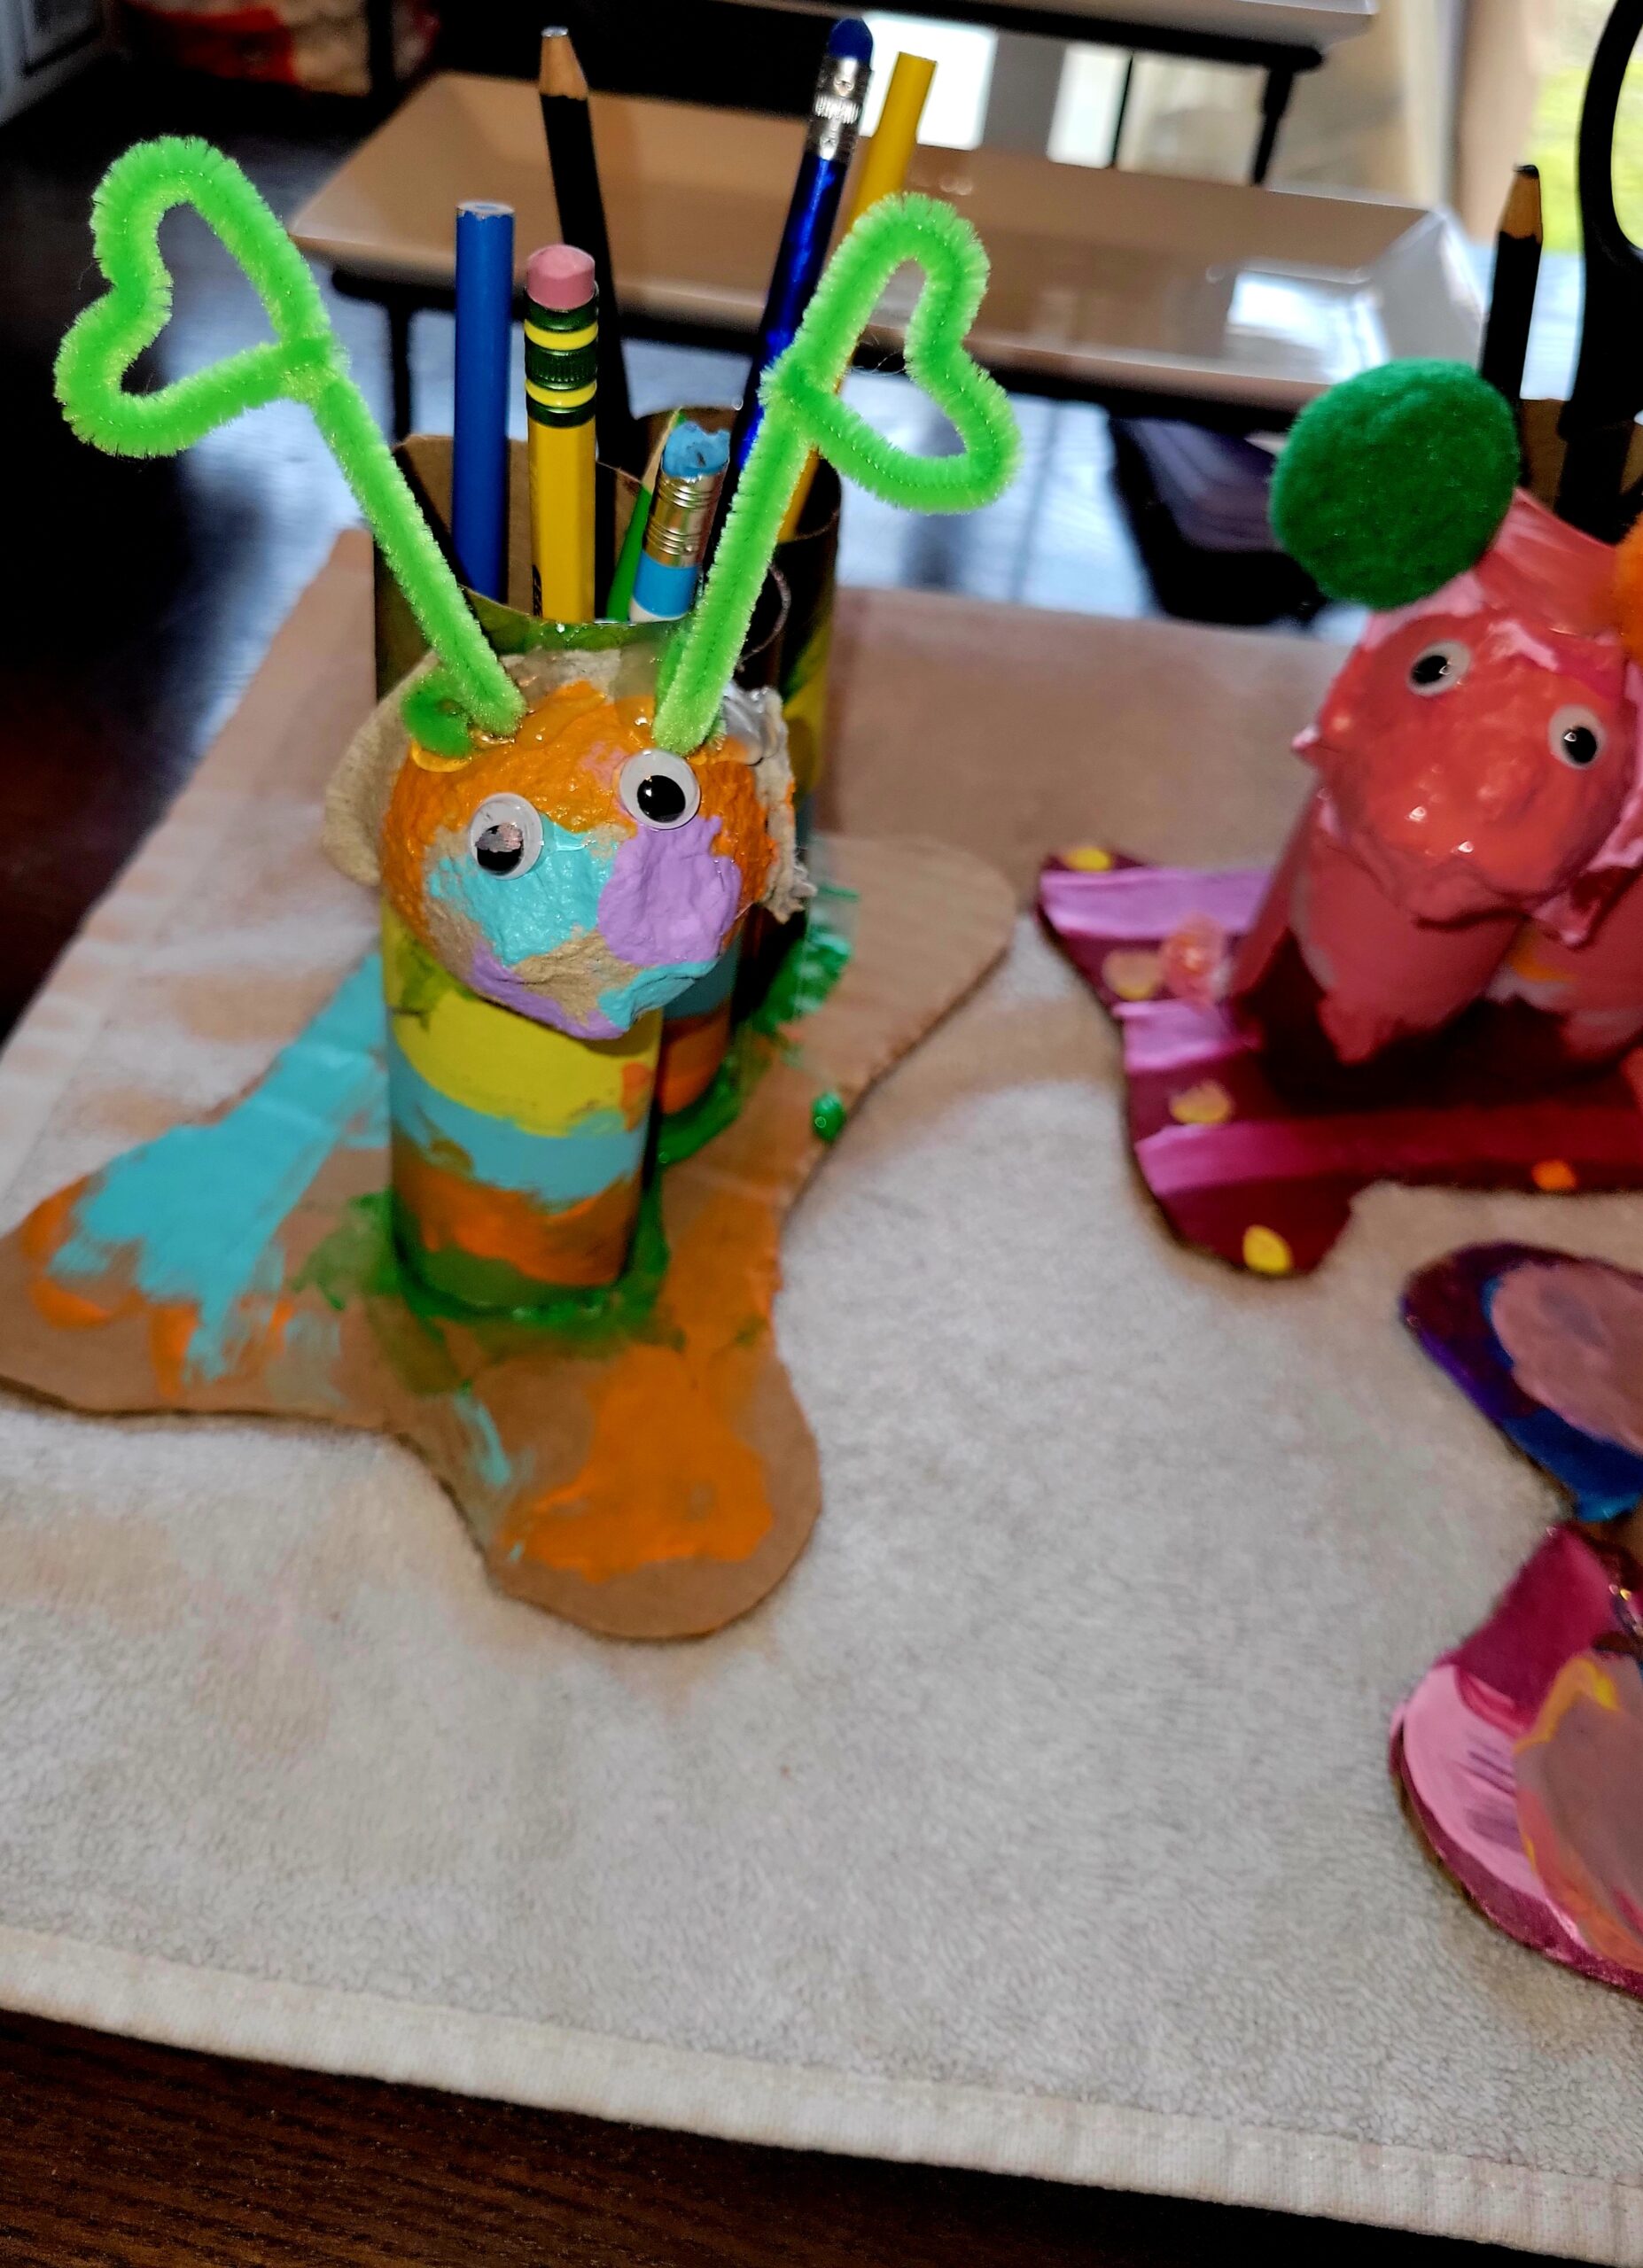
Start by cutting your tubes to the desired height you would like then attach with glue, also using cardboard to attach a base. The base was great to make the organizers more stable but also so there was a bottom if the organizer needed to be moved, not everything would fall out. We tried to make our bases look like little feet for the animals the kids were working to recreate. For us the easiest and fasted way was to use hot glue, but Elmers could be used, and paper clips temporarily used to keep them held together while you paint. Once your tubes are attached start painting. I precut little “faces” from some old egg cartons that we used but regular carboard could be used for this.
Once they dried, we then glued our faces on and their little decor for them using hot glue again. I took the time to talk about some of the animals they chose for this project and how important they are for our climate, the things we can do daily to help them survive & what special little creatures they all are just like us!
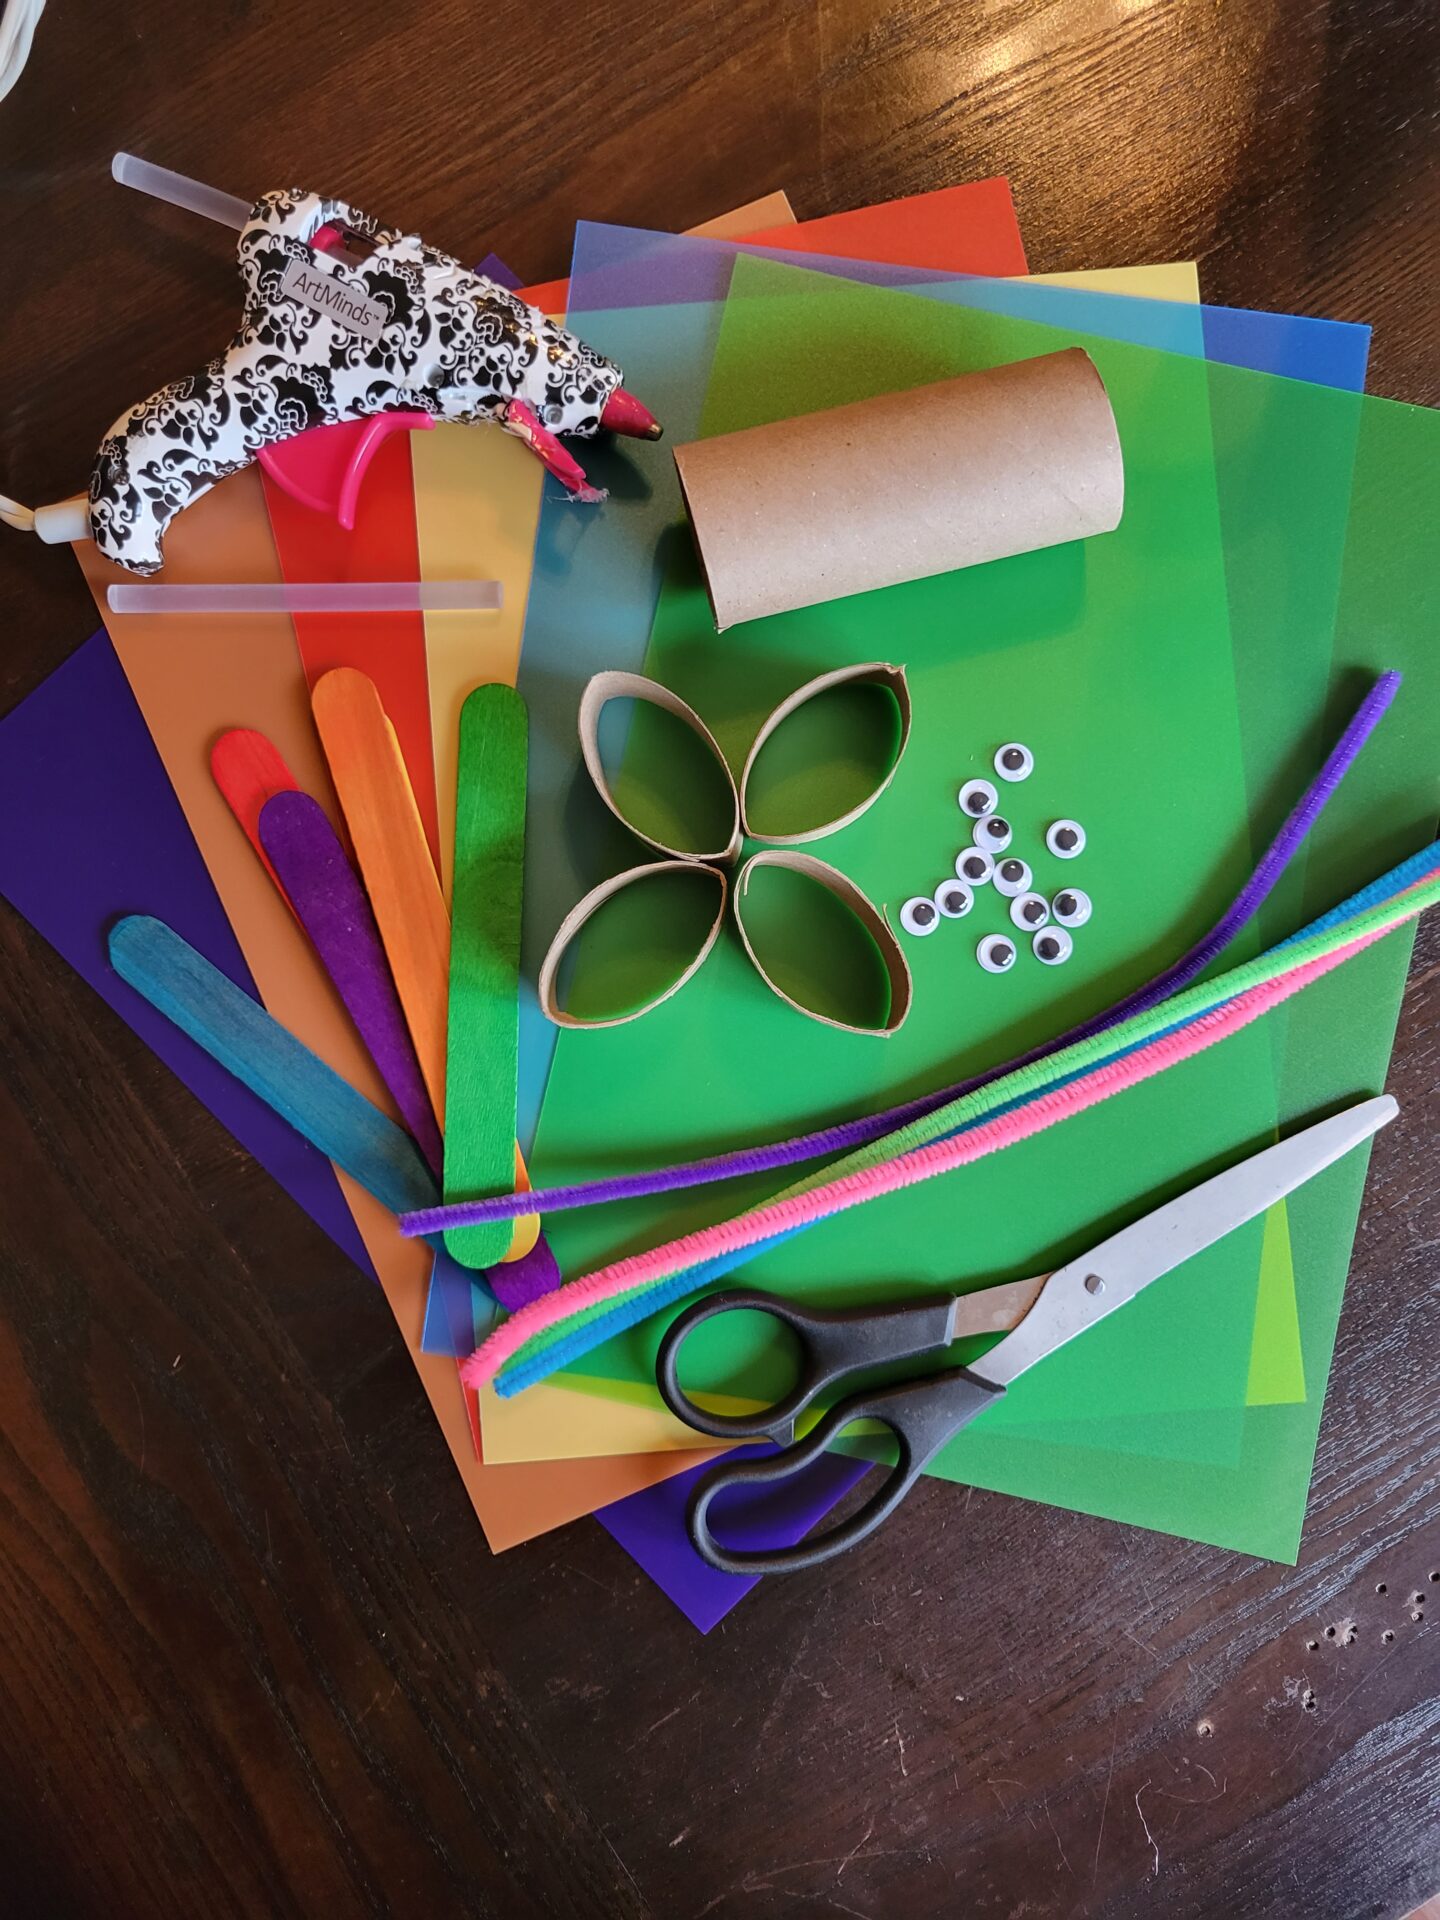
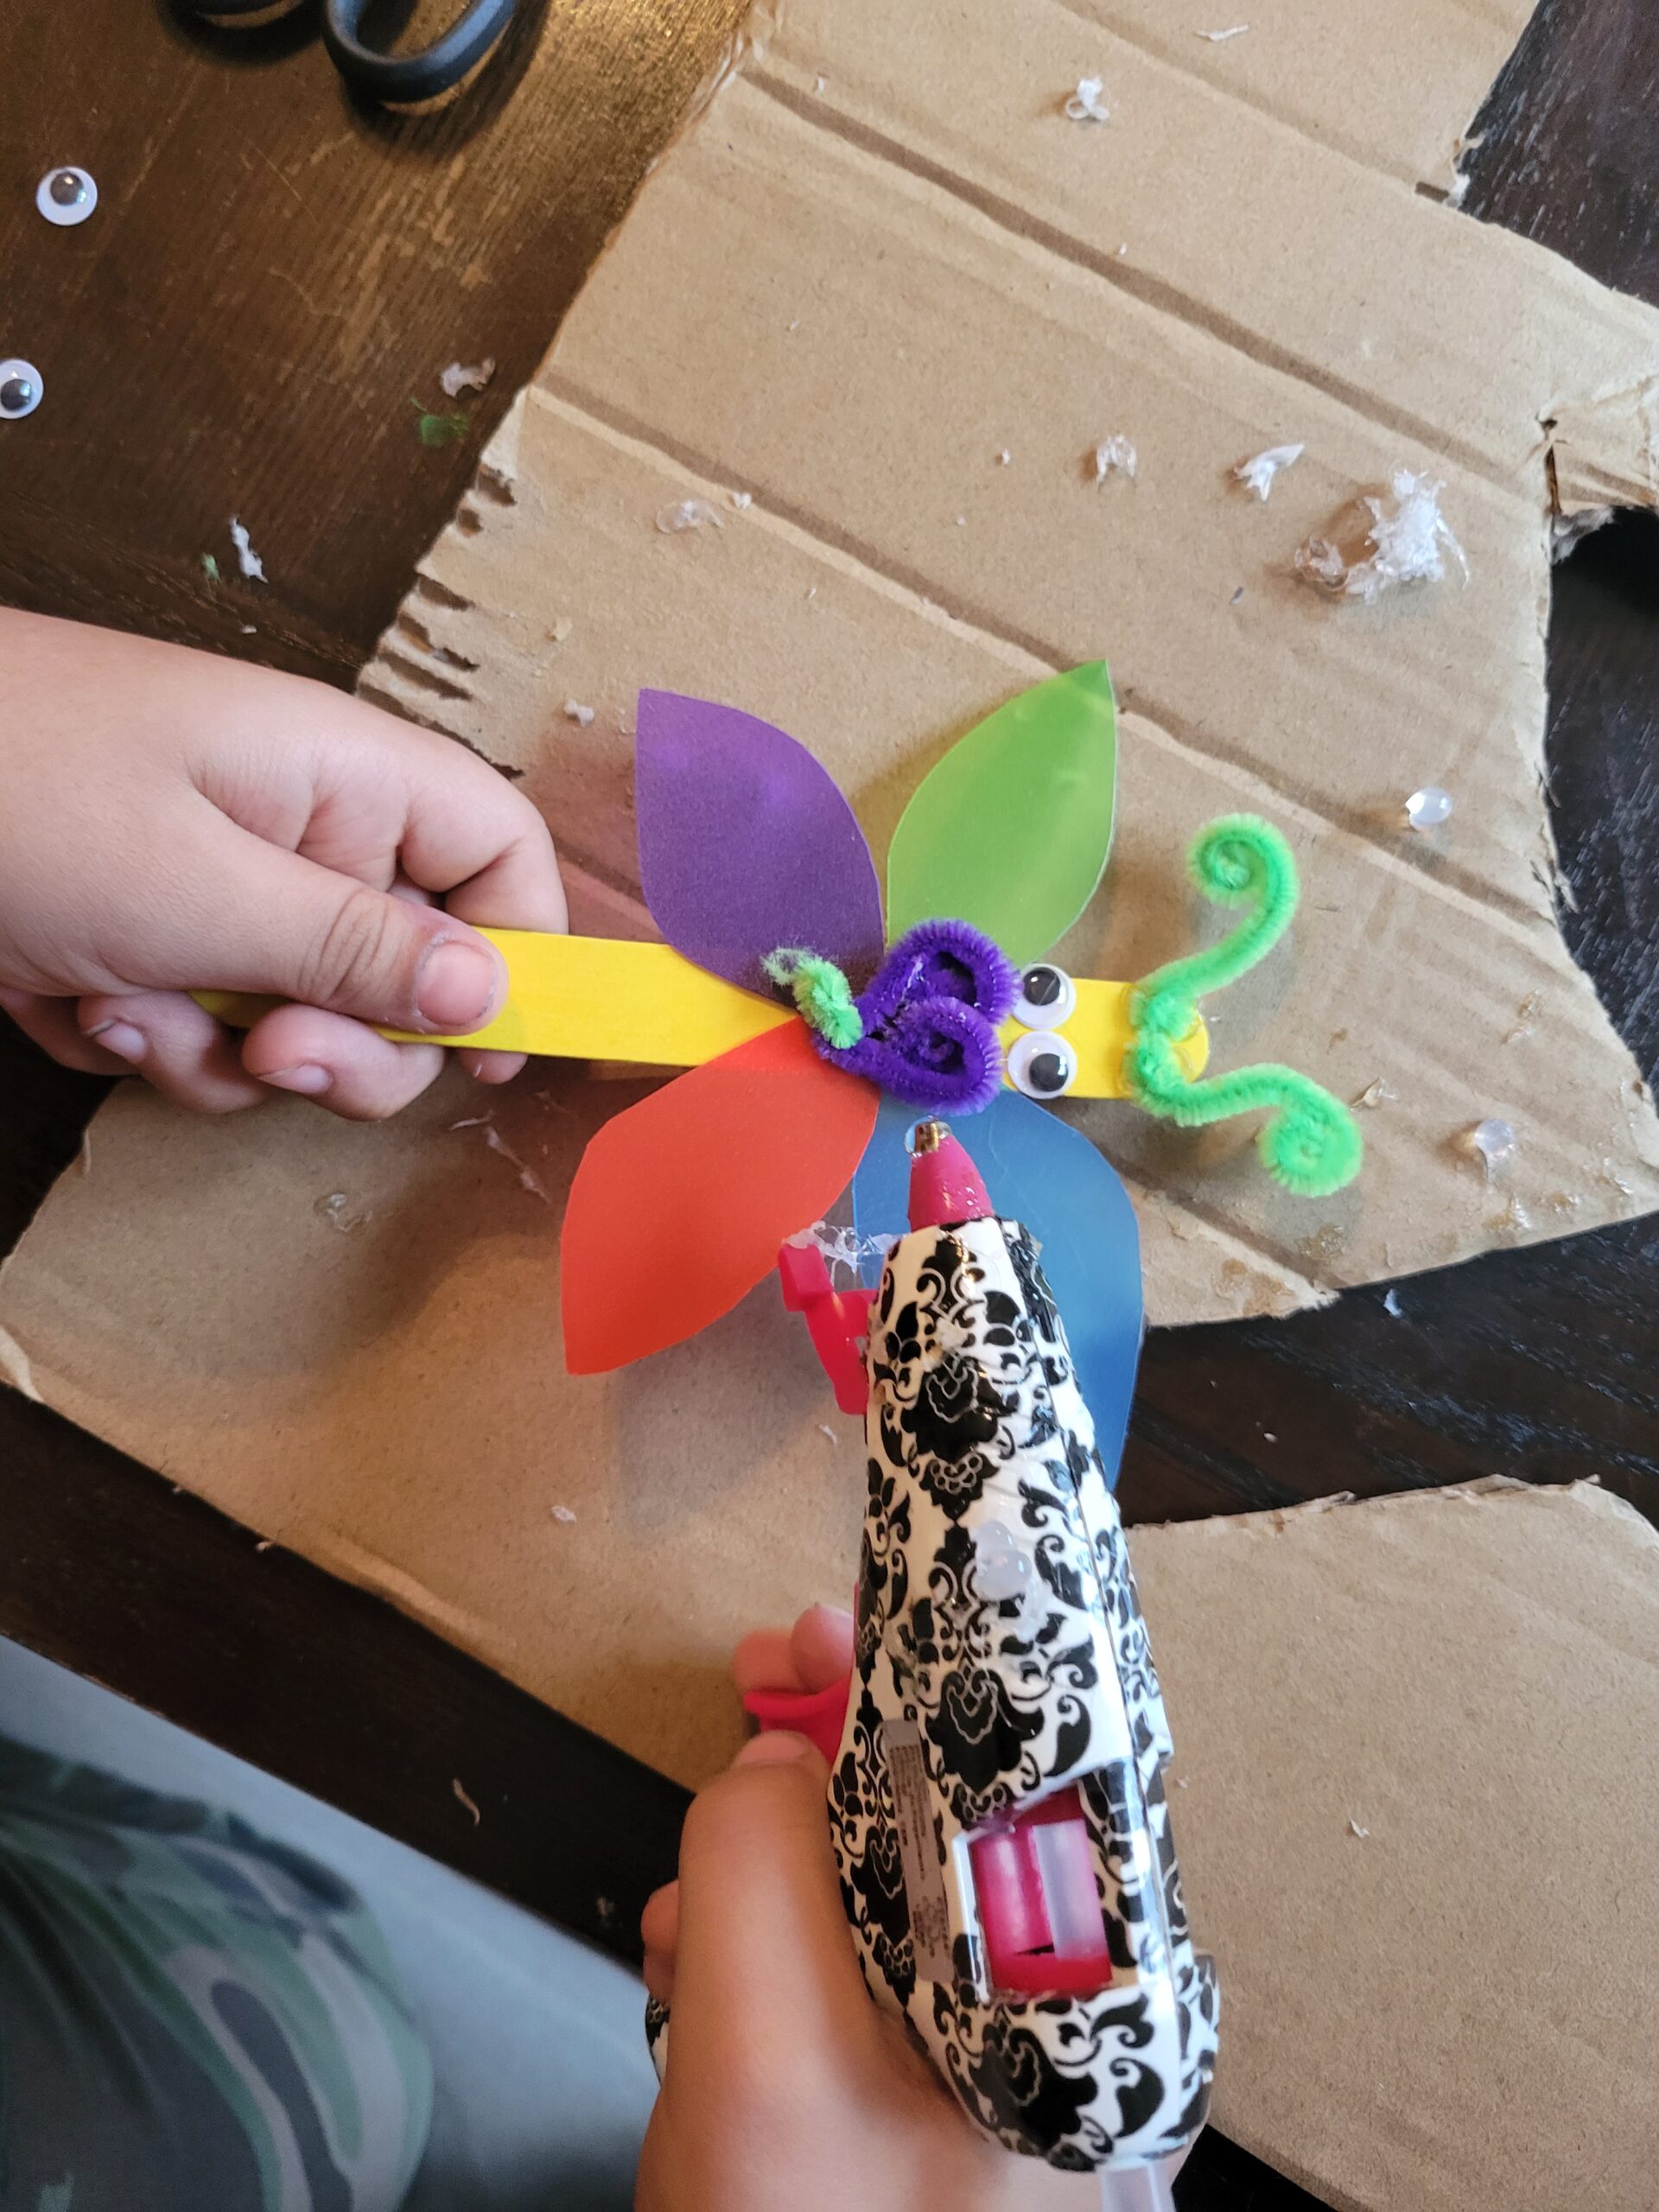
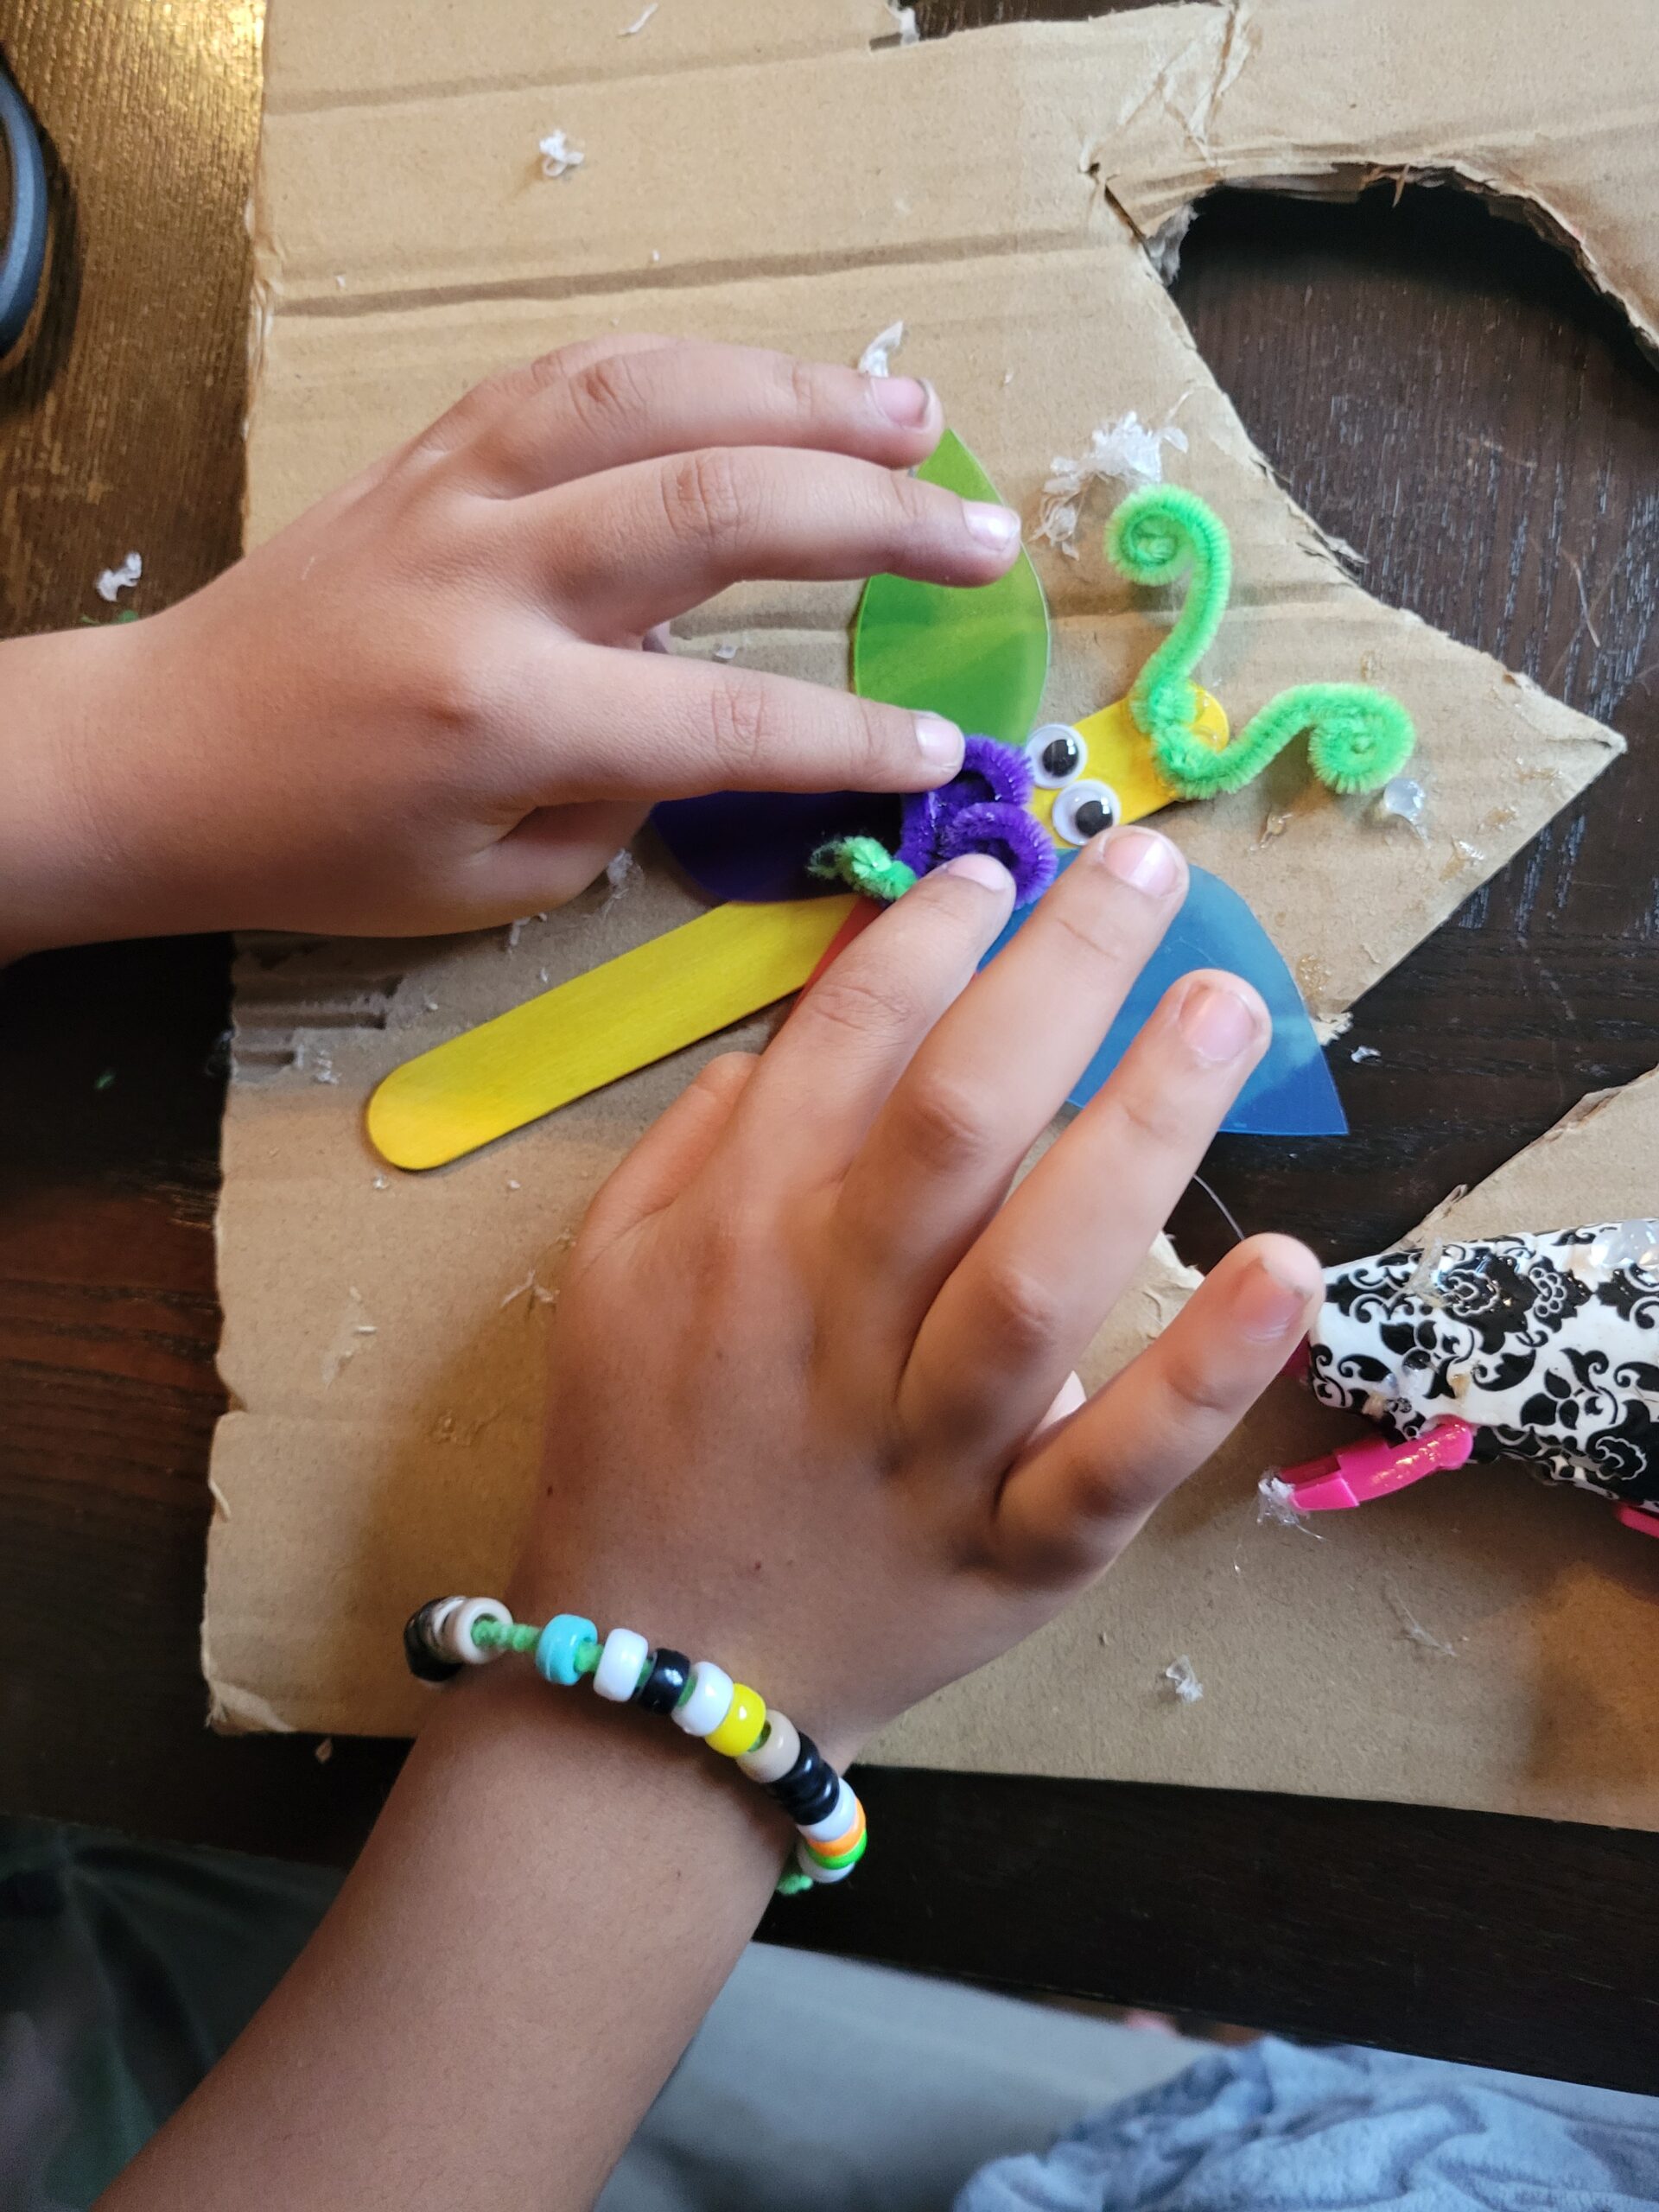
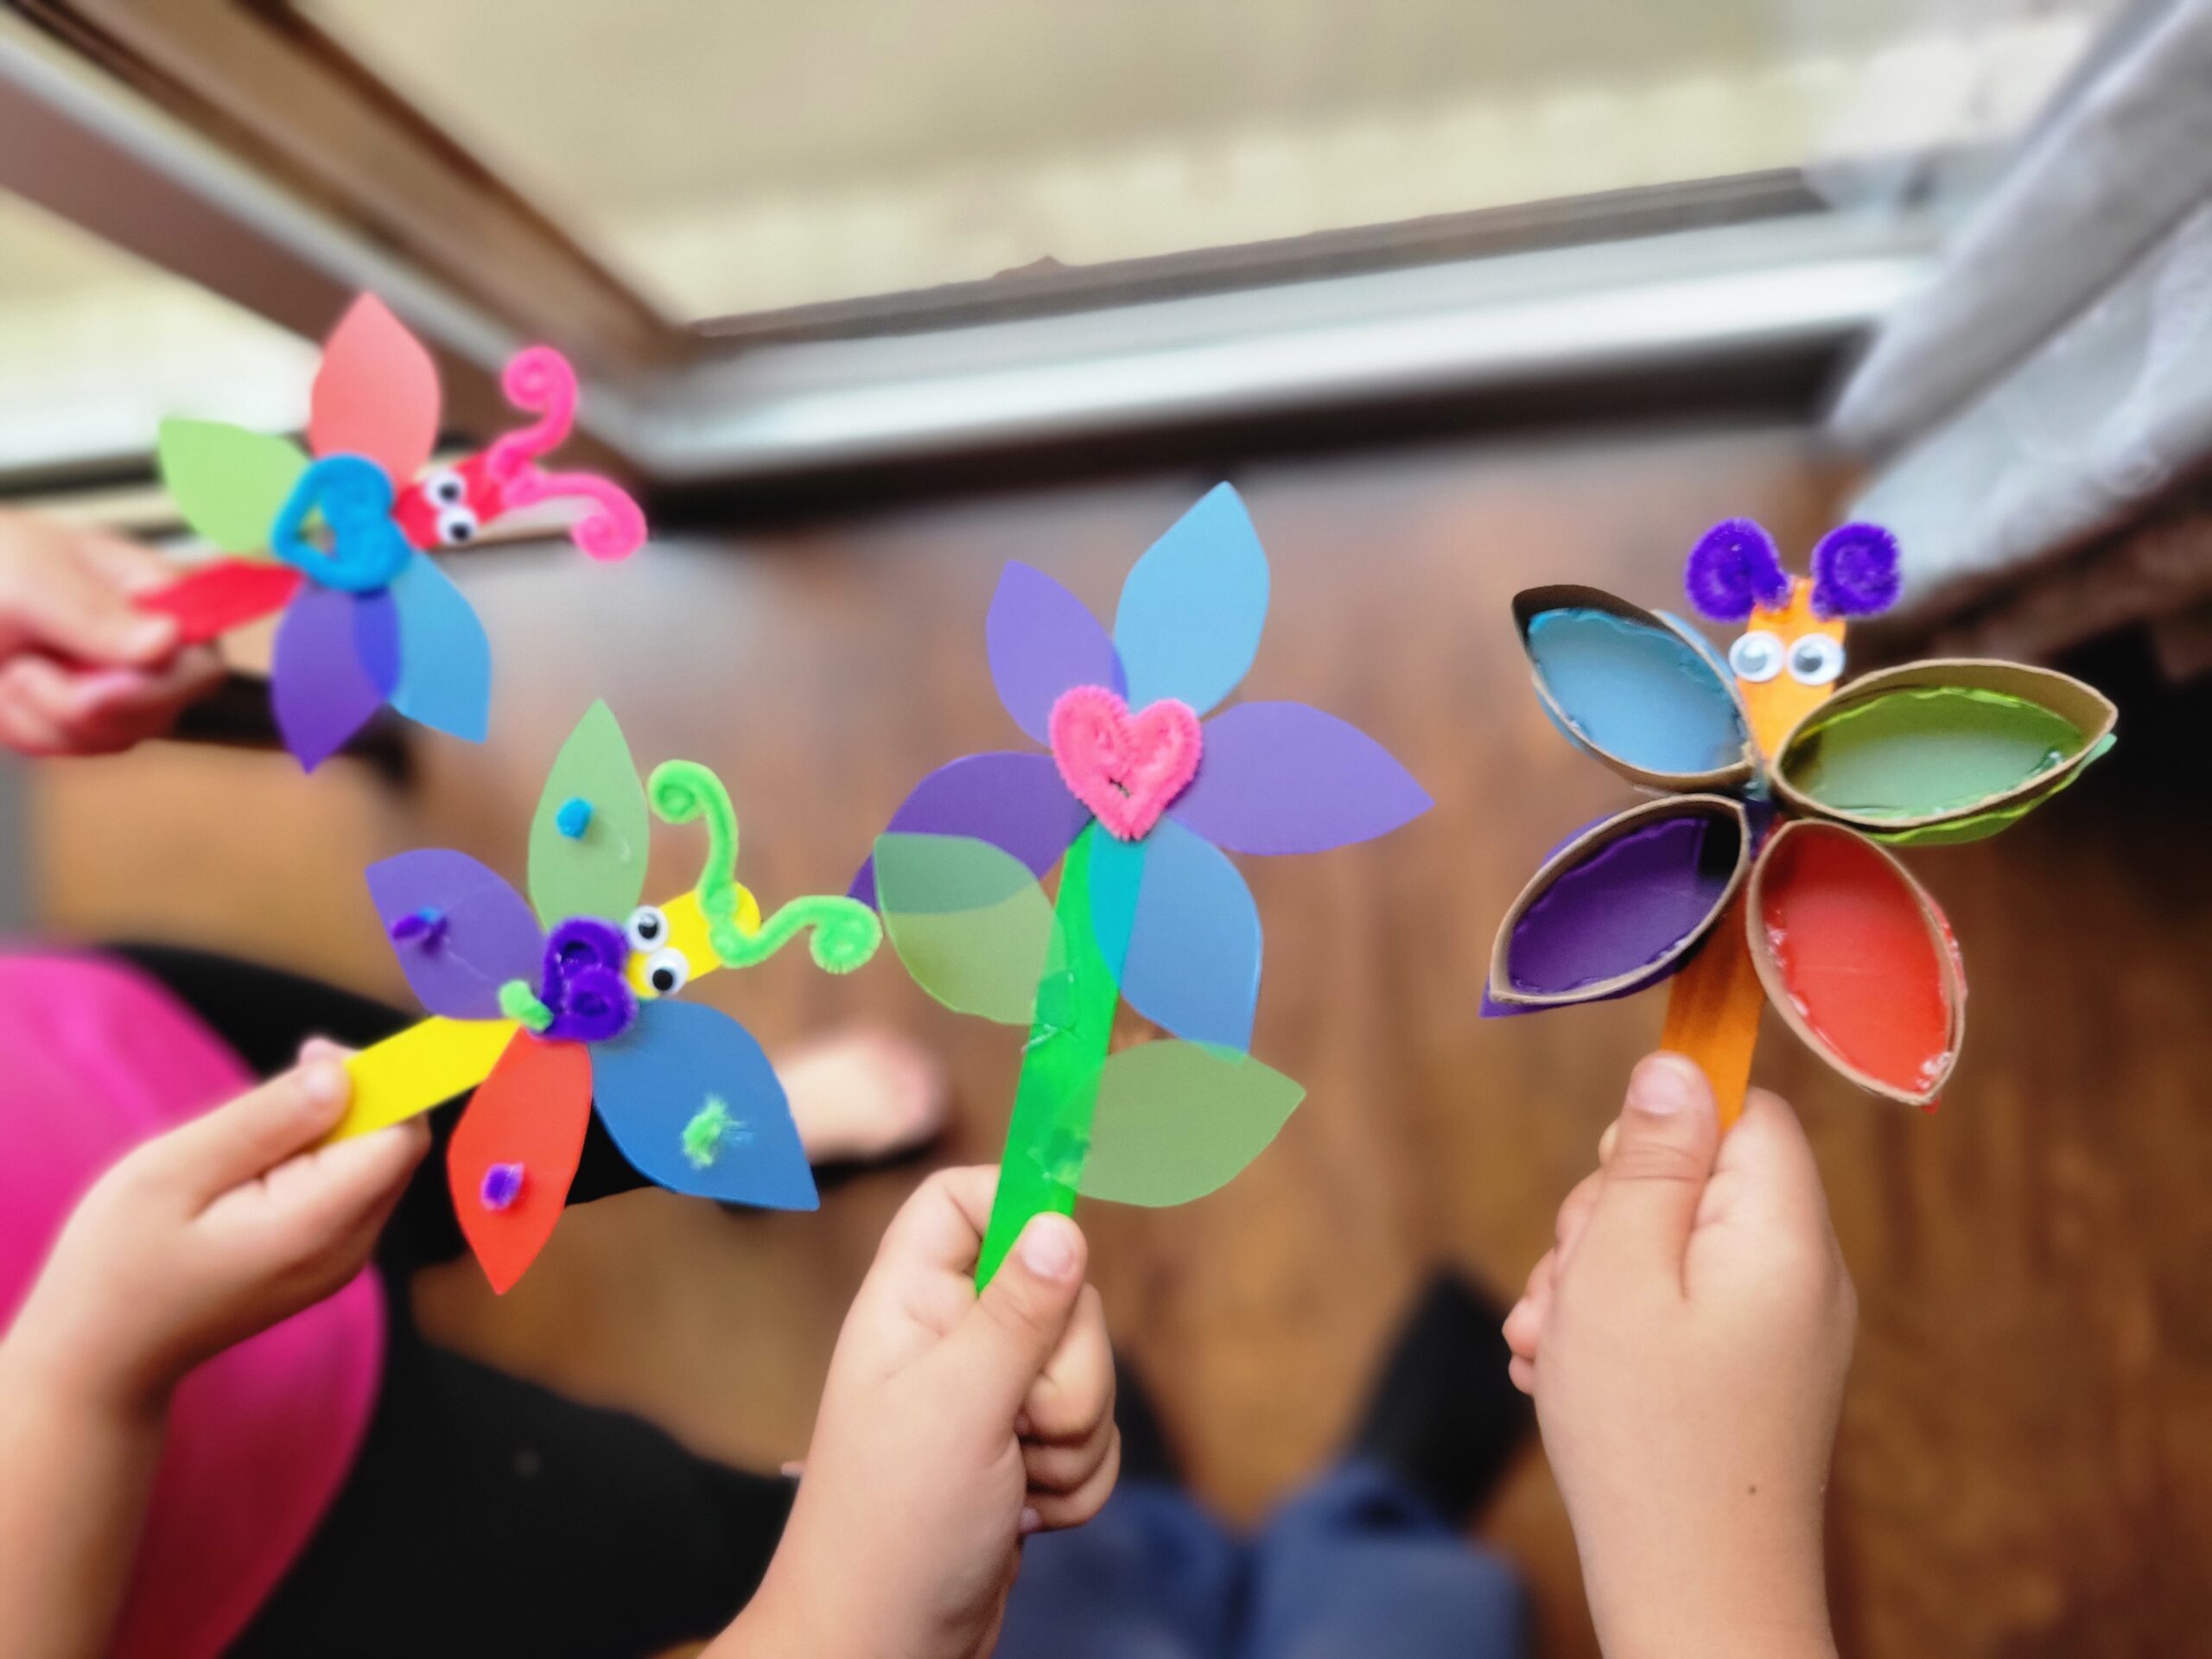
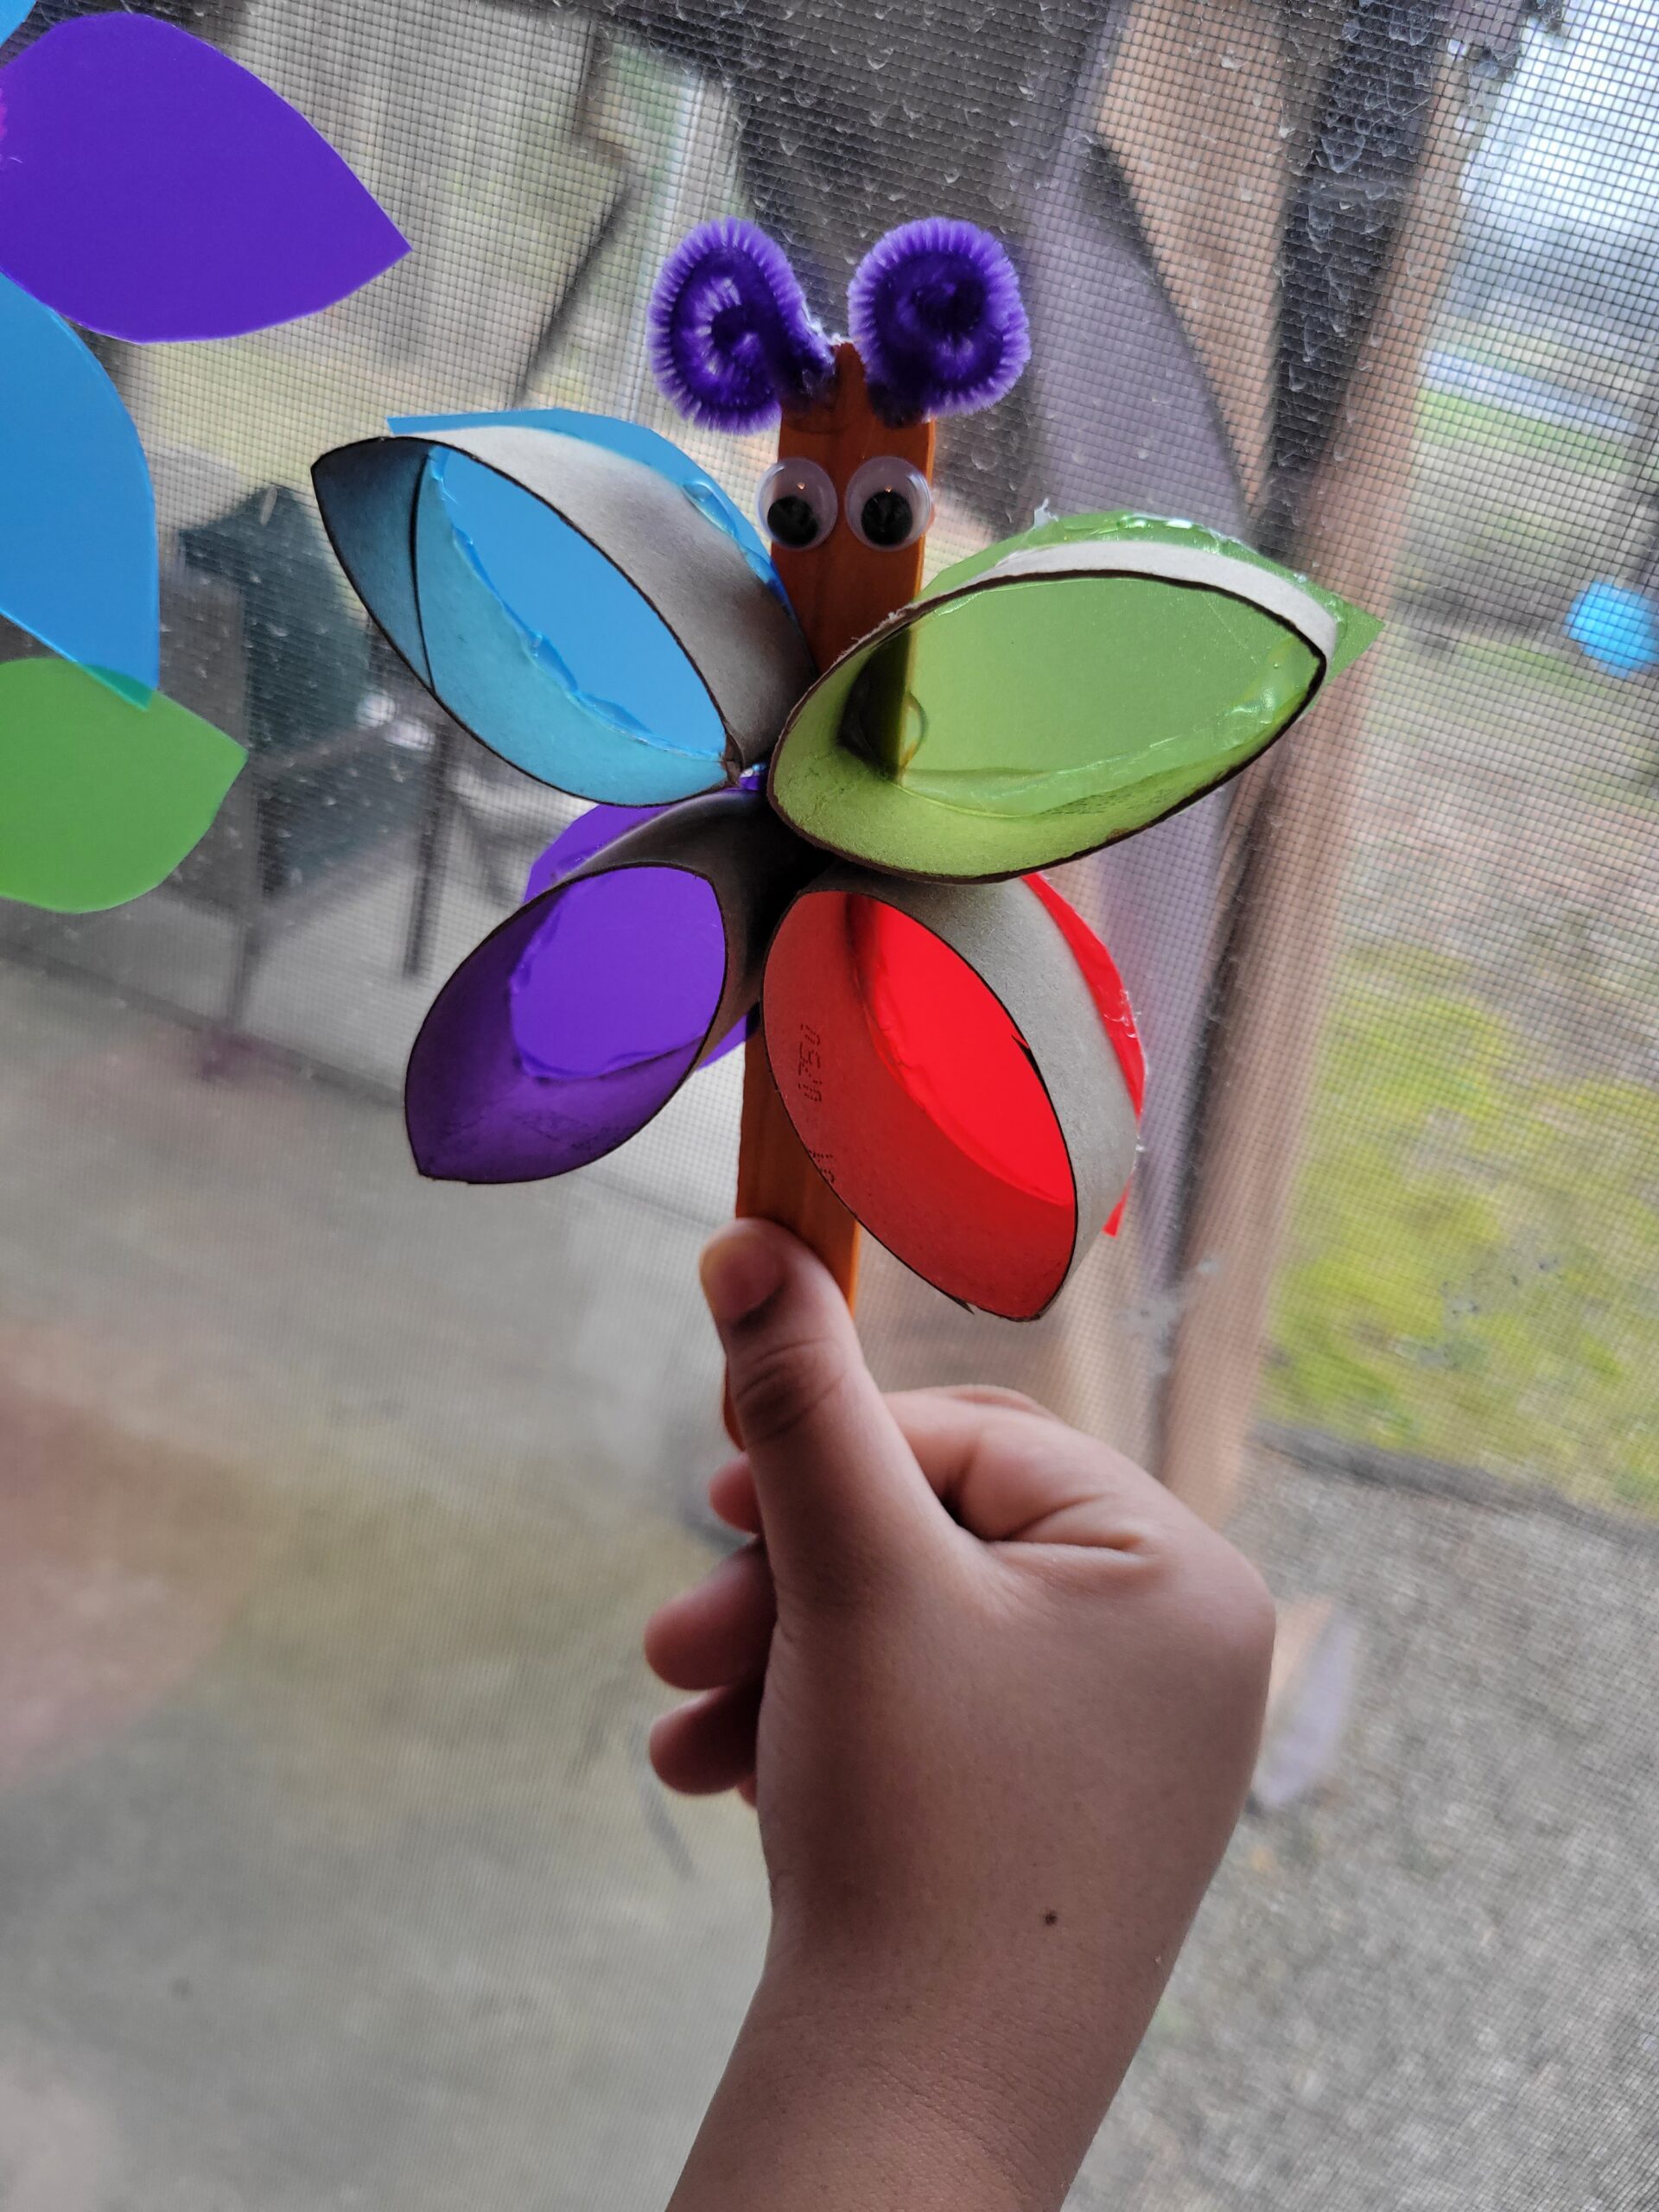
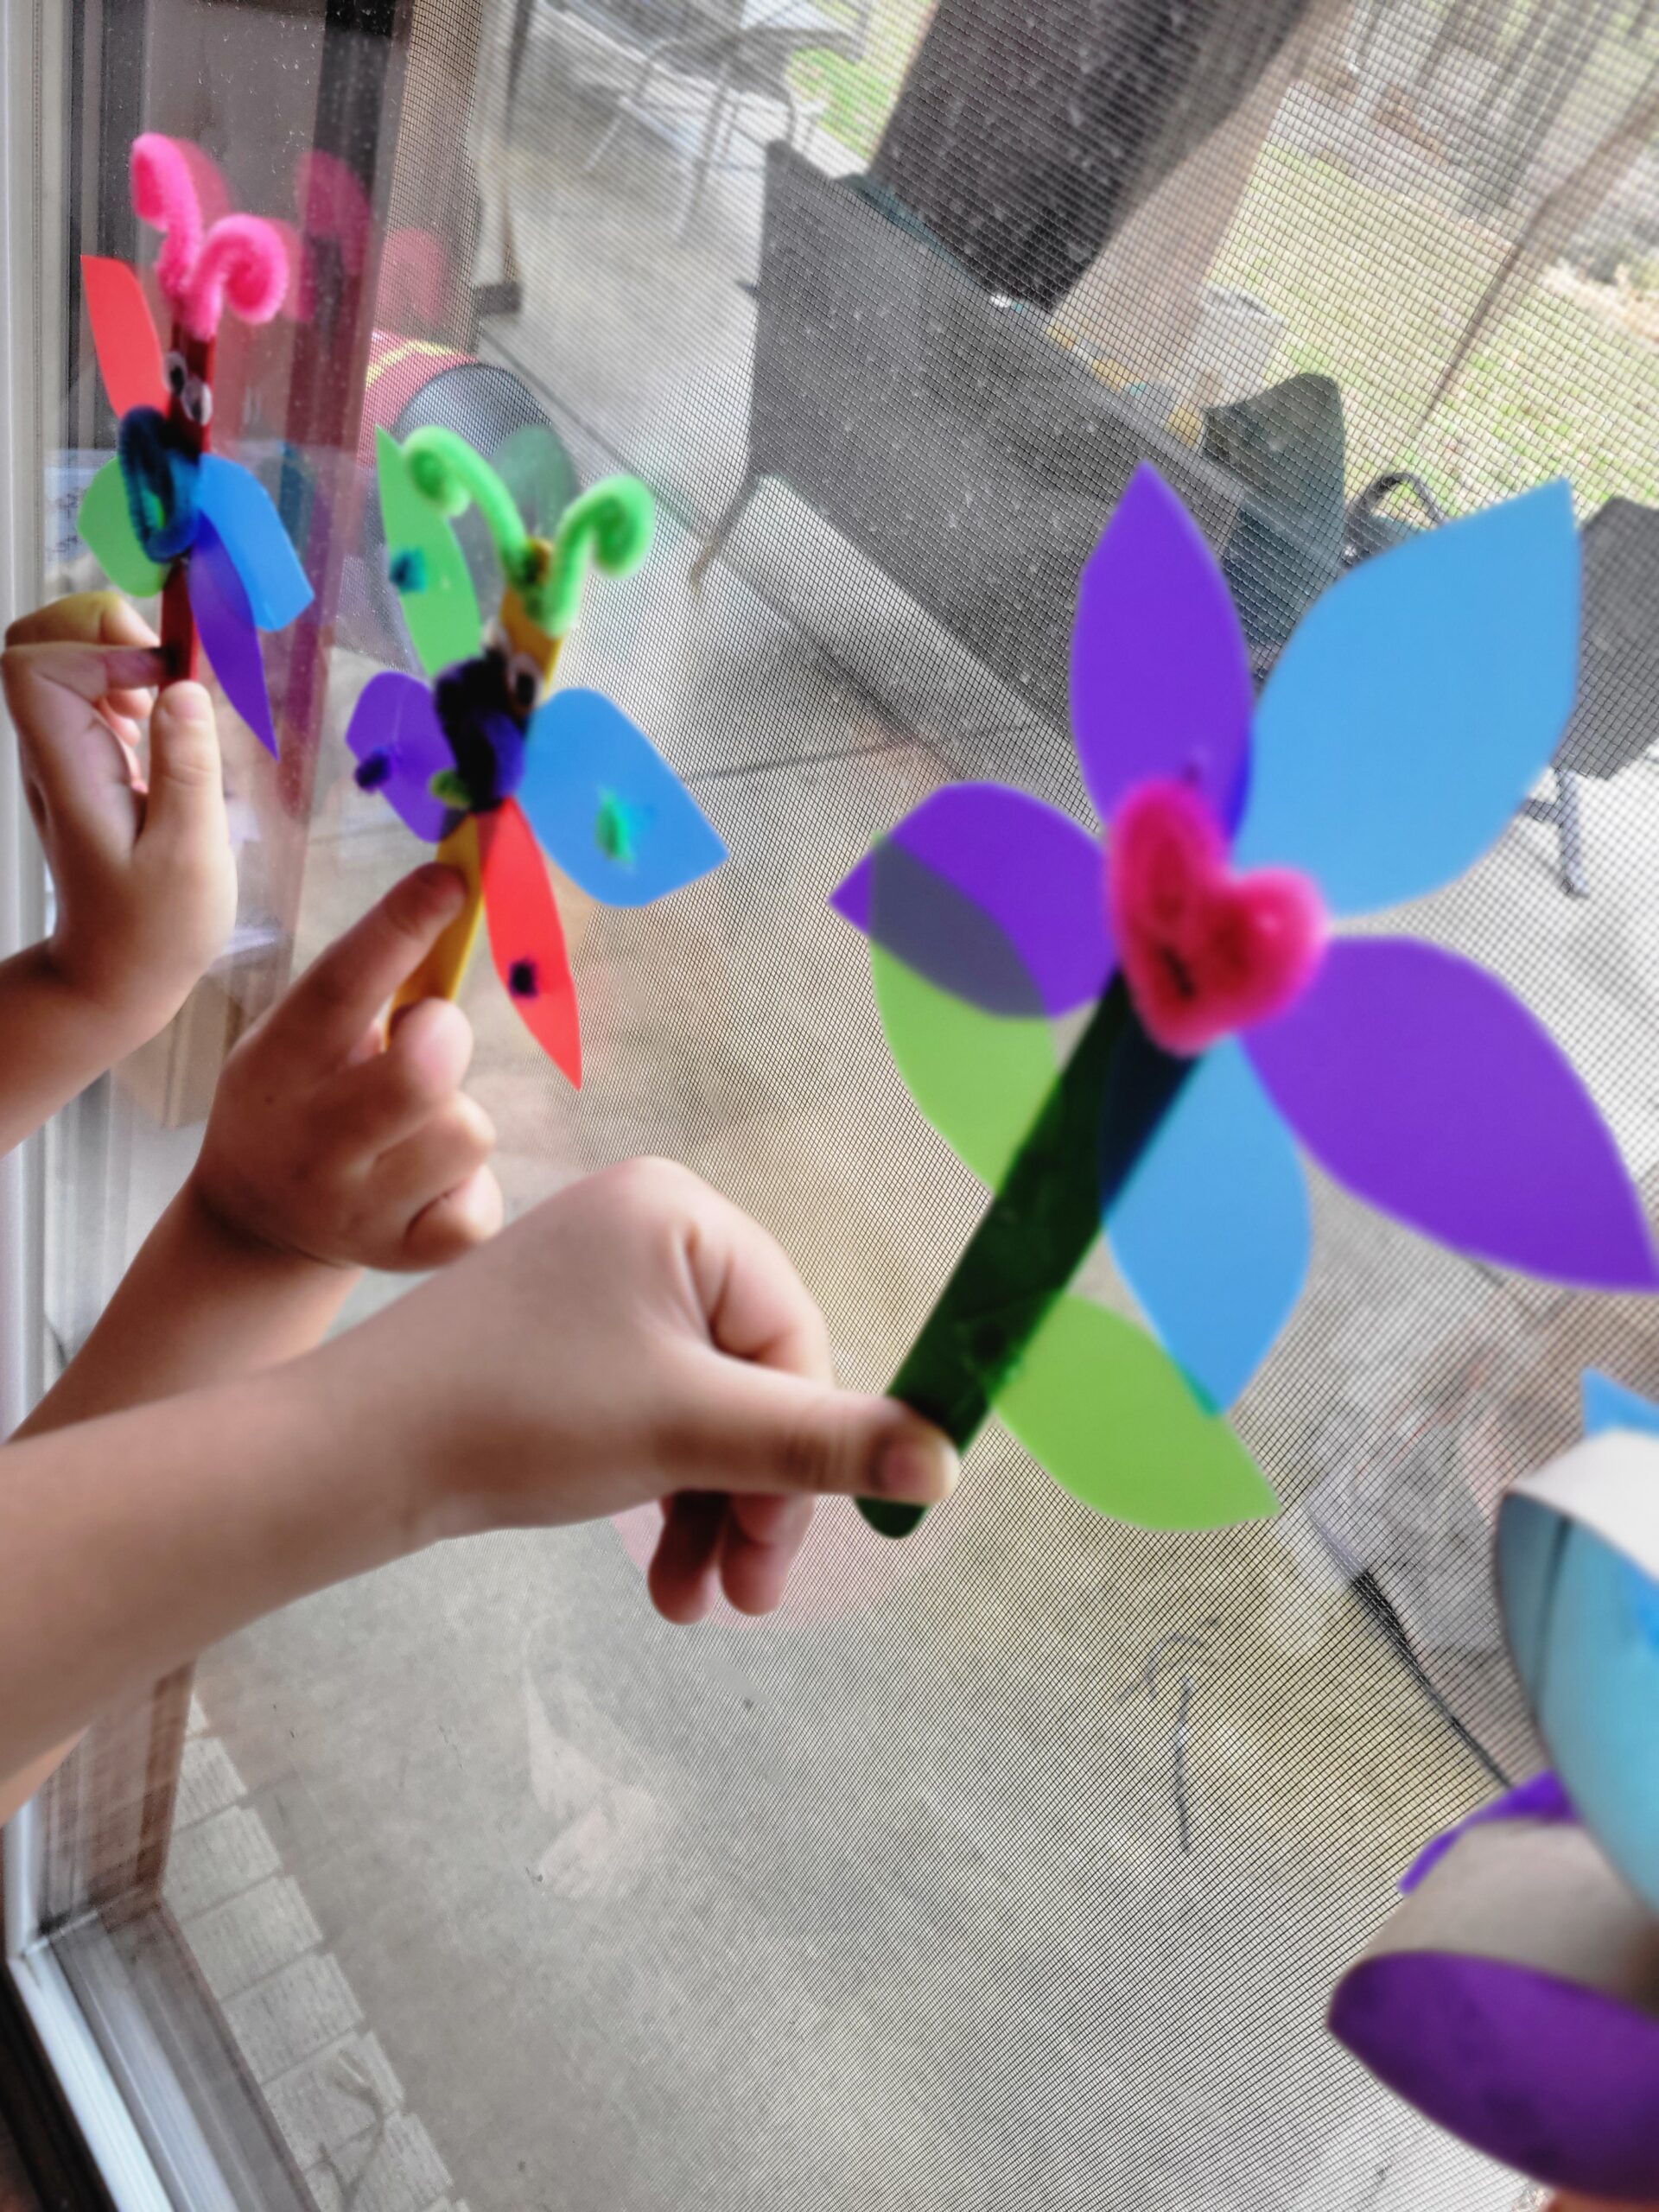
Translucent Art
Materials needed: Translucent colorful PVC sheets, glue gun, scissors, popsicle sticks, googly eyes, pom poms and pipe cleaners.
Start by precutting the shapes you will need depending on what art/creature you will be emulating. These PVC sheets were a little tough to cut with safety scissors so I would have them precut before starting a group. You can use Elmers’s glue, I used the hot glue gun just because of the fast dry time & it was a small group. The day we chose to do these was a little dreary, I can’t wait to see how they look on a sunny day. Once we had our pieces cut, we started attaching them where we would want them to the popsicle stick depending on if we were making flowers, butterflies or dragon flies. We shaped our pipe cleaners into little hearts for antennas and attached our eyes, even using little mini pom poms to decorate our wings! This was such a cute and easy little craft.
We also saved some of the clipping from the PVC to recycle later on somehow.
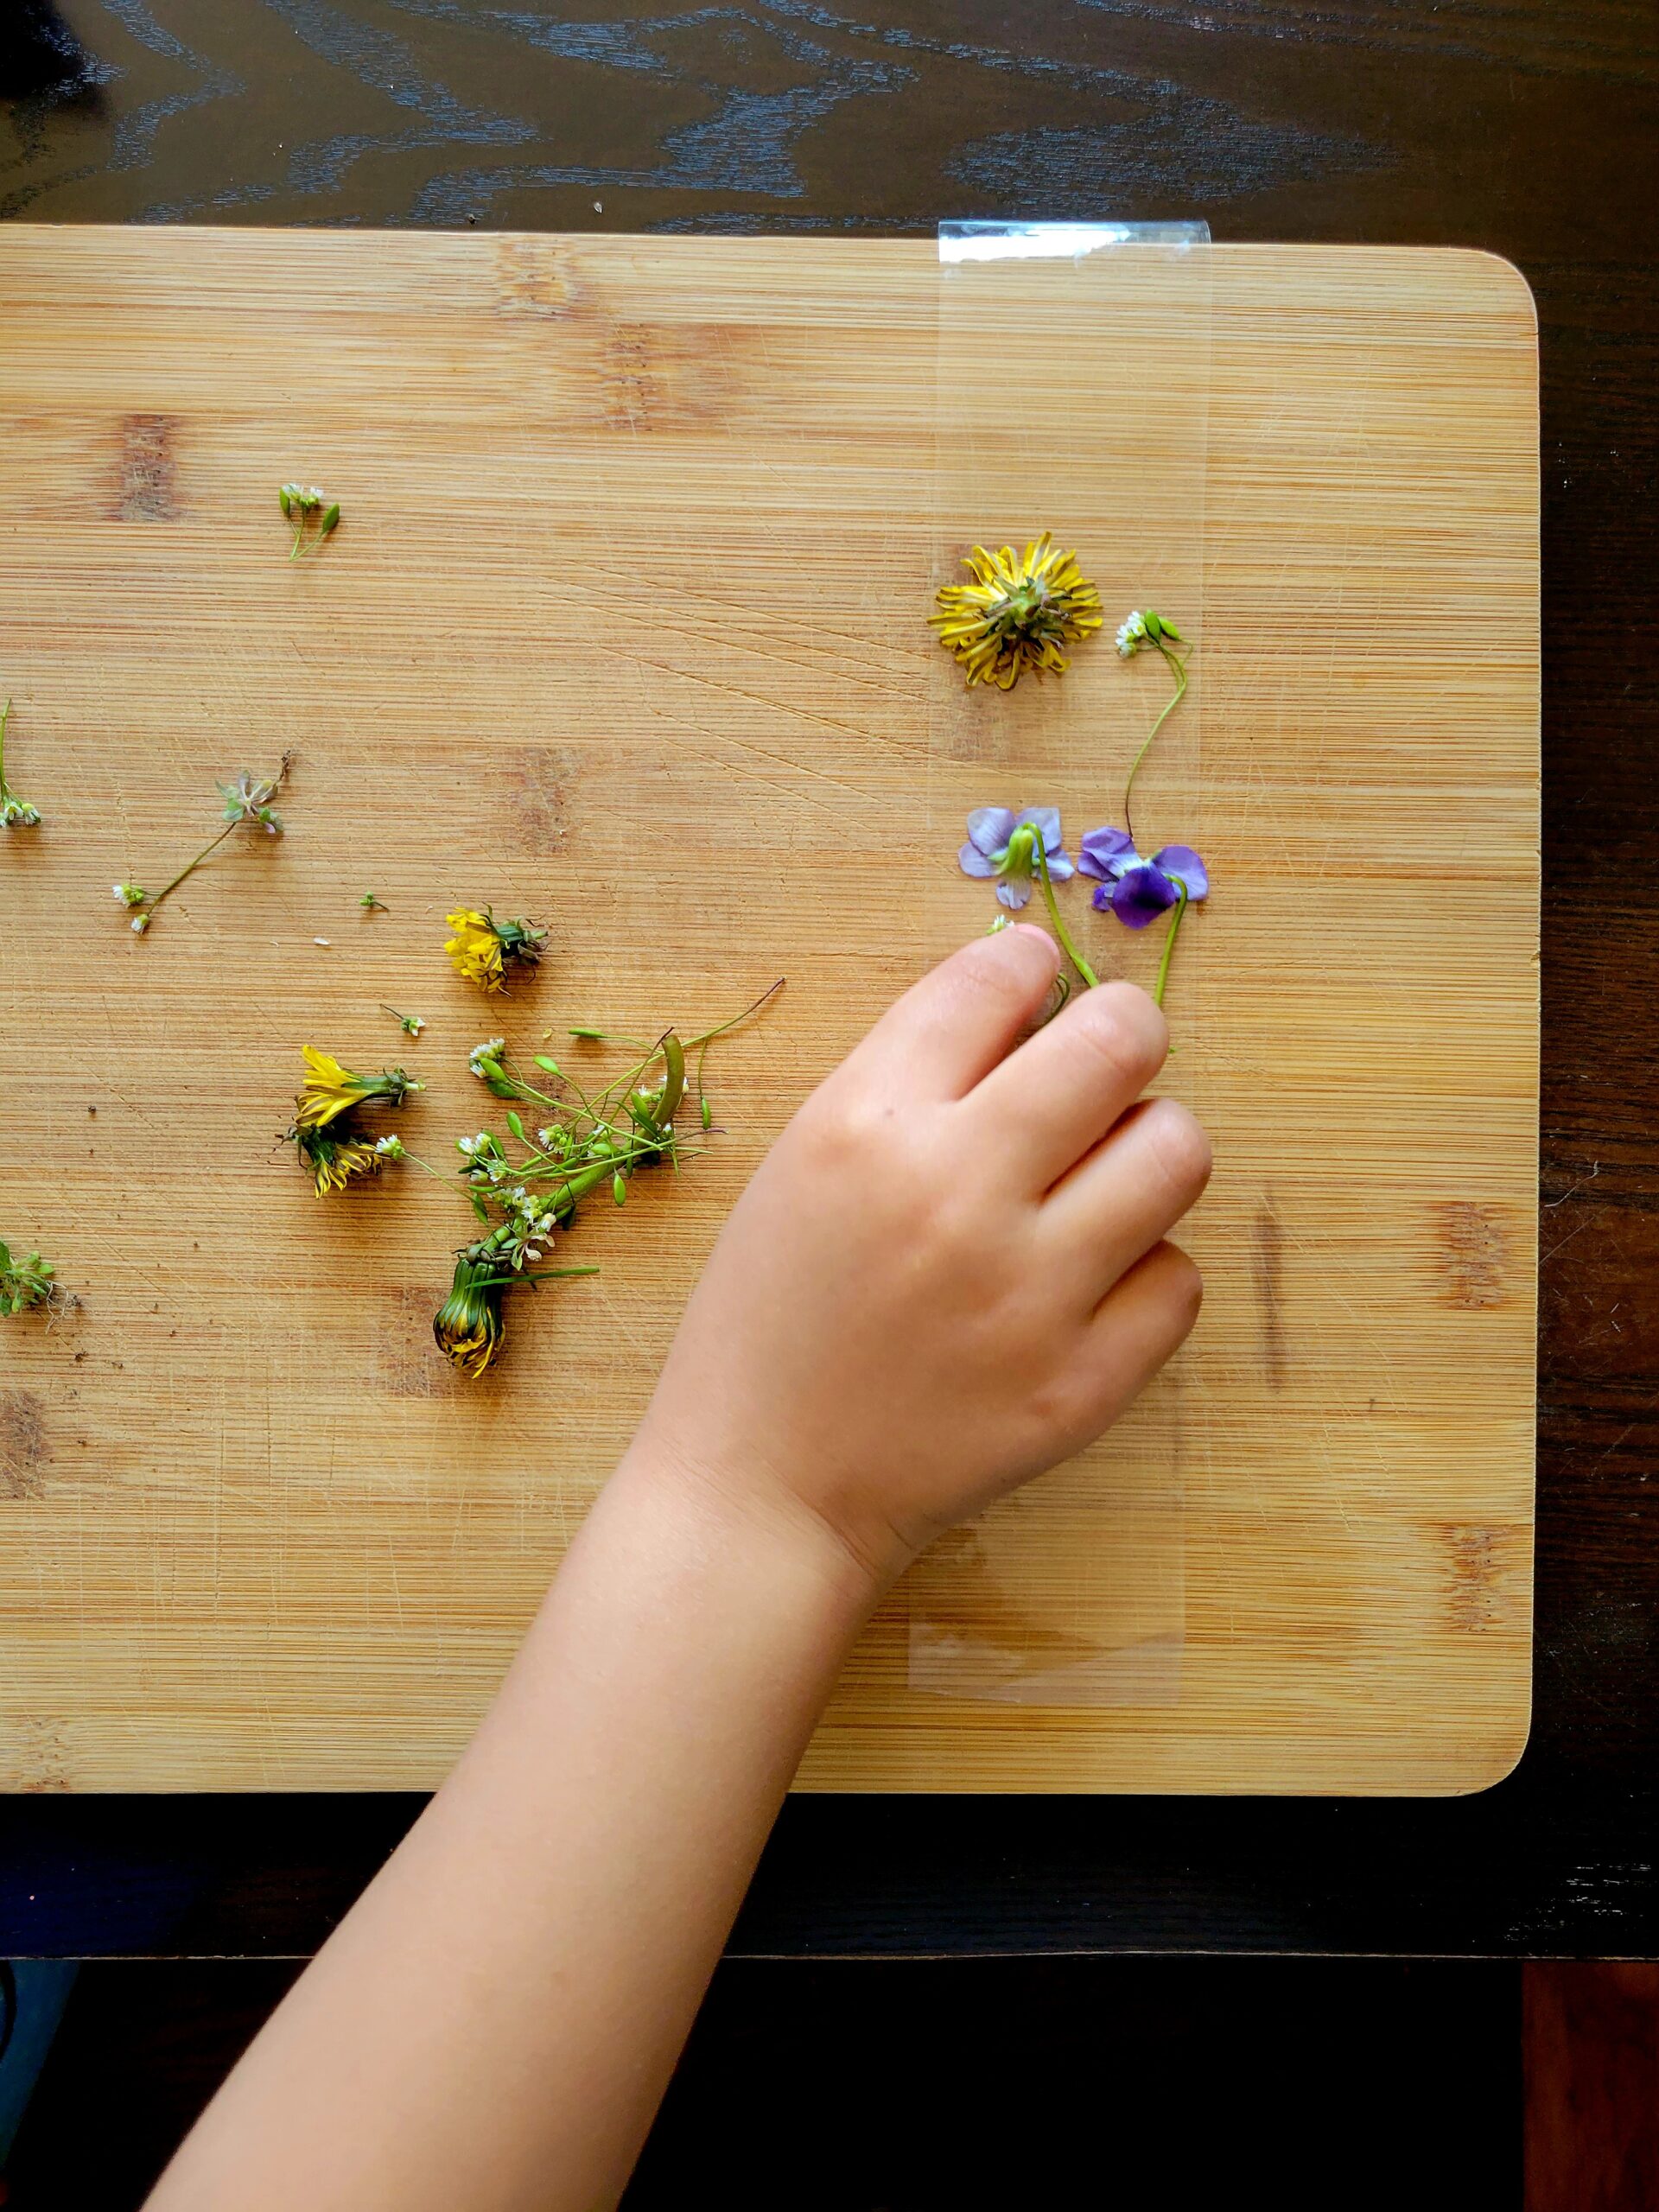


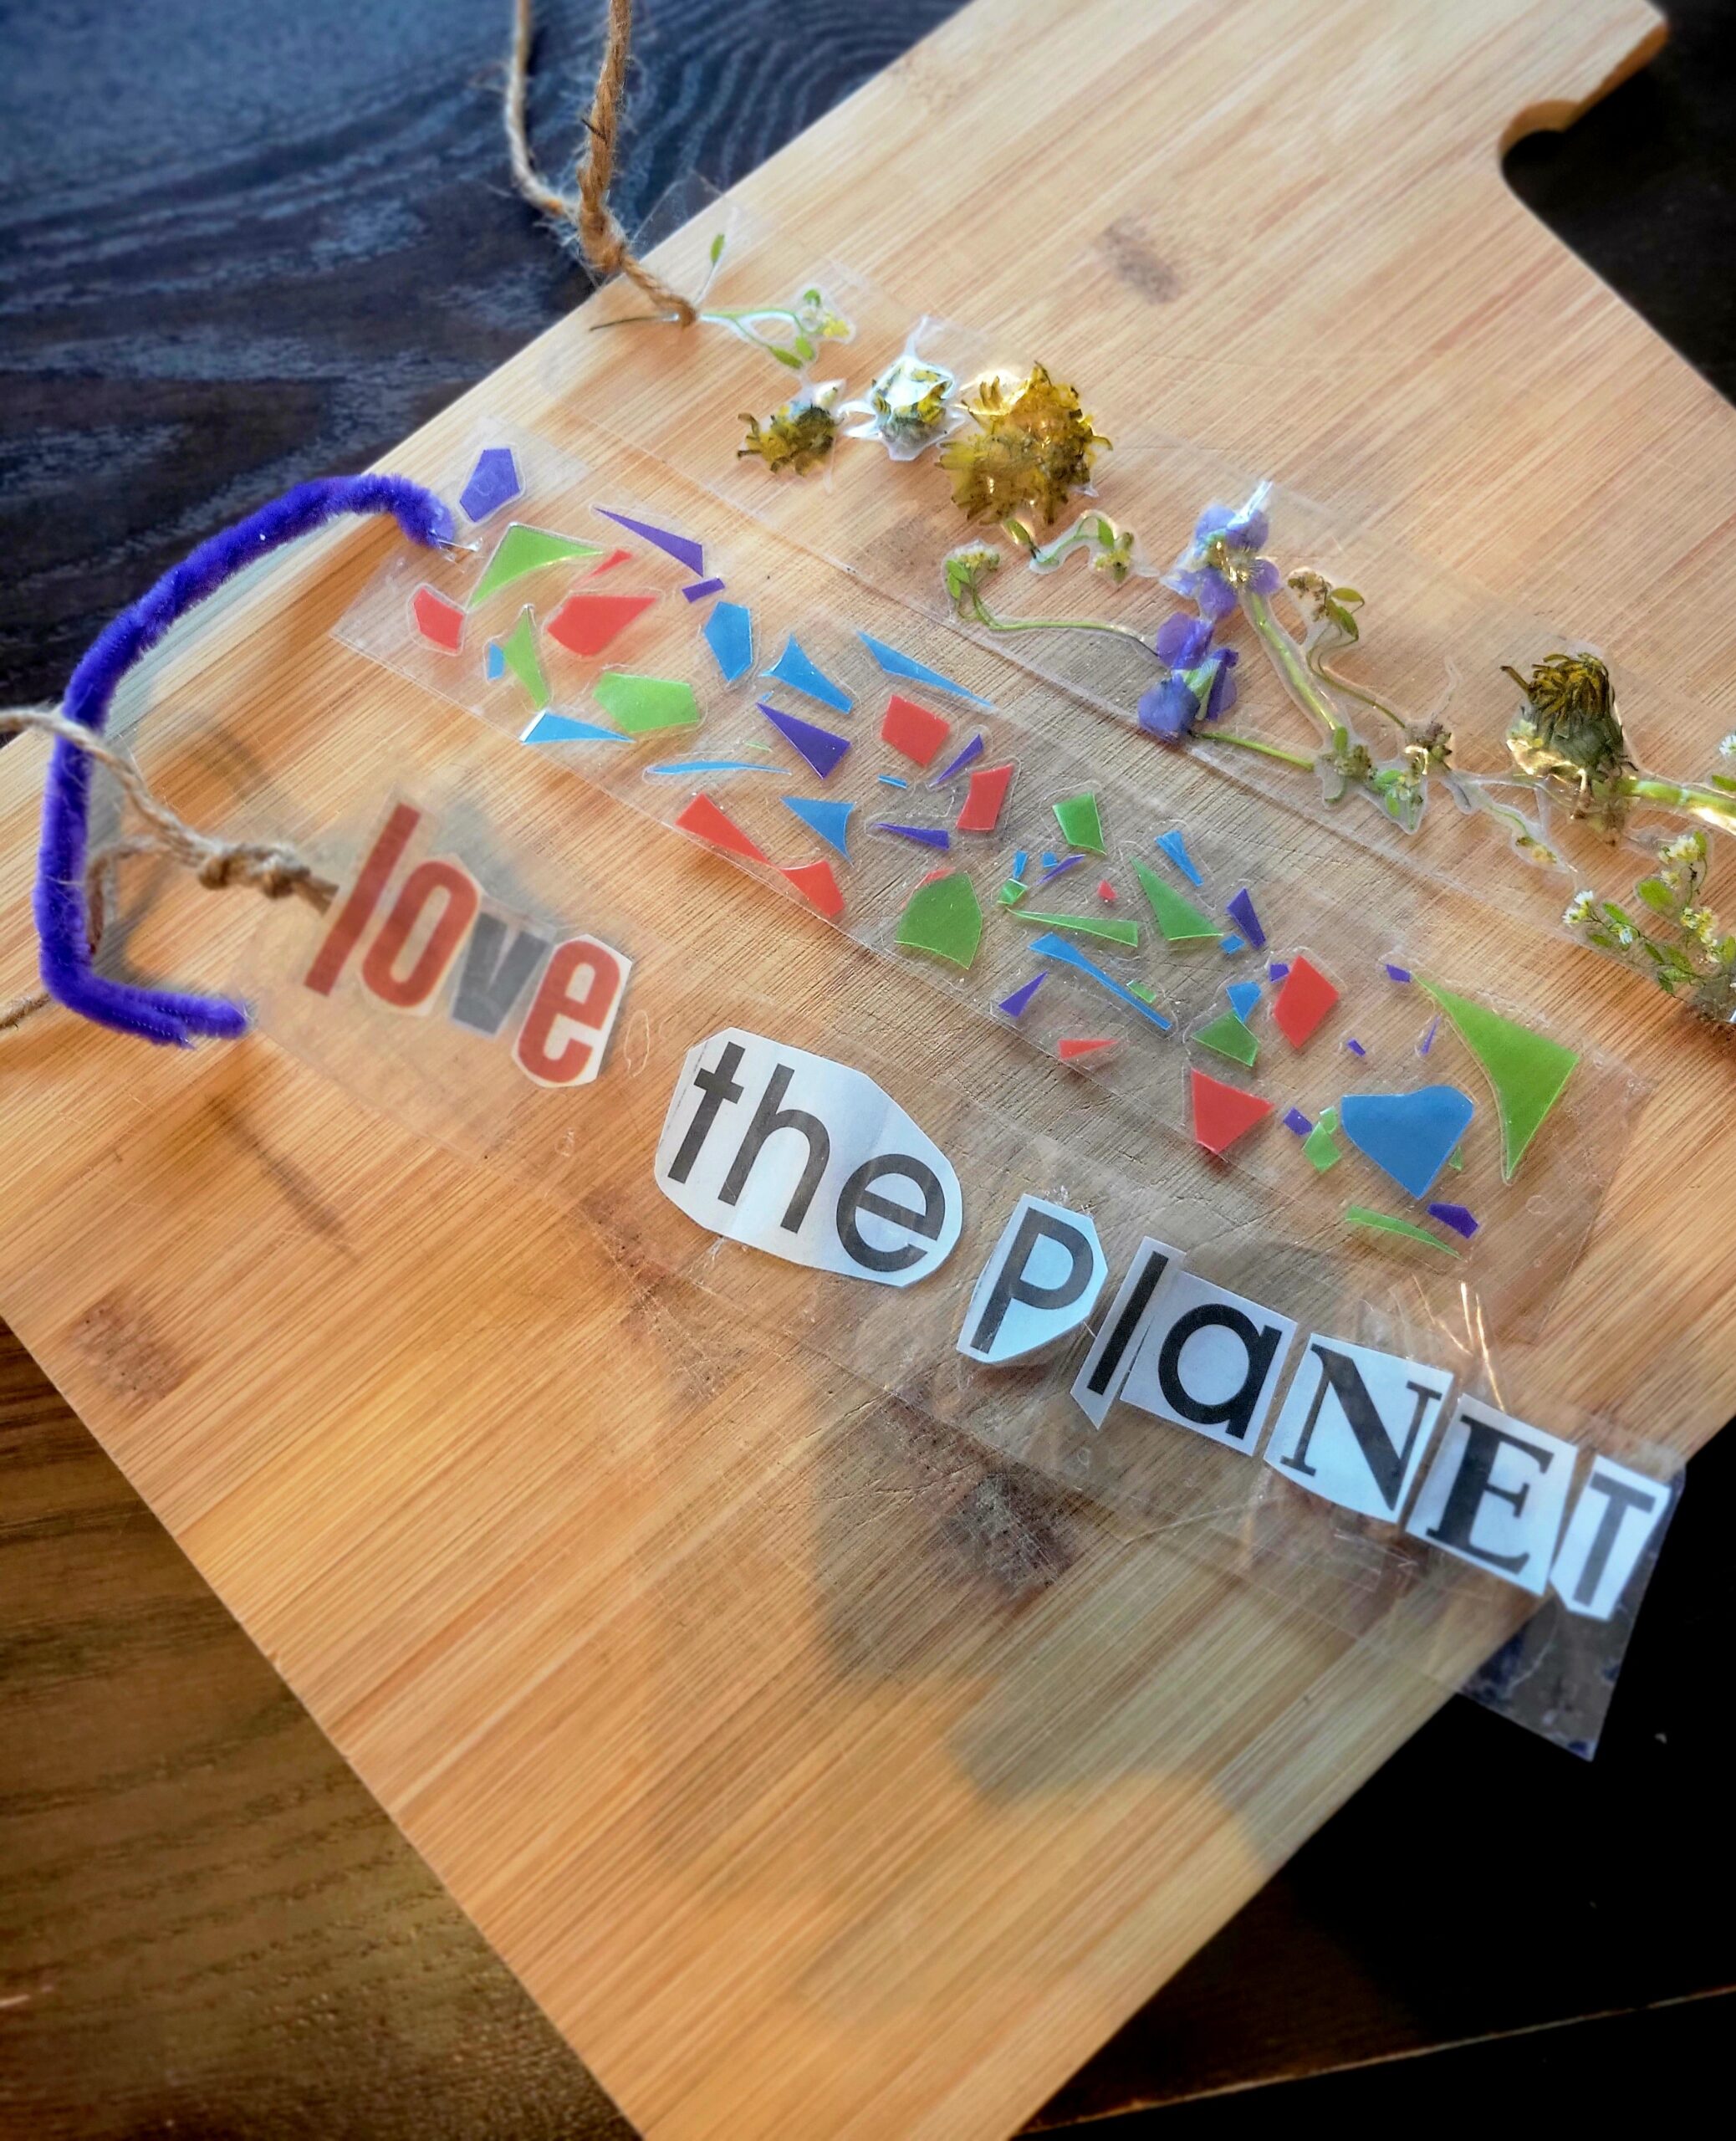
Recycled Bookmark
Materials needed: Clear packing tape, scissors, yarn or twine, flowers, leaves or other recycled materials.
If using flowers, it would be best to press them in between two books or something heavy as you prep to flatten them. Start by laying your materials out that you plan to use for decorations, then lay a piece of tape down sticky side up. We kept ours in place by rolling a small piece at the top and bottom to stick to the table so we could easily press our objects down. Then we just began gently laying our objects onto the sticky tape, once this is done you simply take another piece of tape and sticky side down attach them together. Press them down firmly then cut a small hole at the top of your tape for your string, a hole puncher would be perfect, but scissors work great too.
We gathered flowers with a small little walk outside since this is a simple and quick craft you can use the extra time to get out to get some fresh air. We brought along a bag and some gloves to pick up litter also.
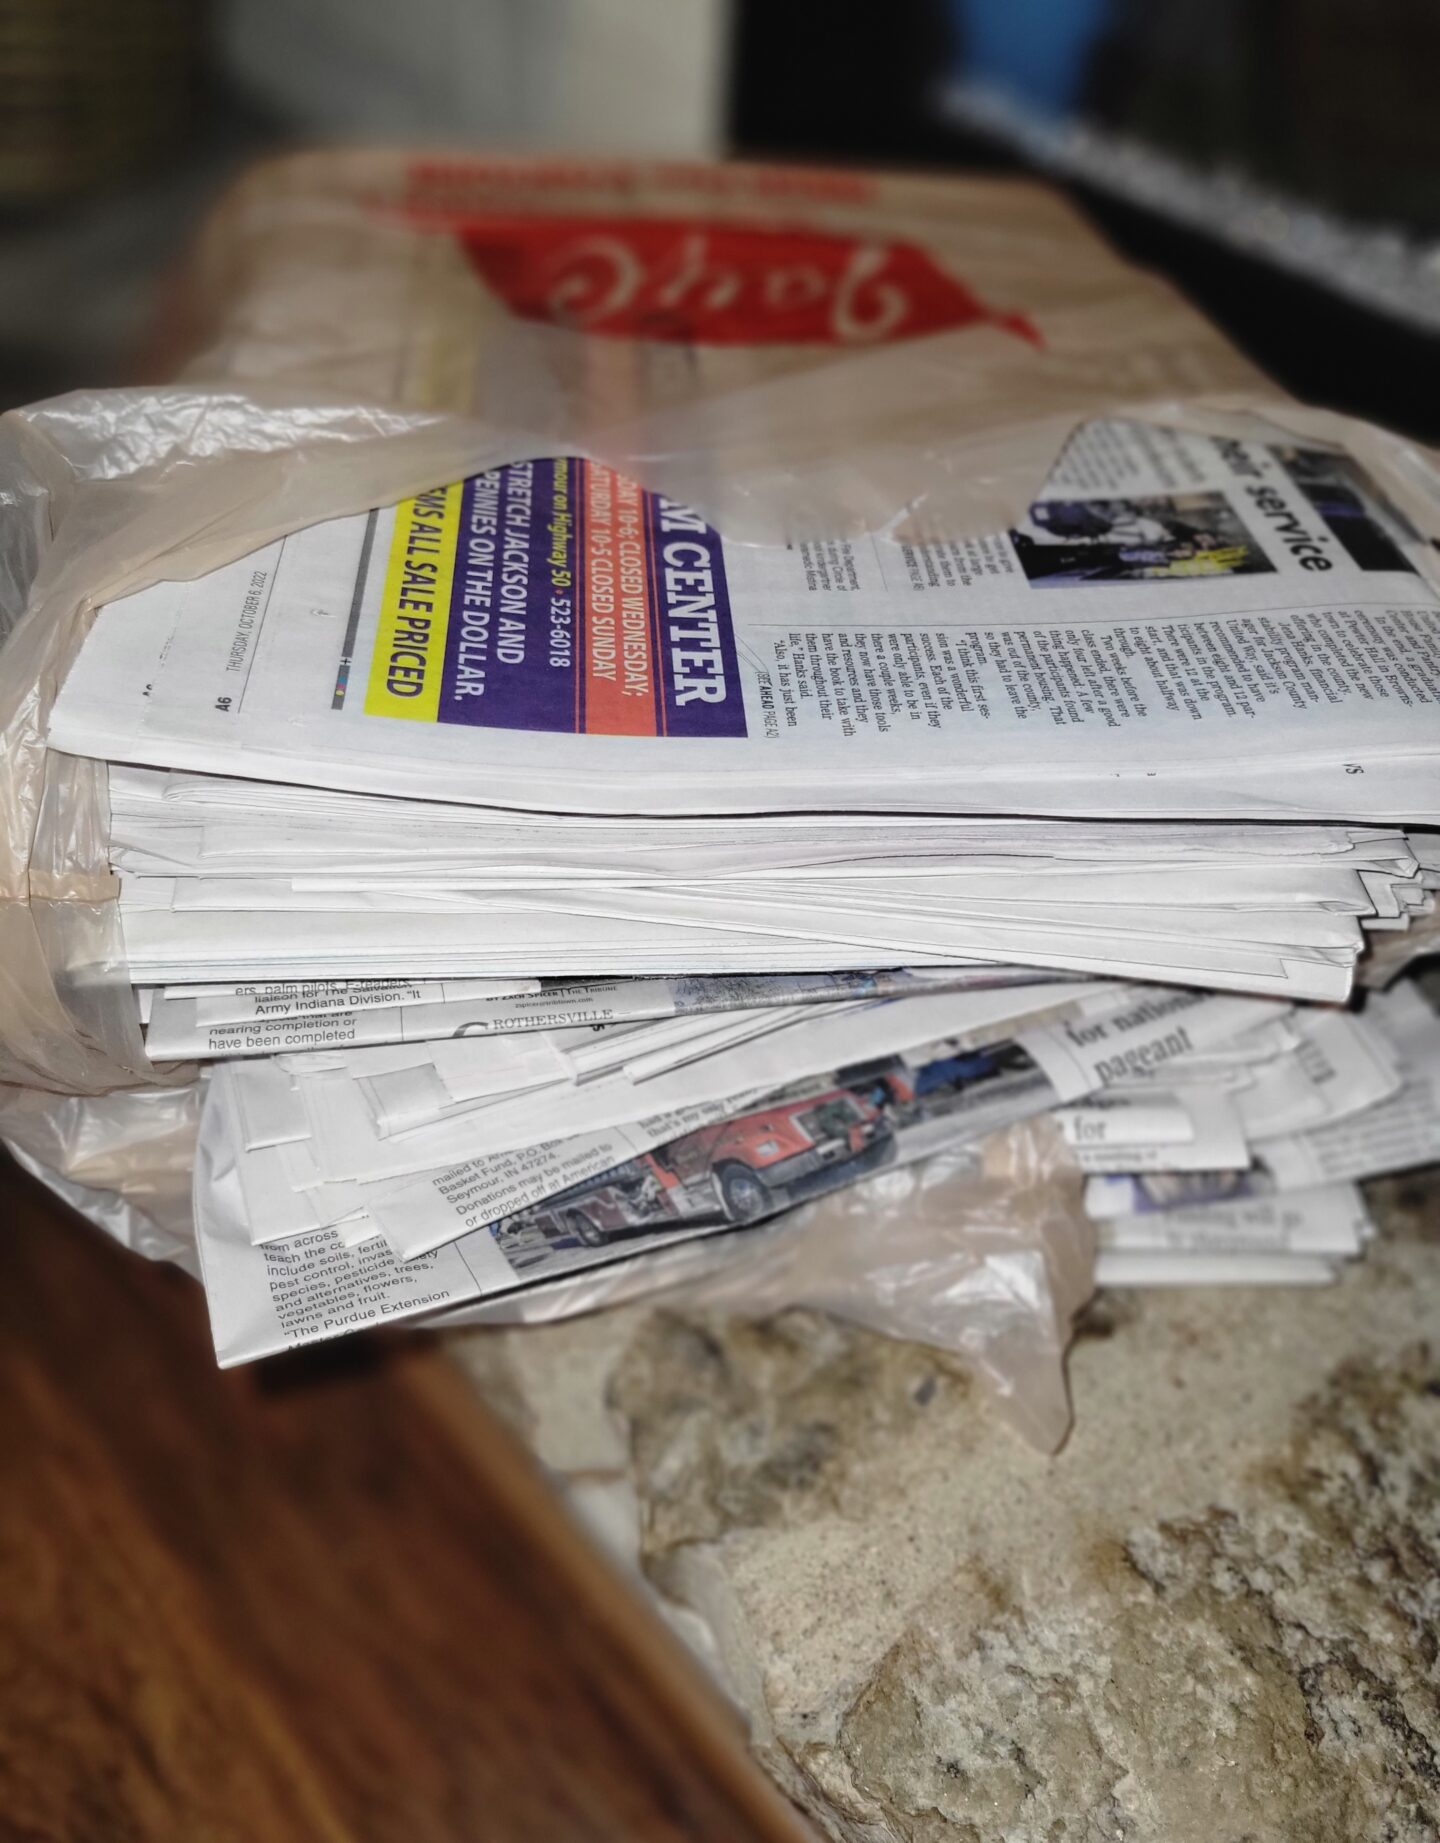
We used old newspaper, small scraps saved from other projects, leaves and wildflowers to decorate our bookmarks. The students can use clippings to spell out their name or anything else they choose, and it shows the many different ways to reuse daily items.
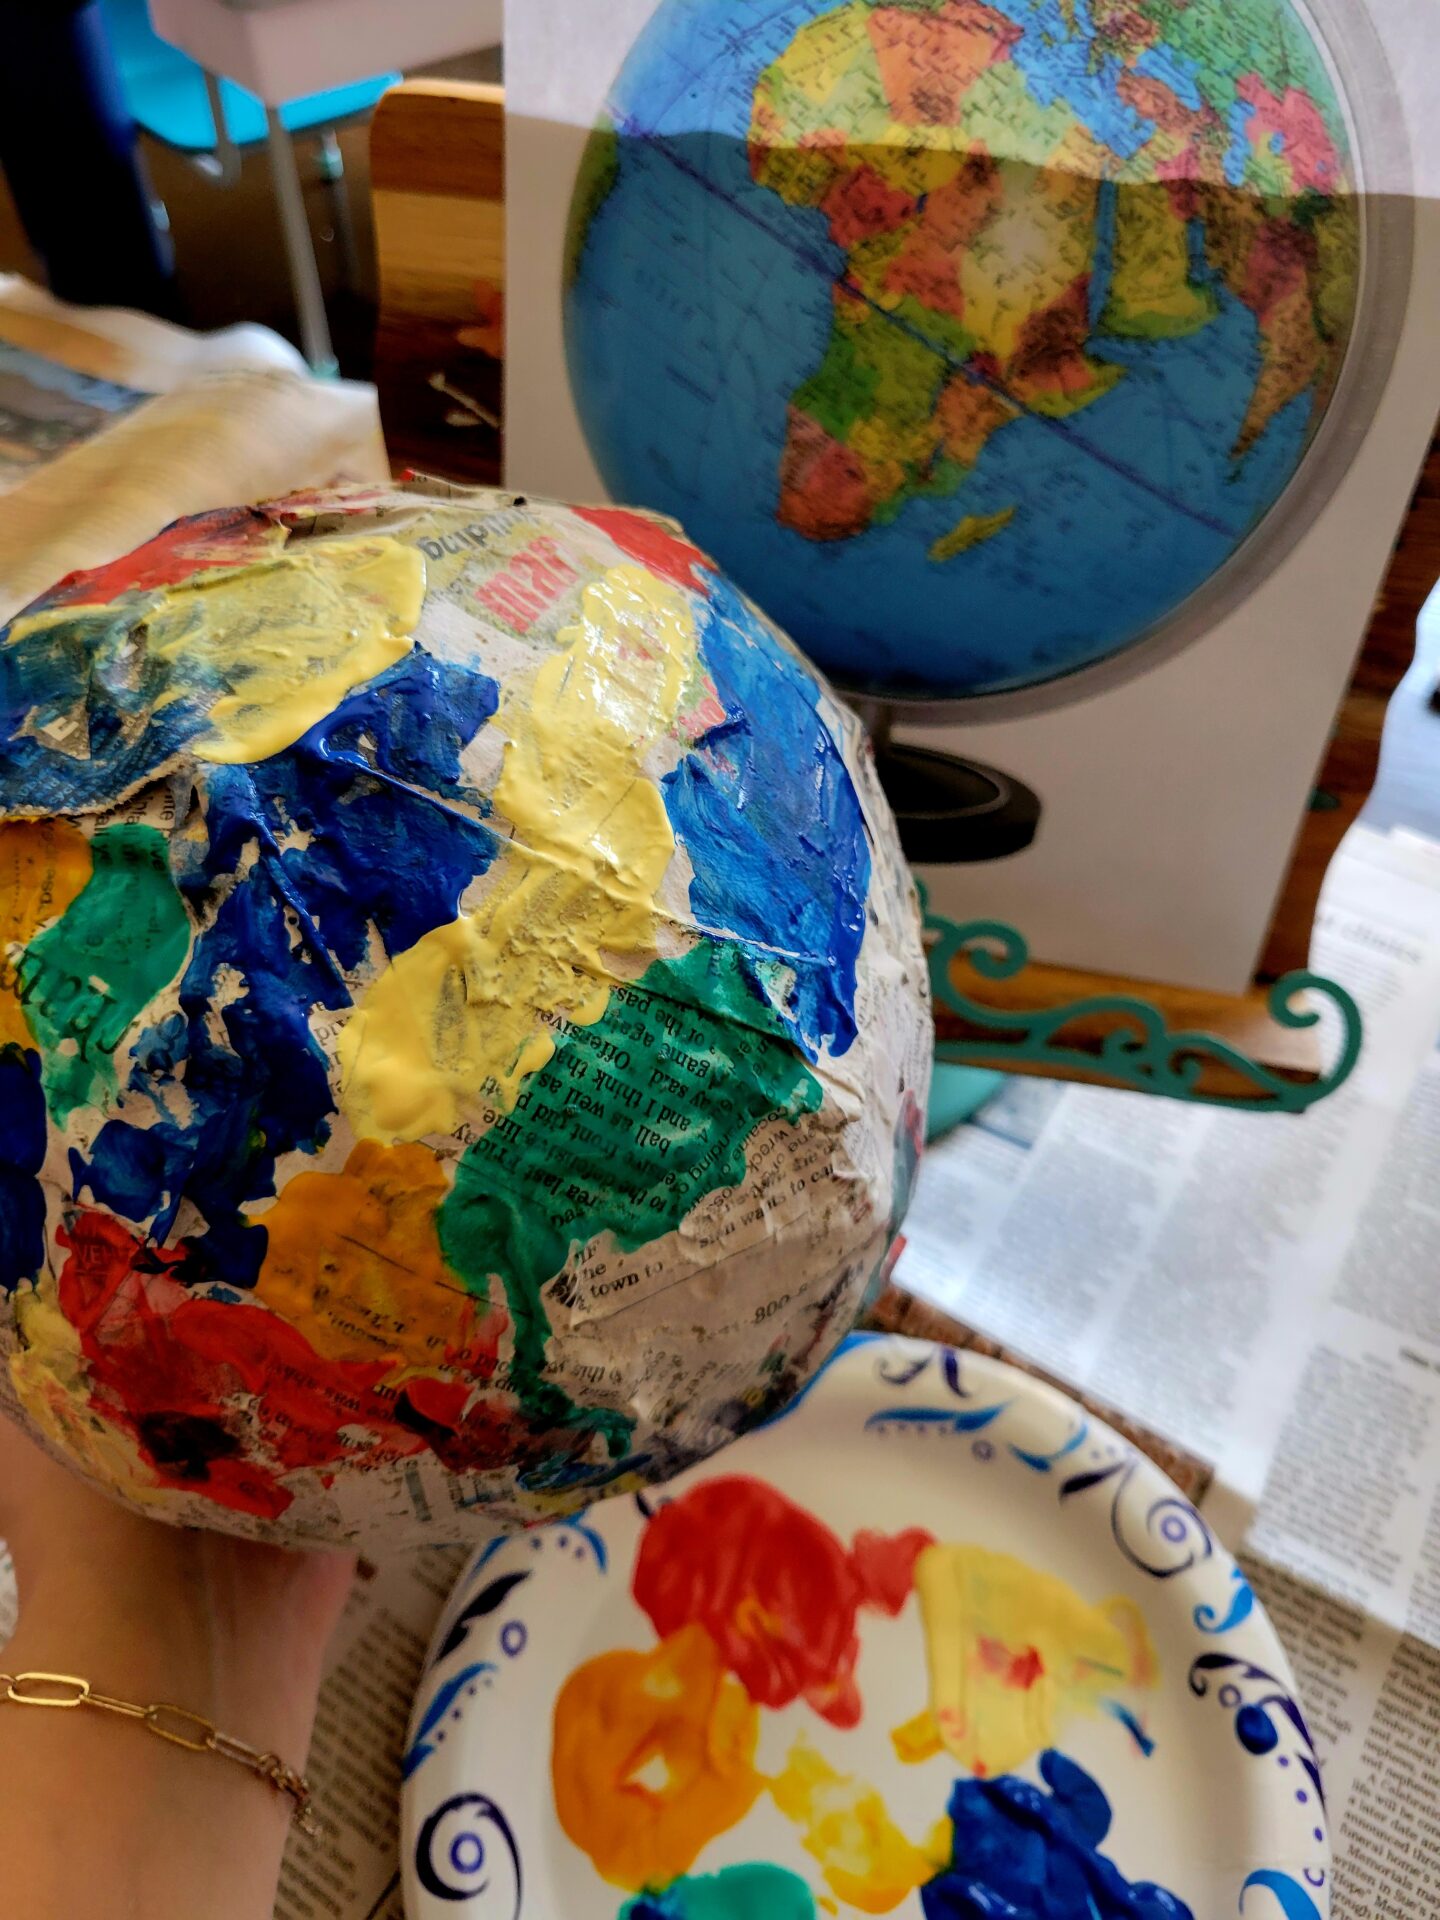
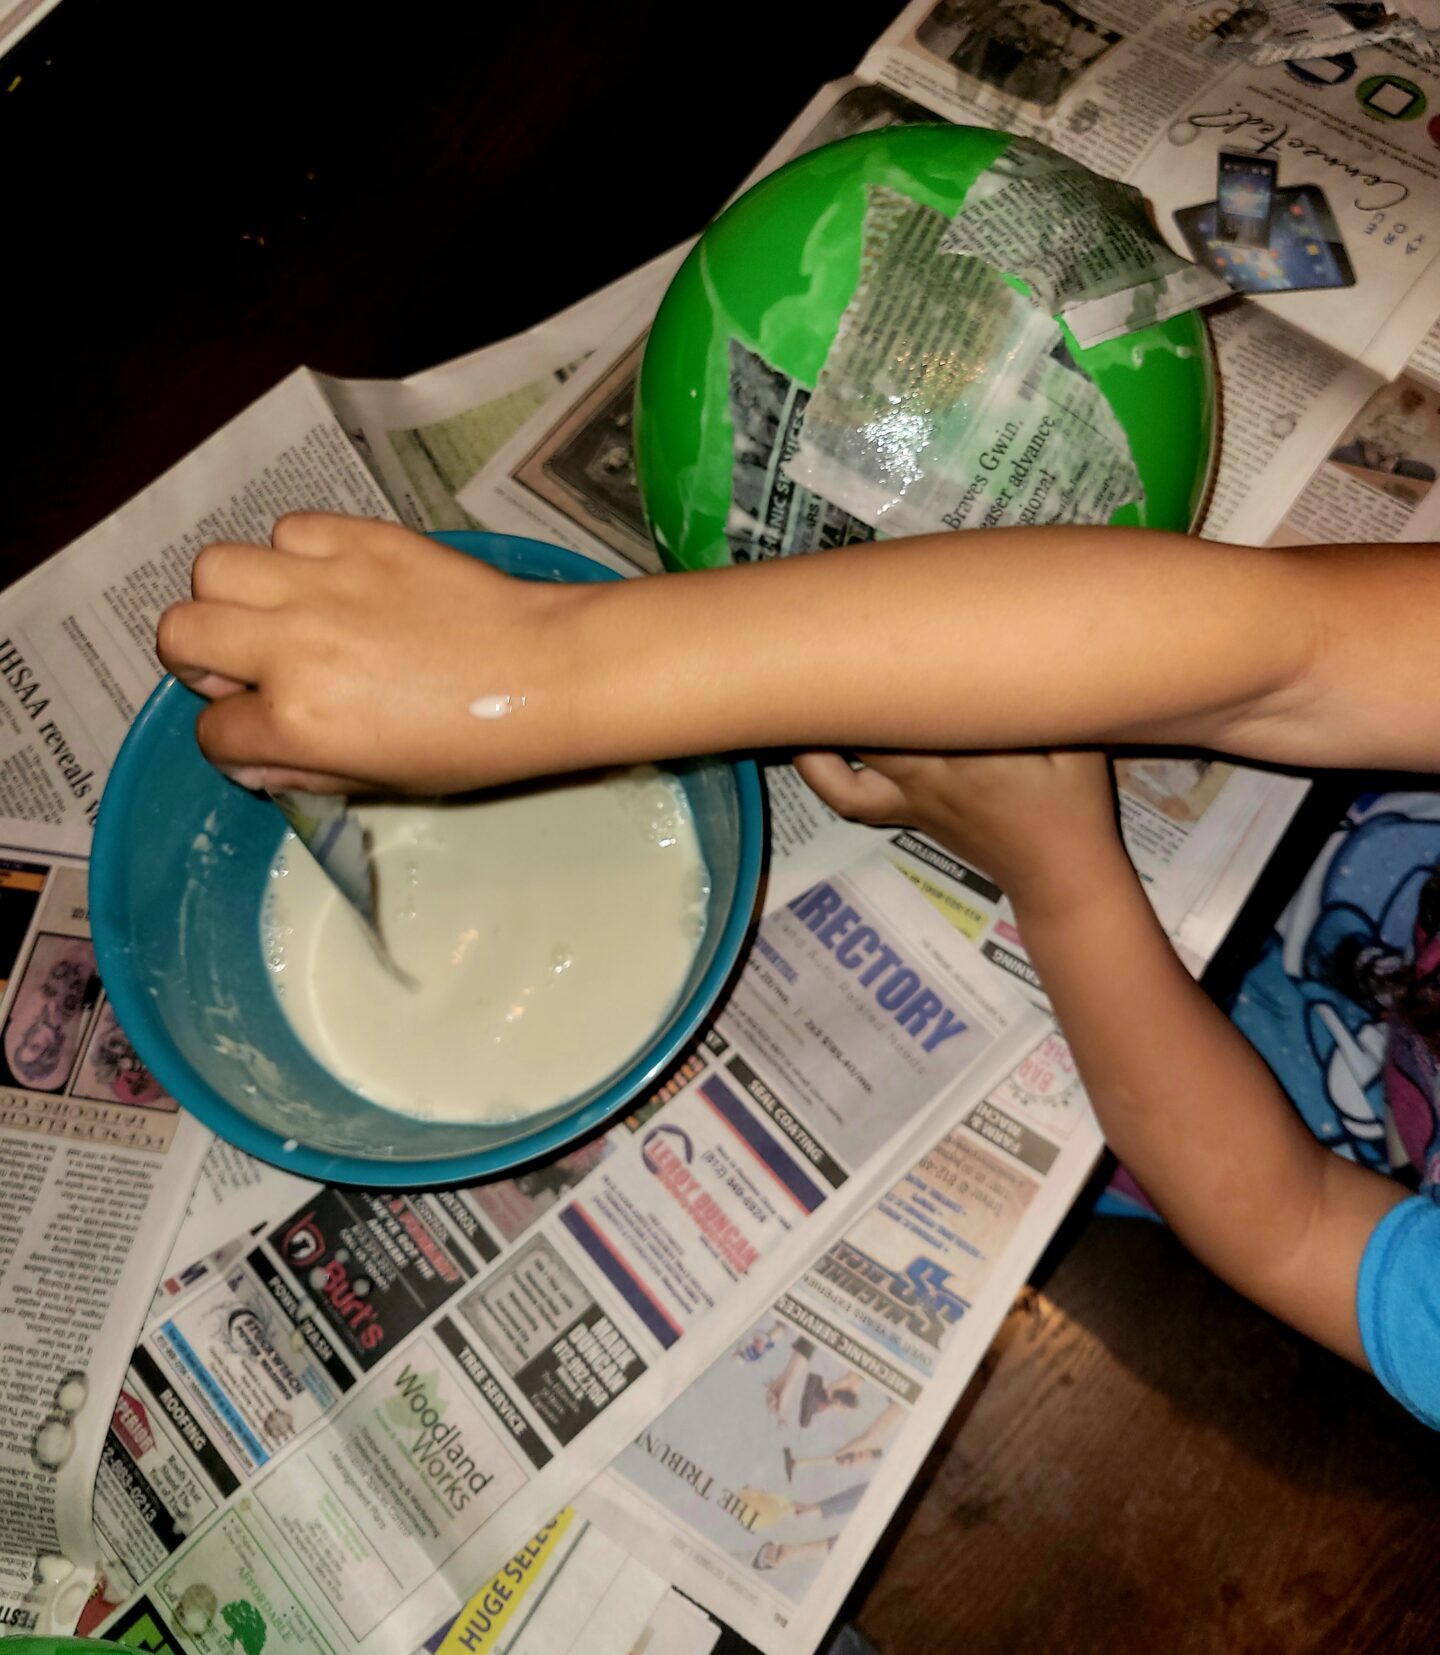
Paper Mache Globes
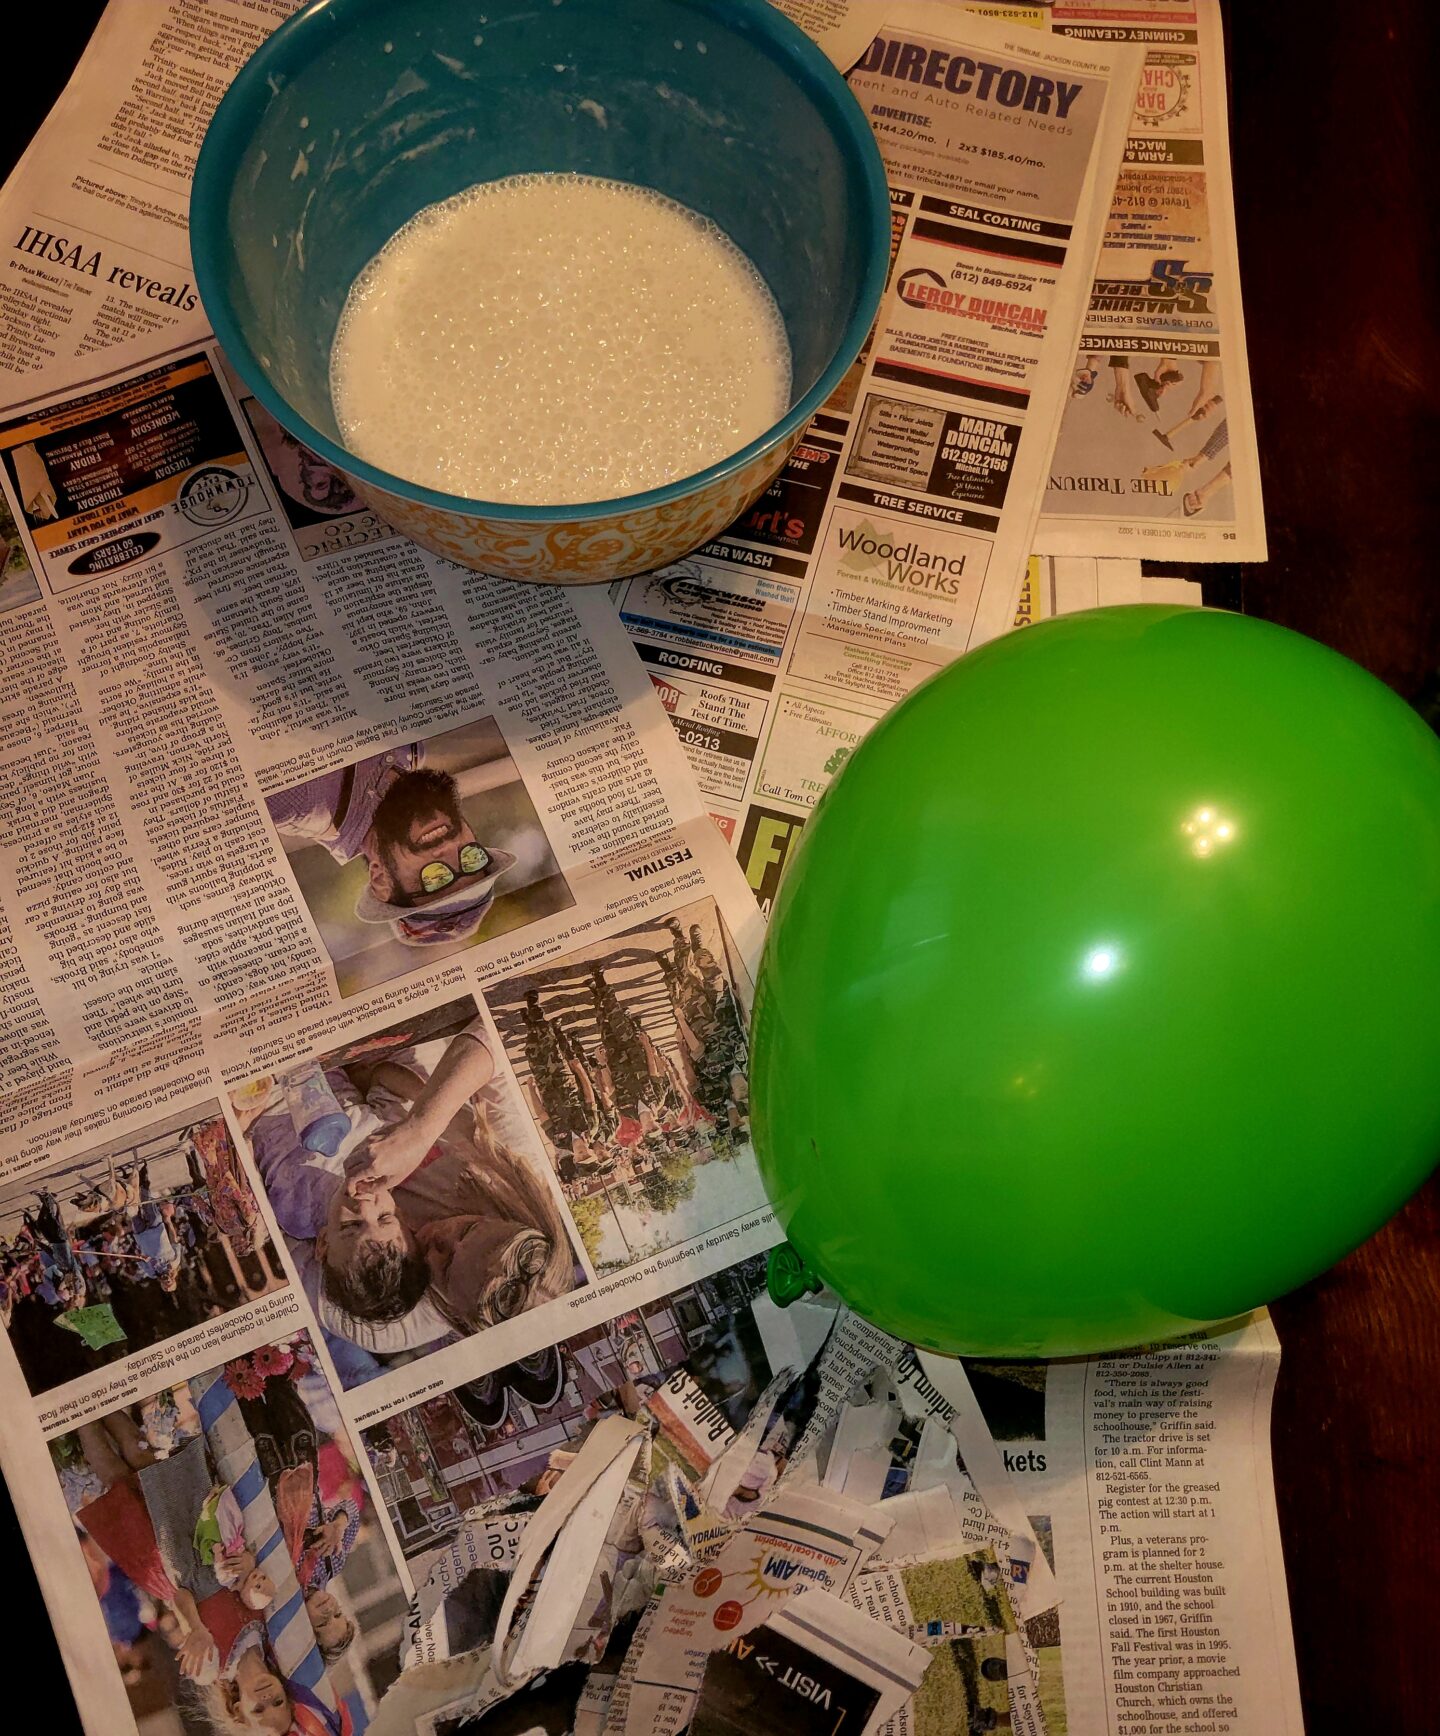
Materials needed: Balloons, newspaper or fliers, flour, water, finger paints, paper plate or something to put paint onto & bowls.
Start by mixing your paste with two parts water and one part flour, mix well until there are no lumps and then put into separate bowls at stations to dip paper into. We put newspaper down to isolate the mess and taped our balloon by the nub to the newspaper to keep it in place. Rip apart your paper and dip it into the paste then use your index and middle finger to wipe excess paste back into the bowl, the more wet your paper is the longer dry time will be. Start slapping the dipped paper onto the balloon using your hands to keep it flat. once the balloon is covered with at least two layers you can set aside to dry, this will take 24 hrs. You can cover the balloon completely or leave the bottom base without paper so you can pop the balloon easier once the paste is dried and the globe will sit easier to decorate.
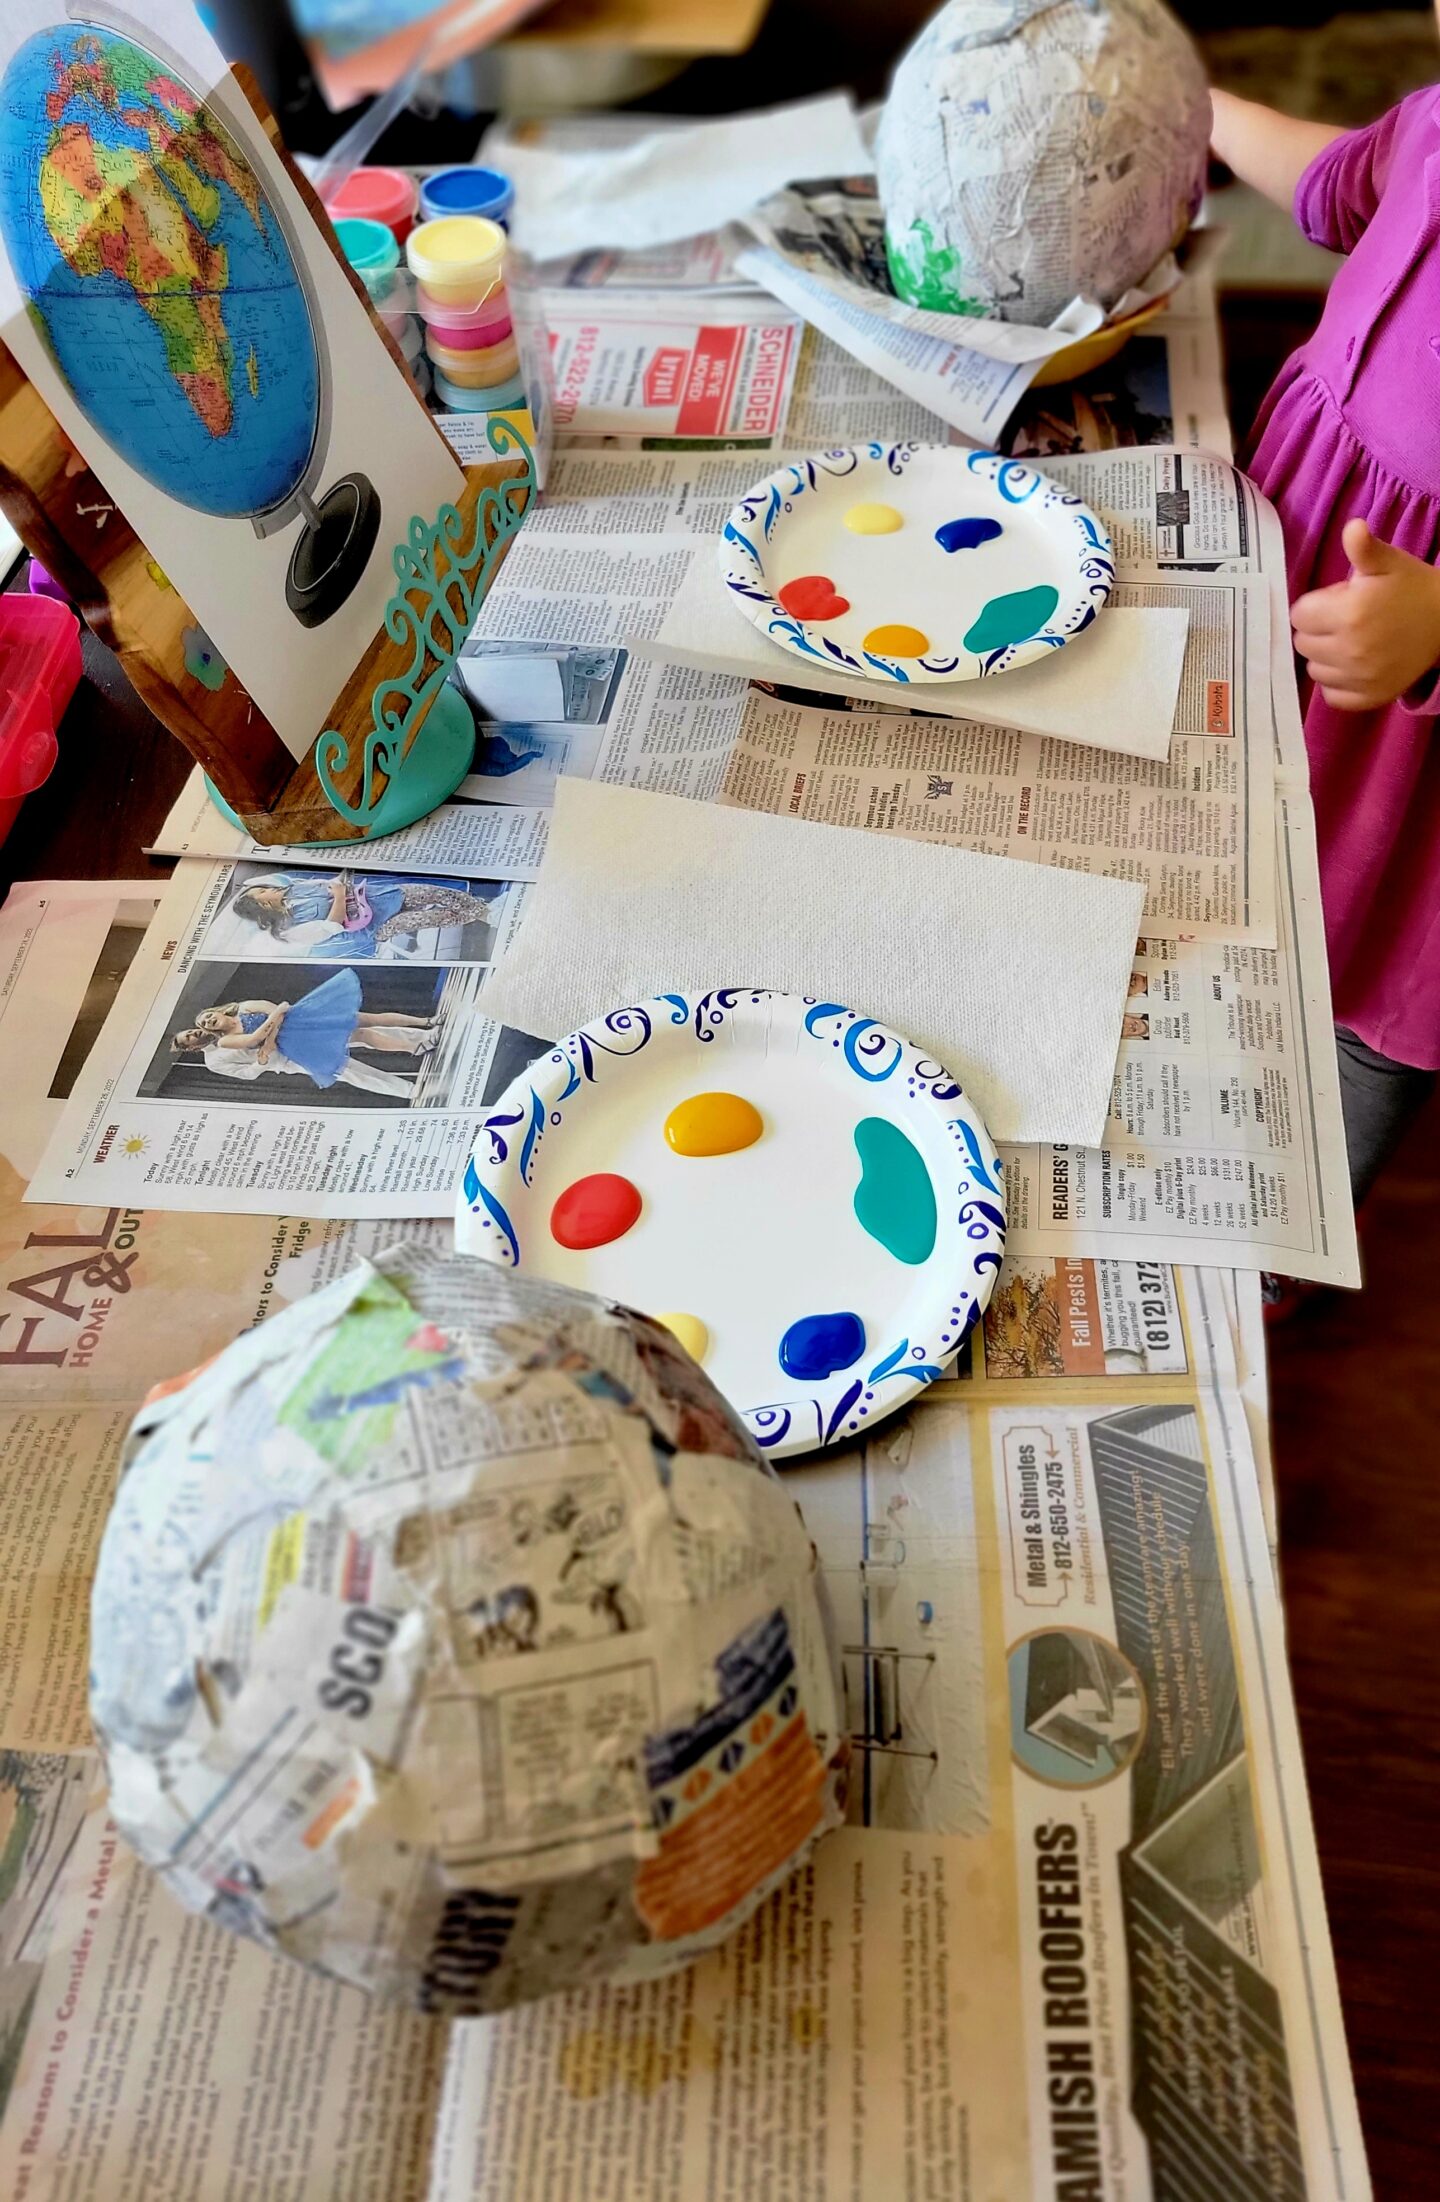
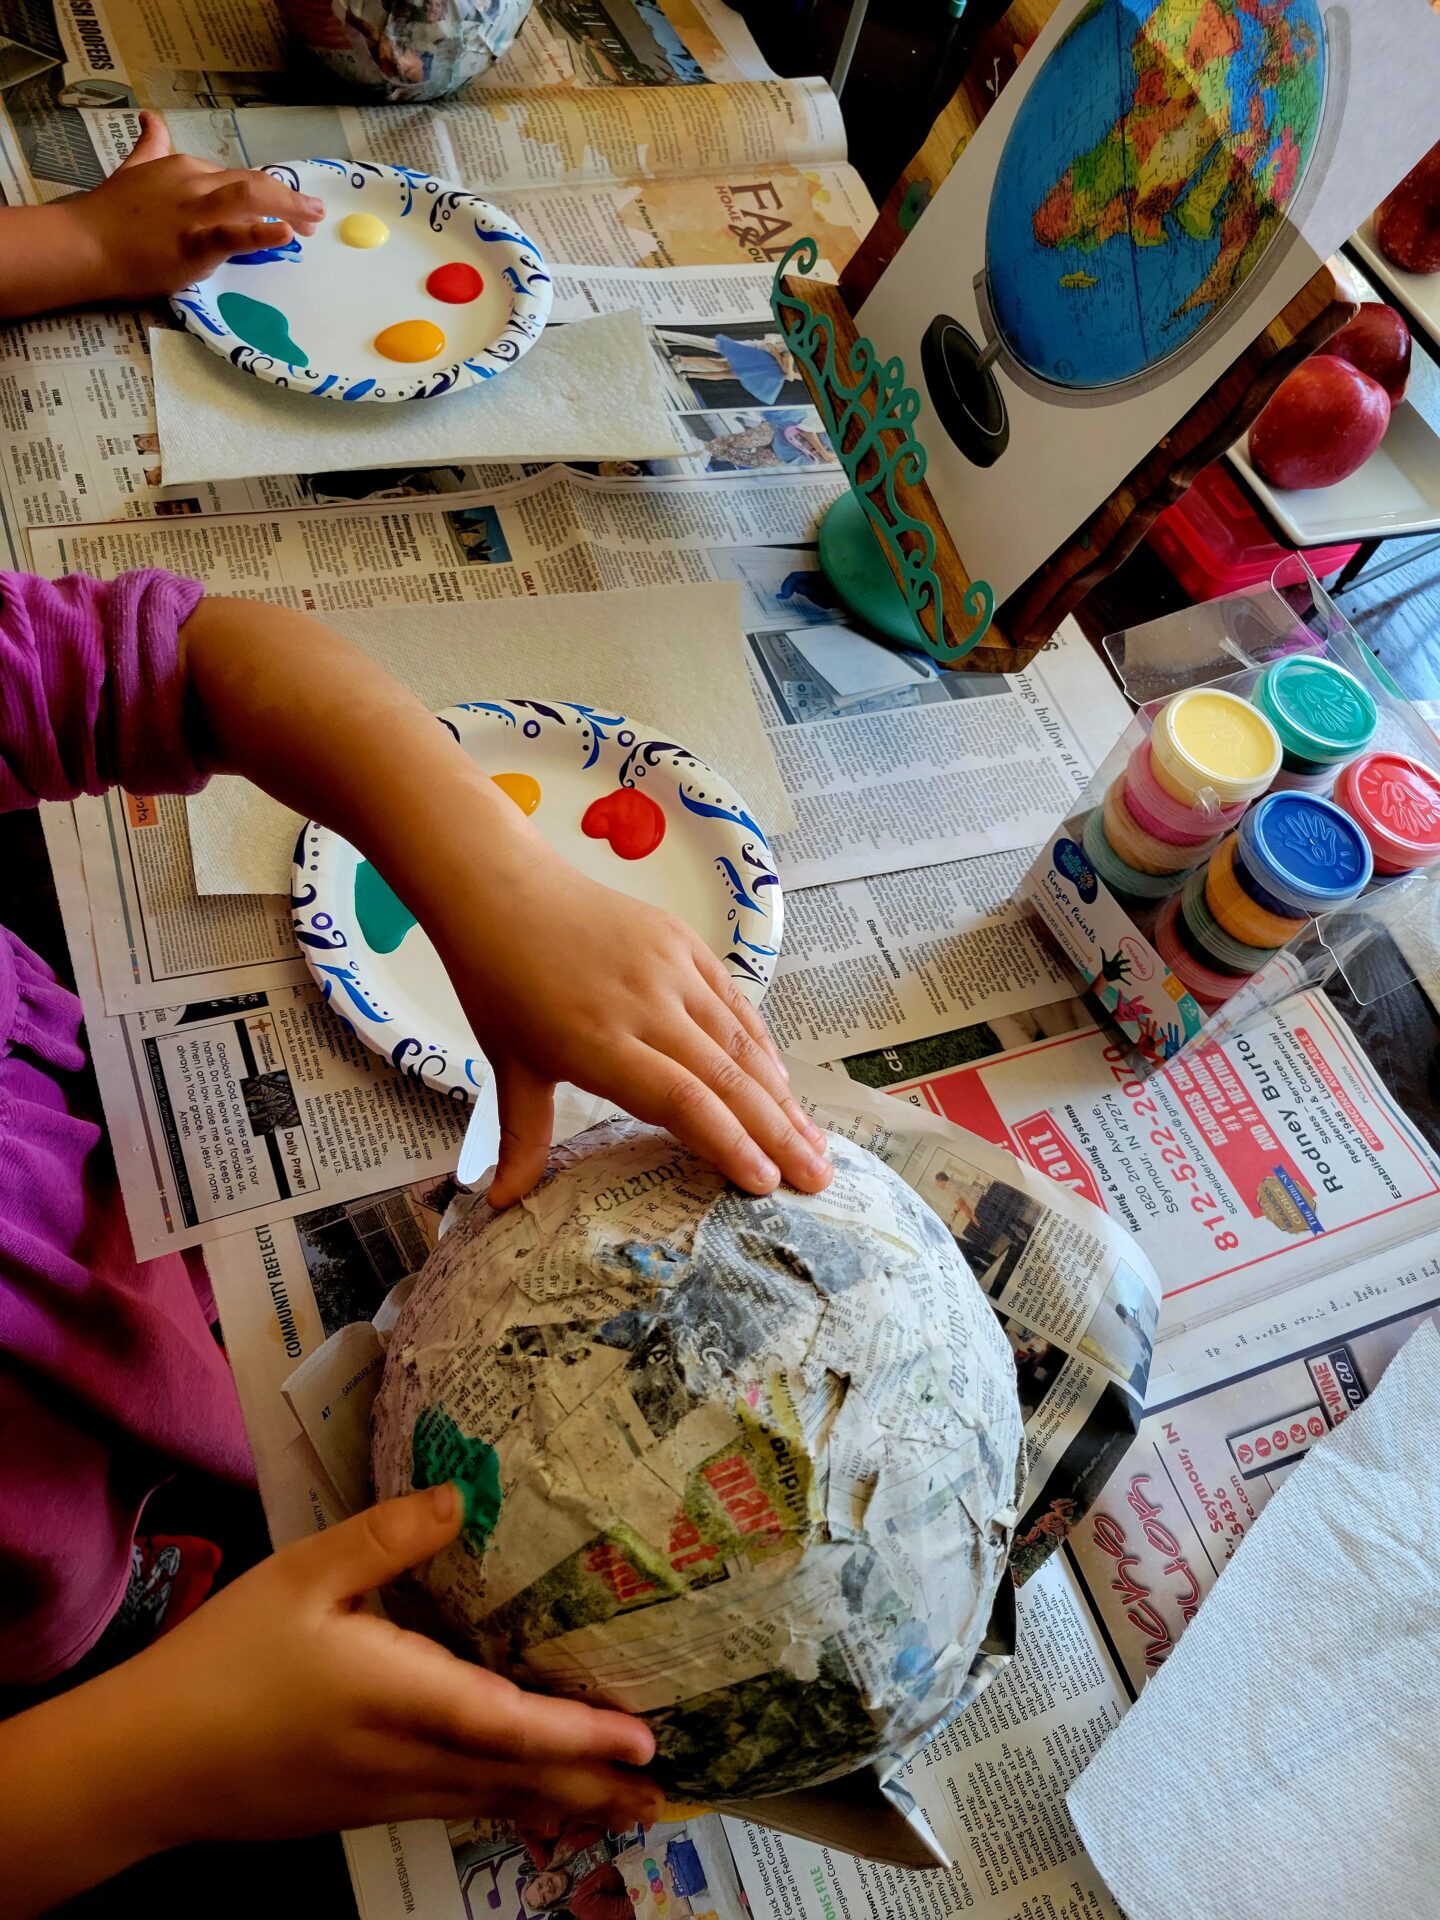
Once you’re ready to paint place some different colors on a plate or even right onto some old scrap paper and let them use their fingers to decorate their own globes. We used a picture of one to give them an idea of what they were going for.
This was super fun and easy for all age groups while still harping on the future of our planet being in all our hands!
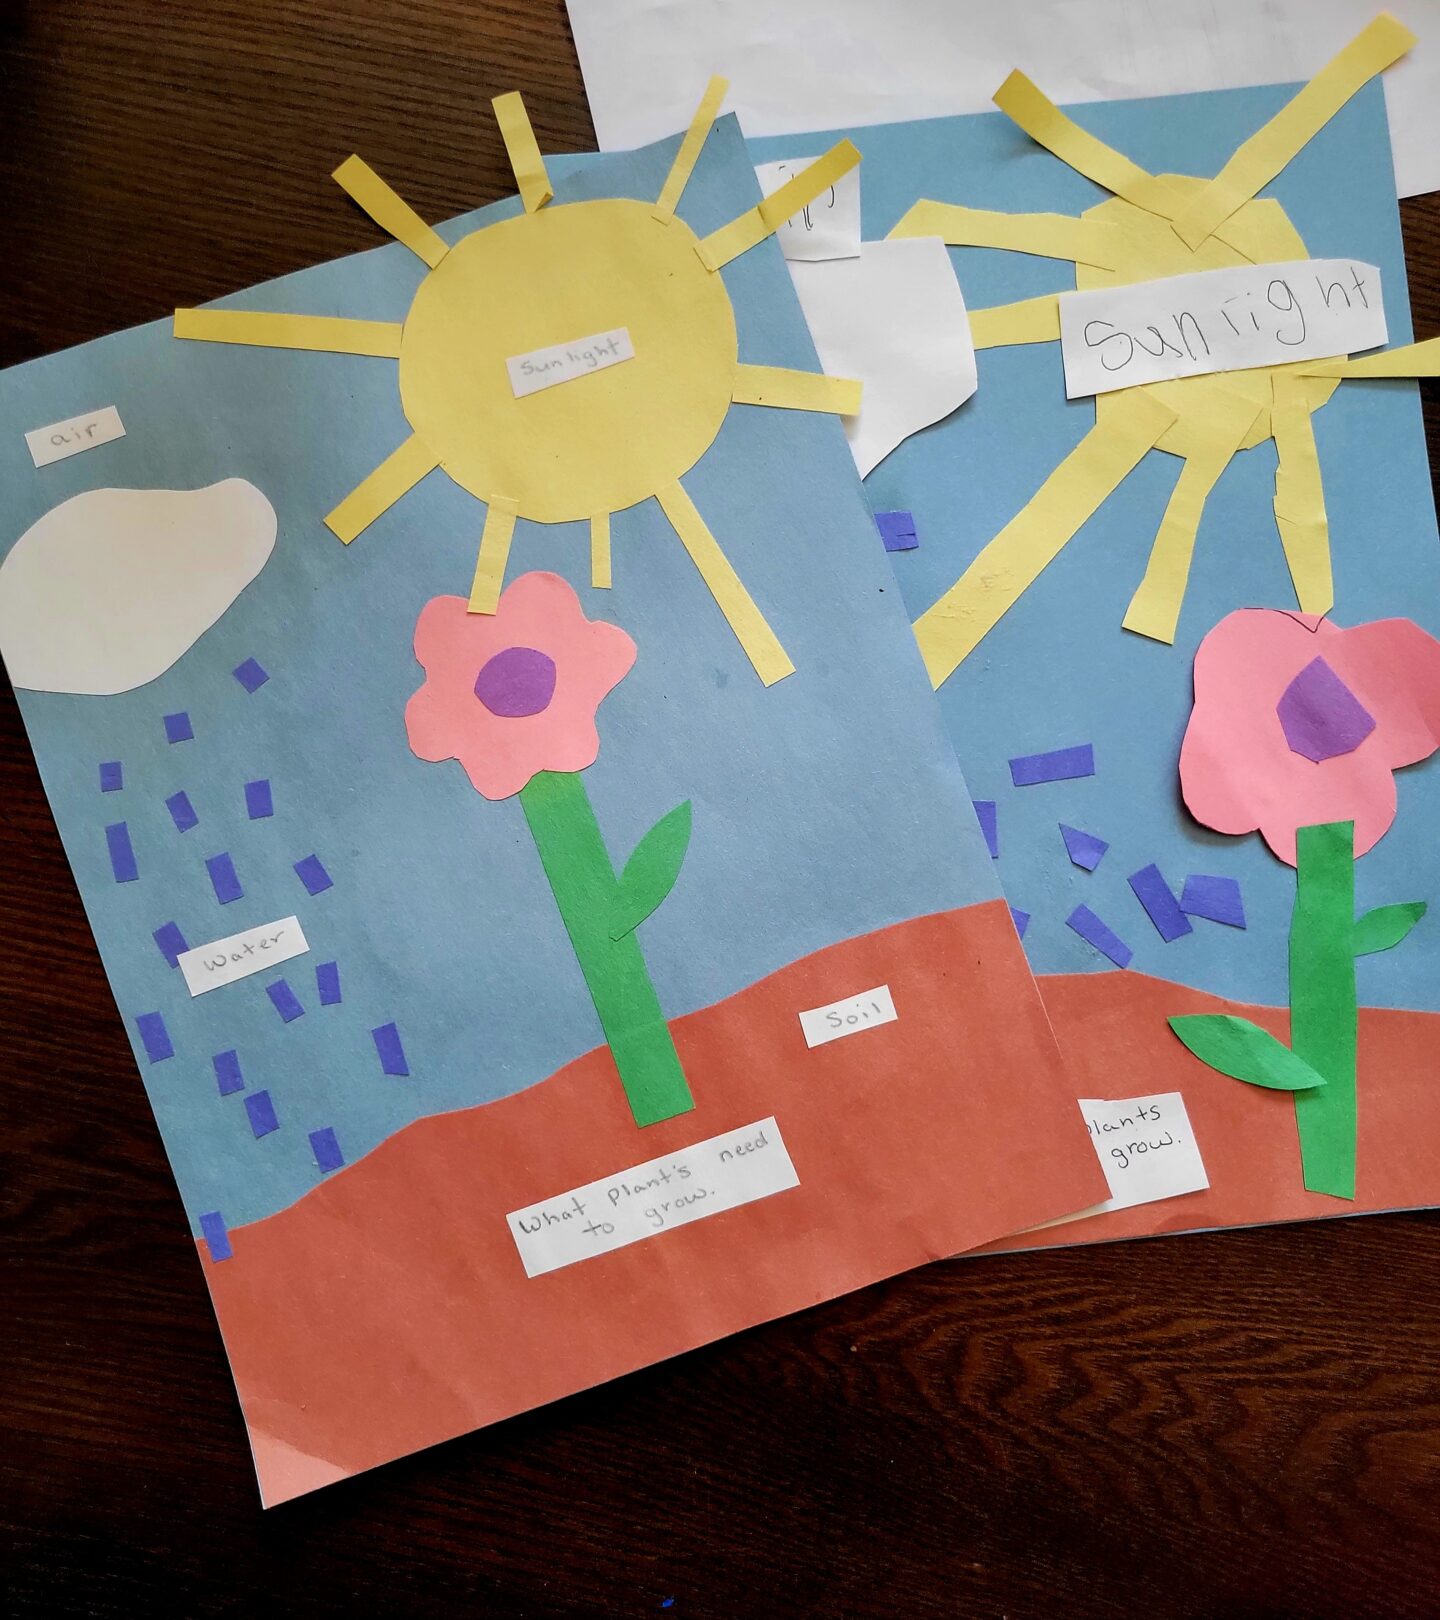
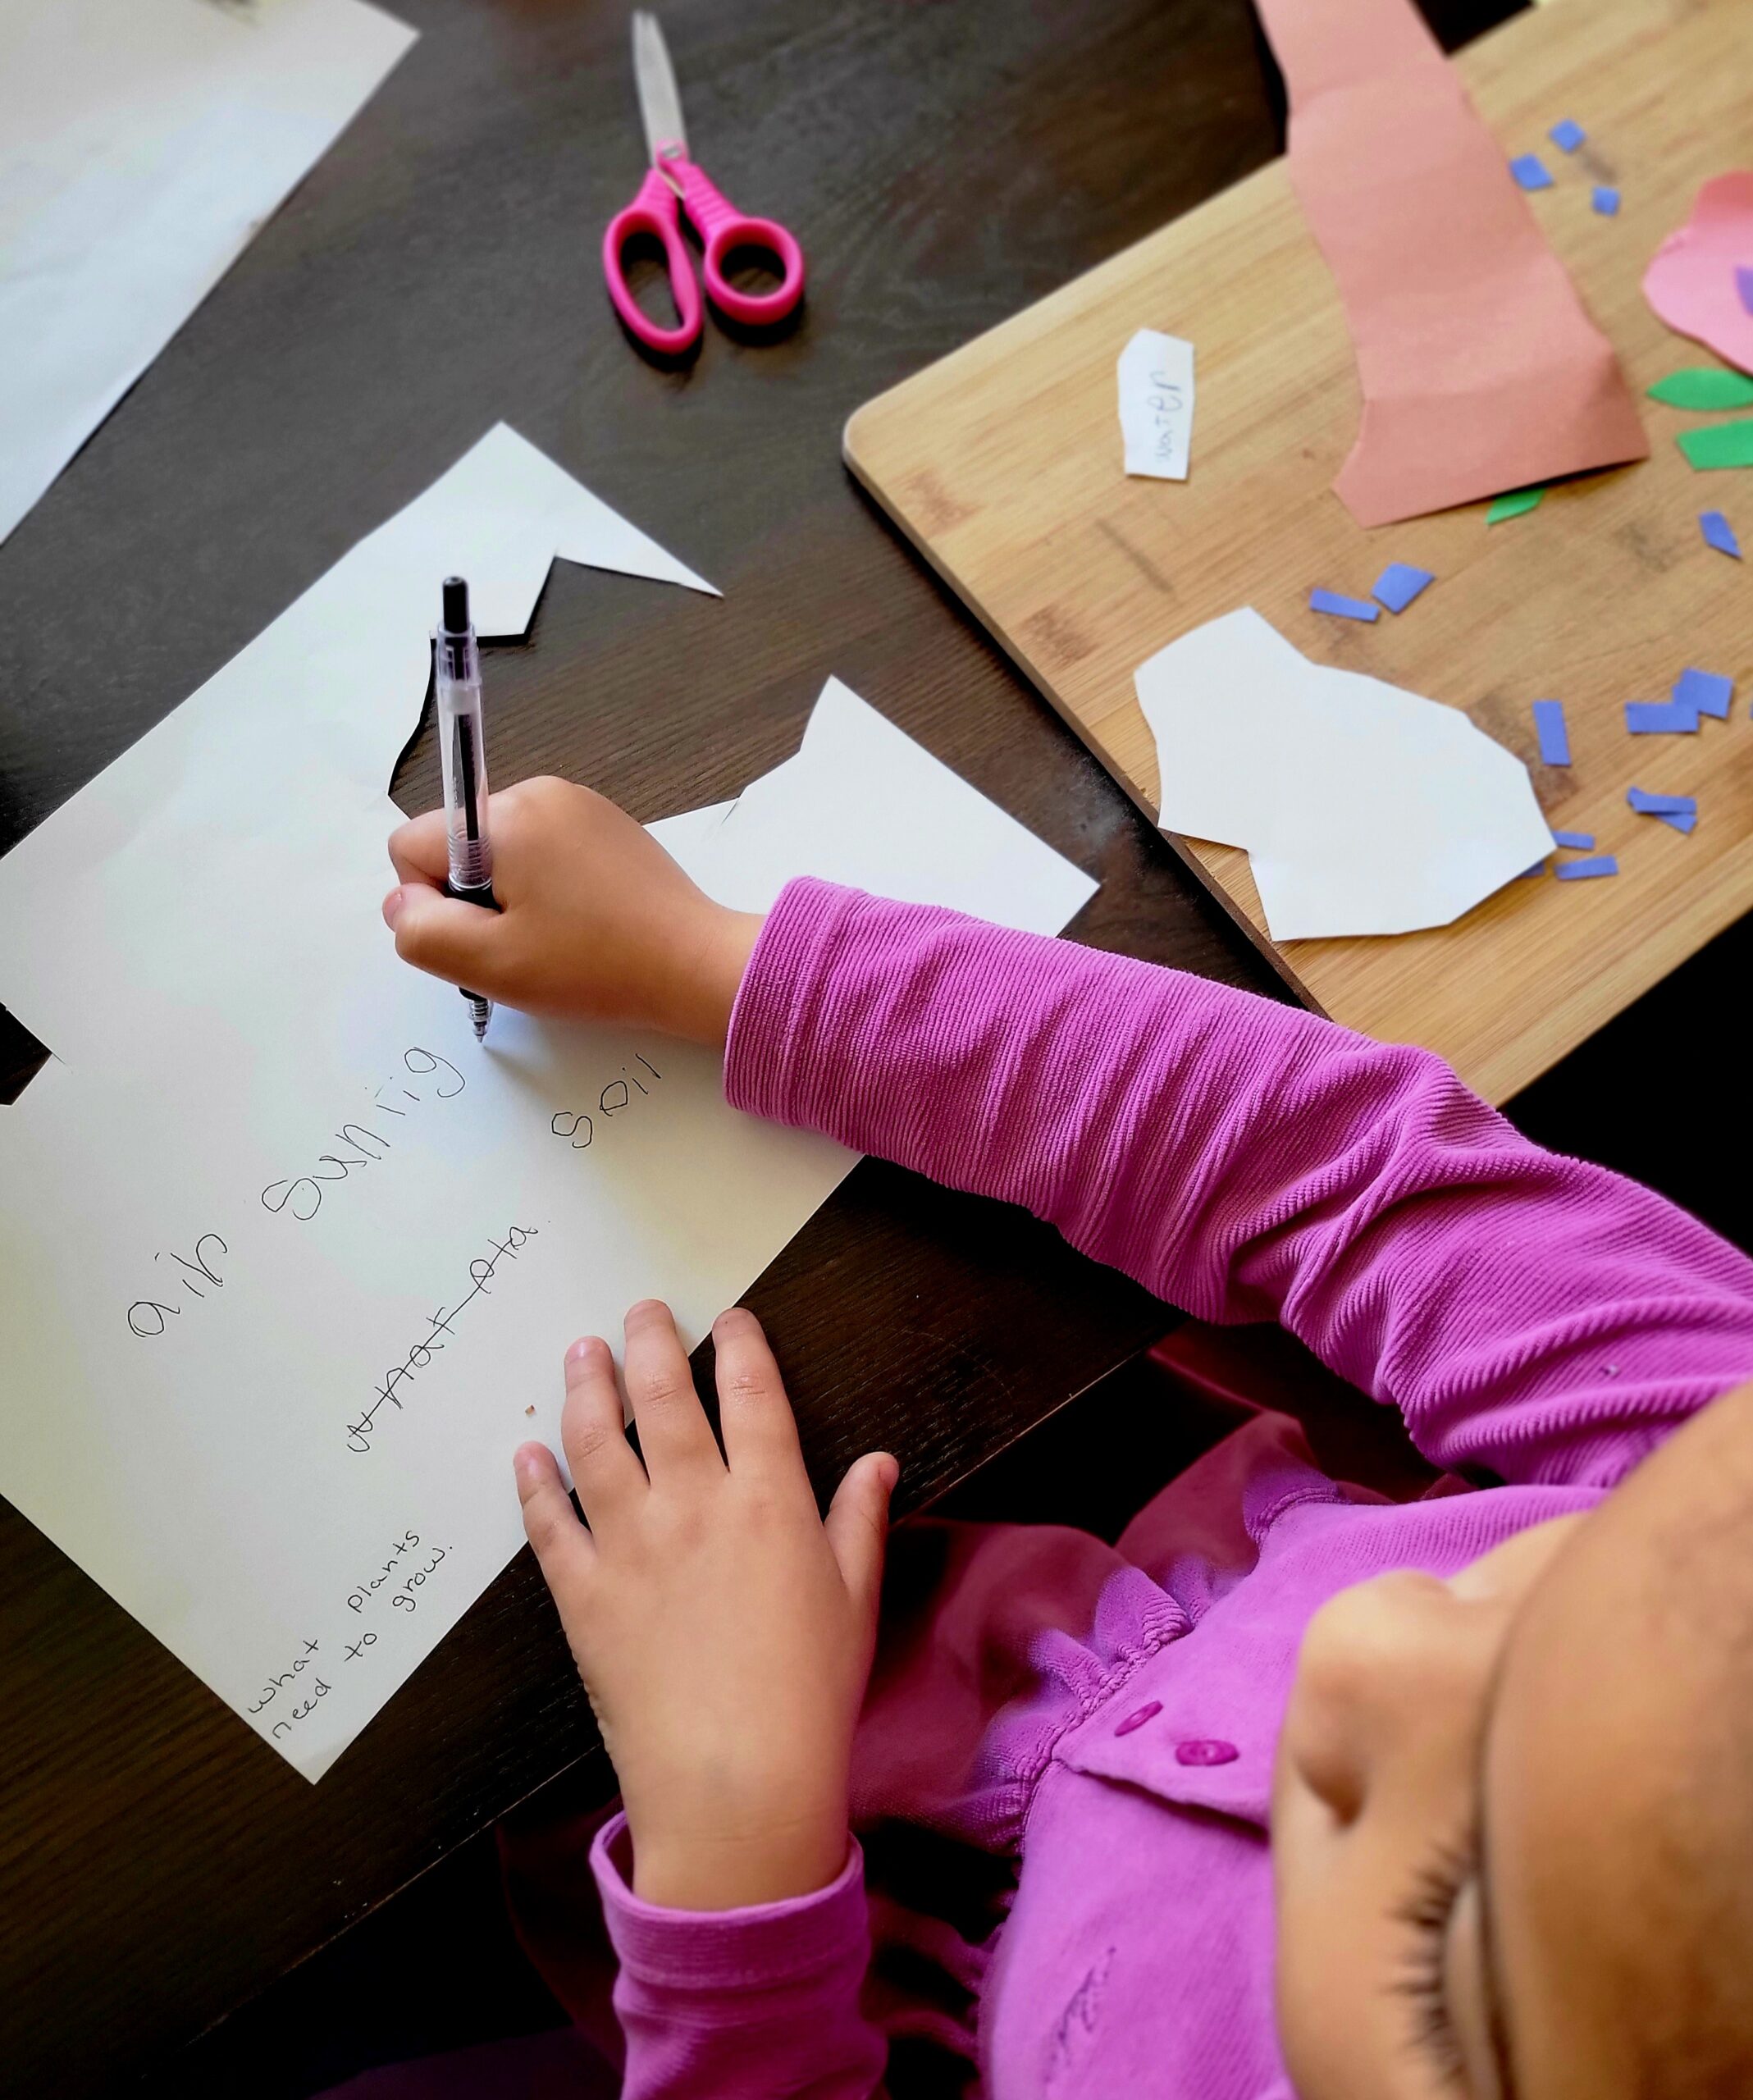
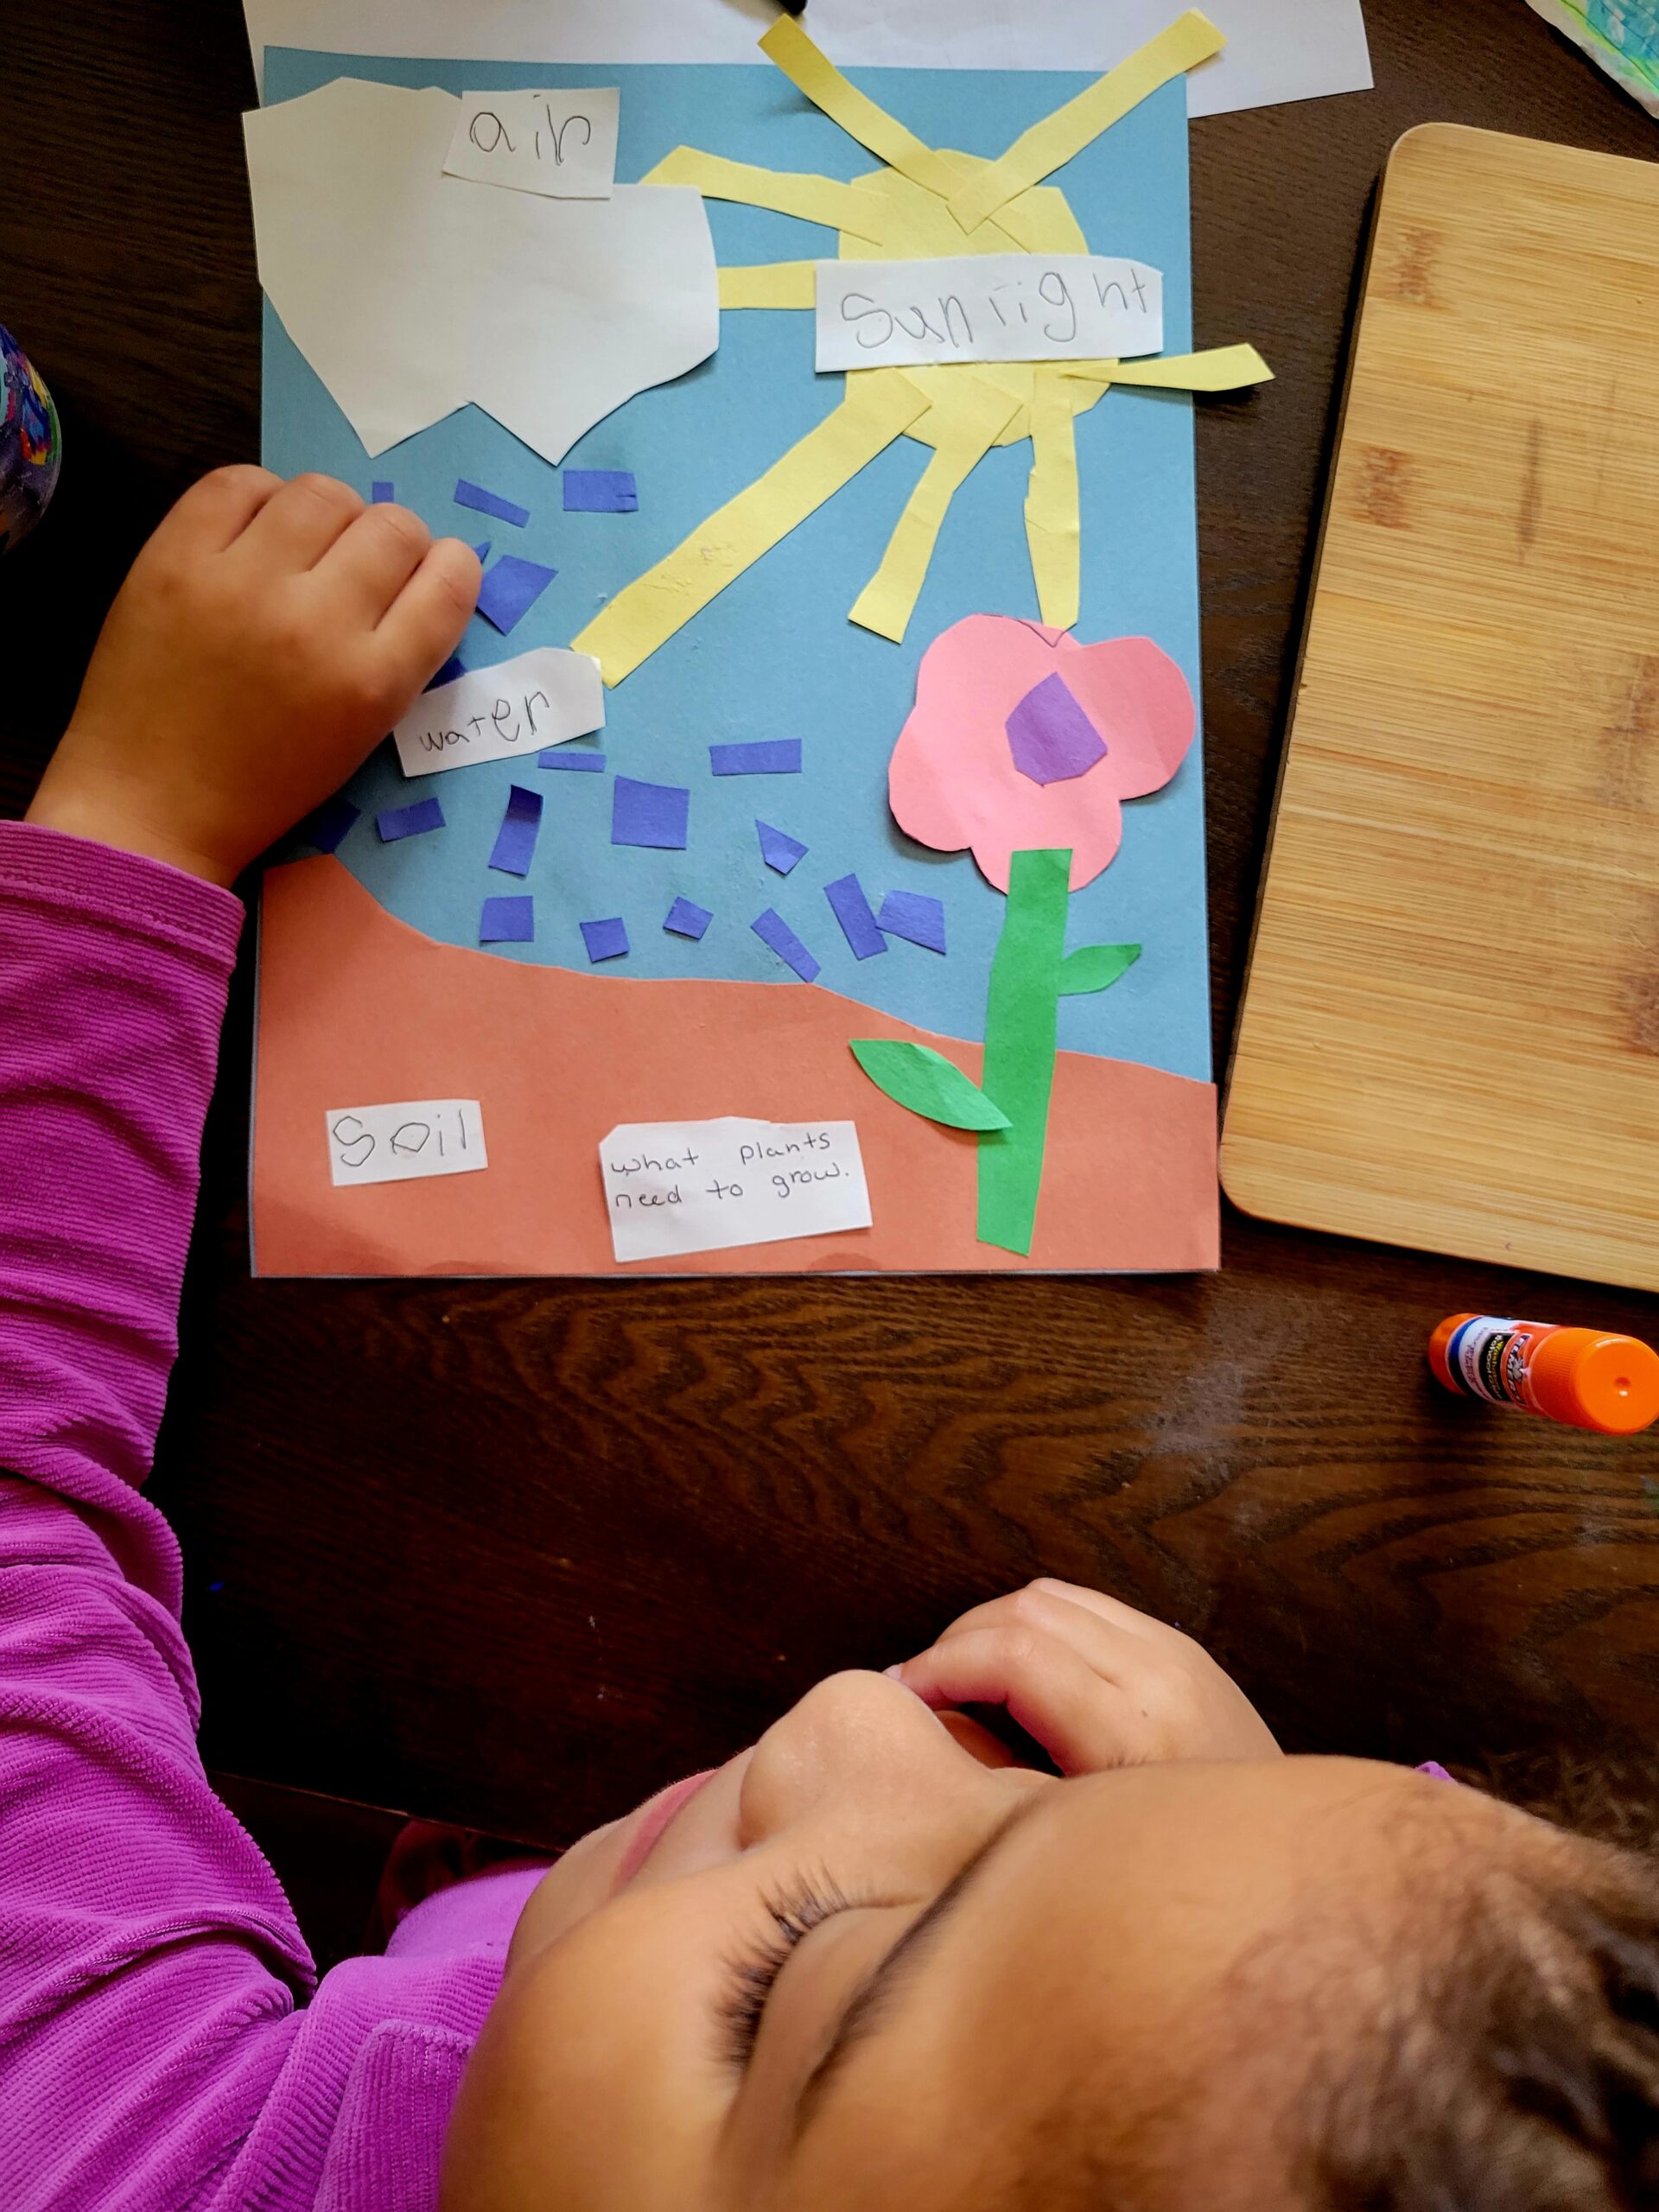
Growing Flowers
Materials needed: Construction paper, scissors and glue sticks.
Start by cutting out your shapes needed for your picture and write labels on a scrap piece of paper of the thing’s flowers need to grow then cut these labels out as well.
Start by laying your soil and build the rest of your picture.
We spoke about the things plants and flowers needed to grow just like our bodies do and how import all of our roles are to each other.
This was super simple but informative while being fun for all ages. I made out lines of the shapes needed for younger kids to help them cut but most would be able to do this 100% on their own. You could also change this same idea up to planting a garden and add bees or other insects as well.
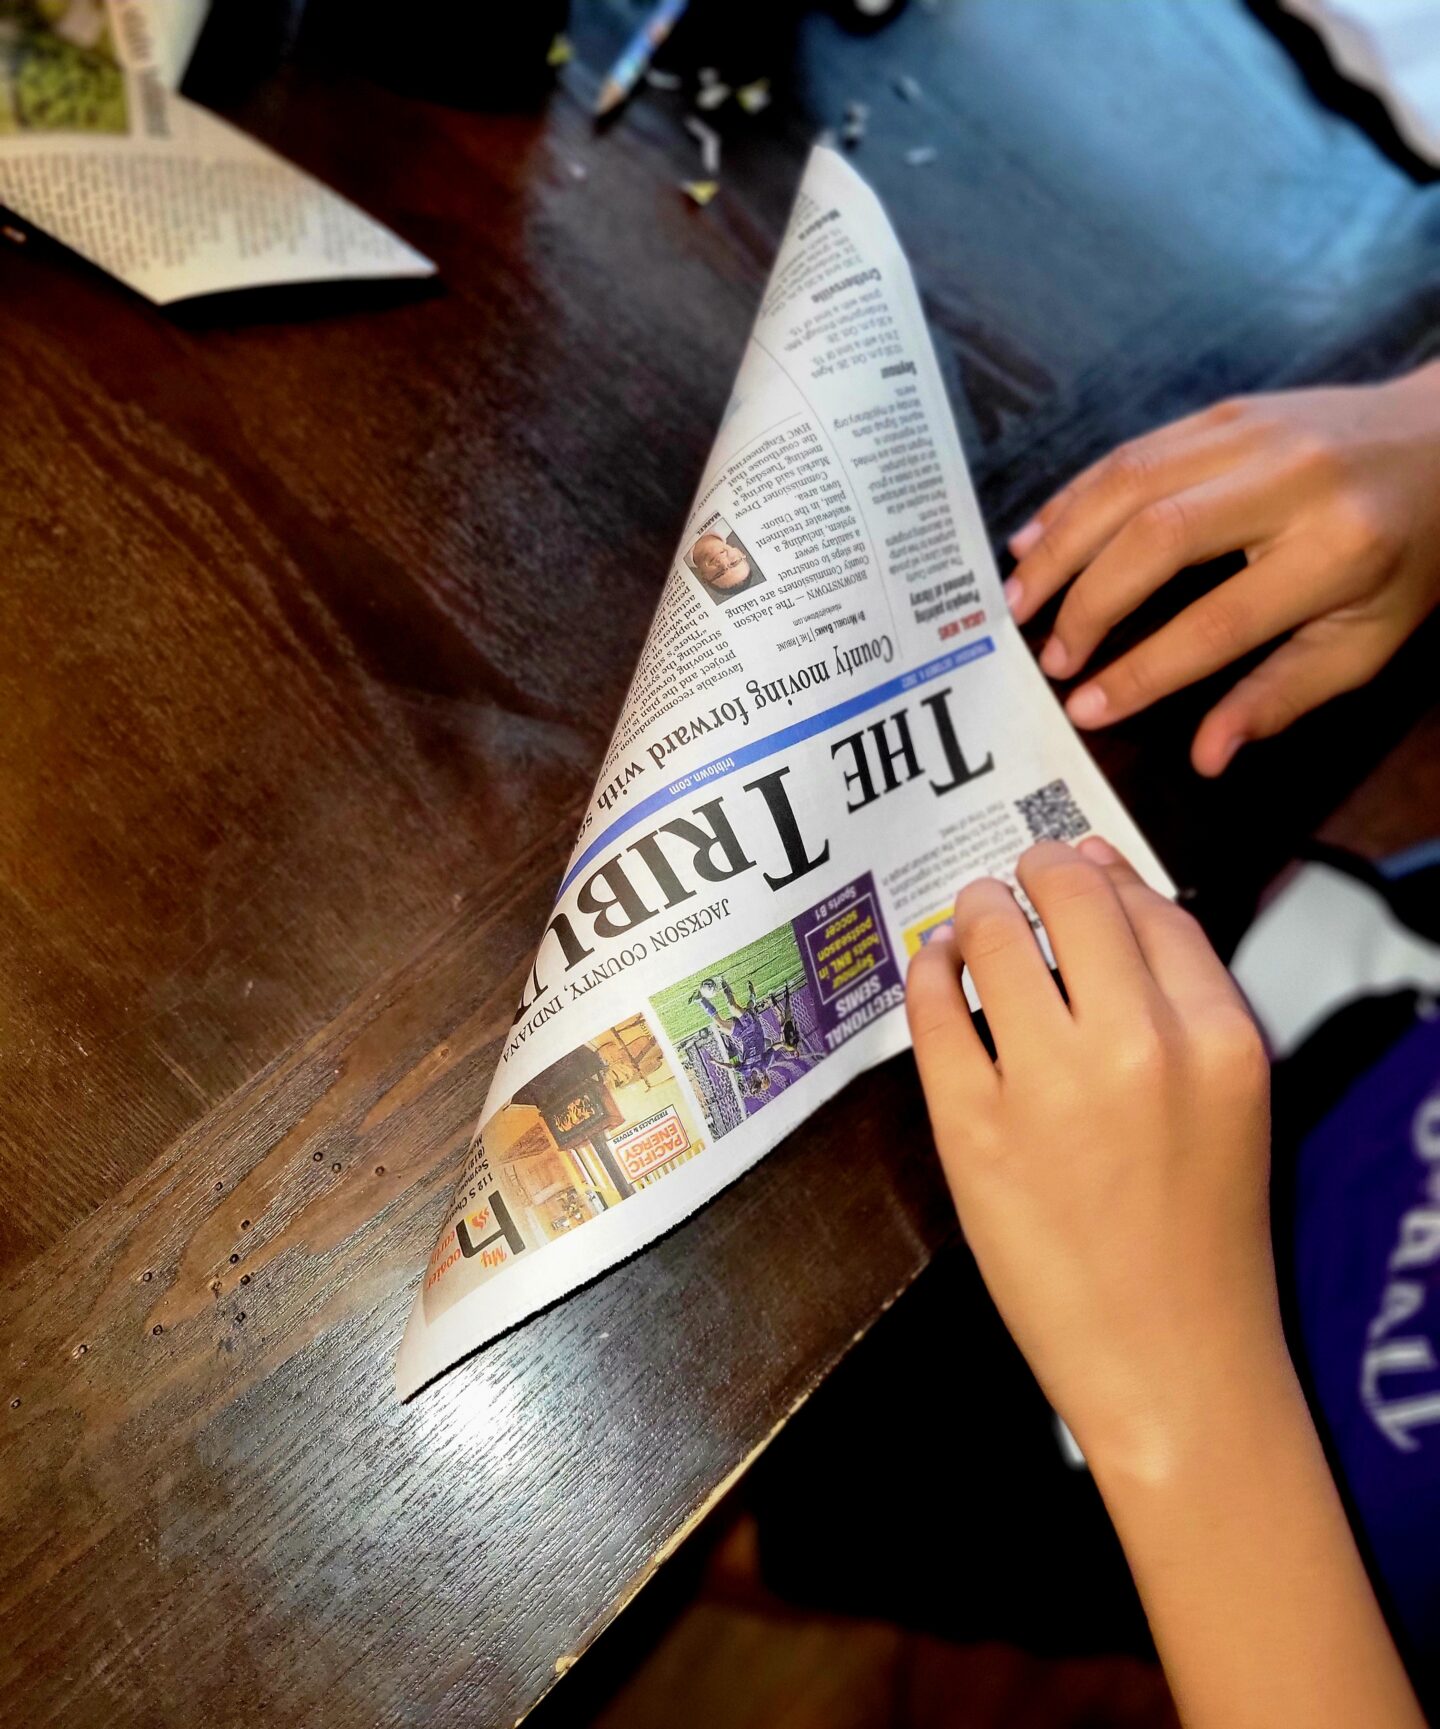
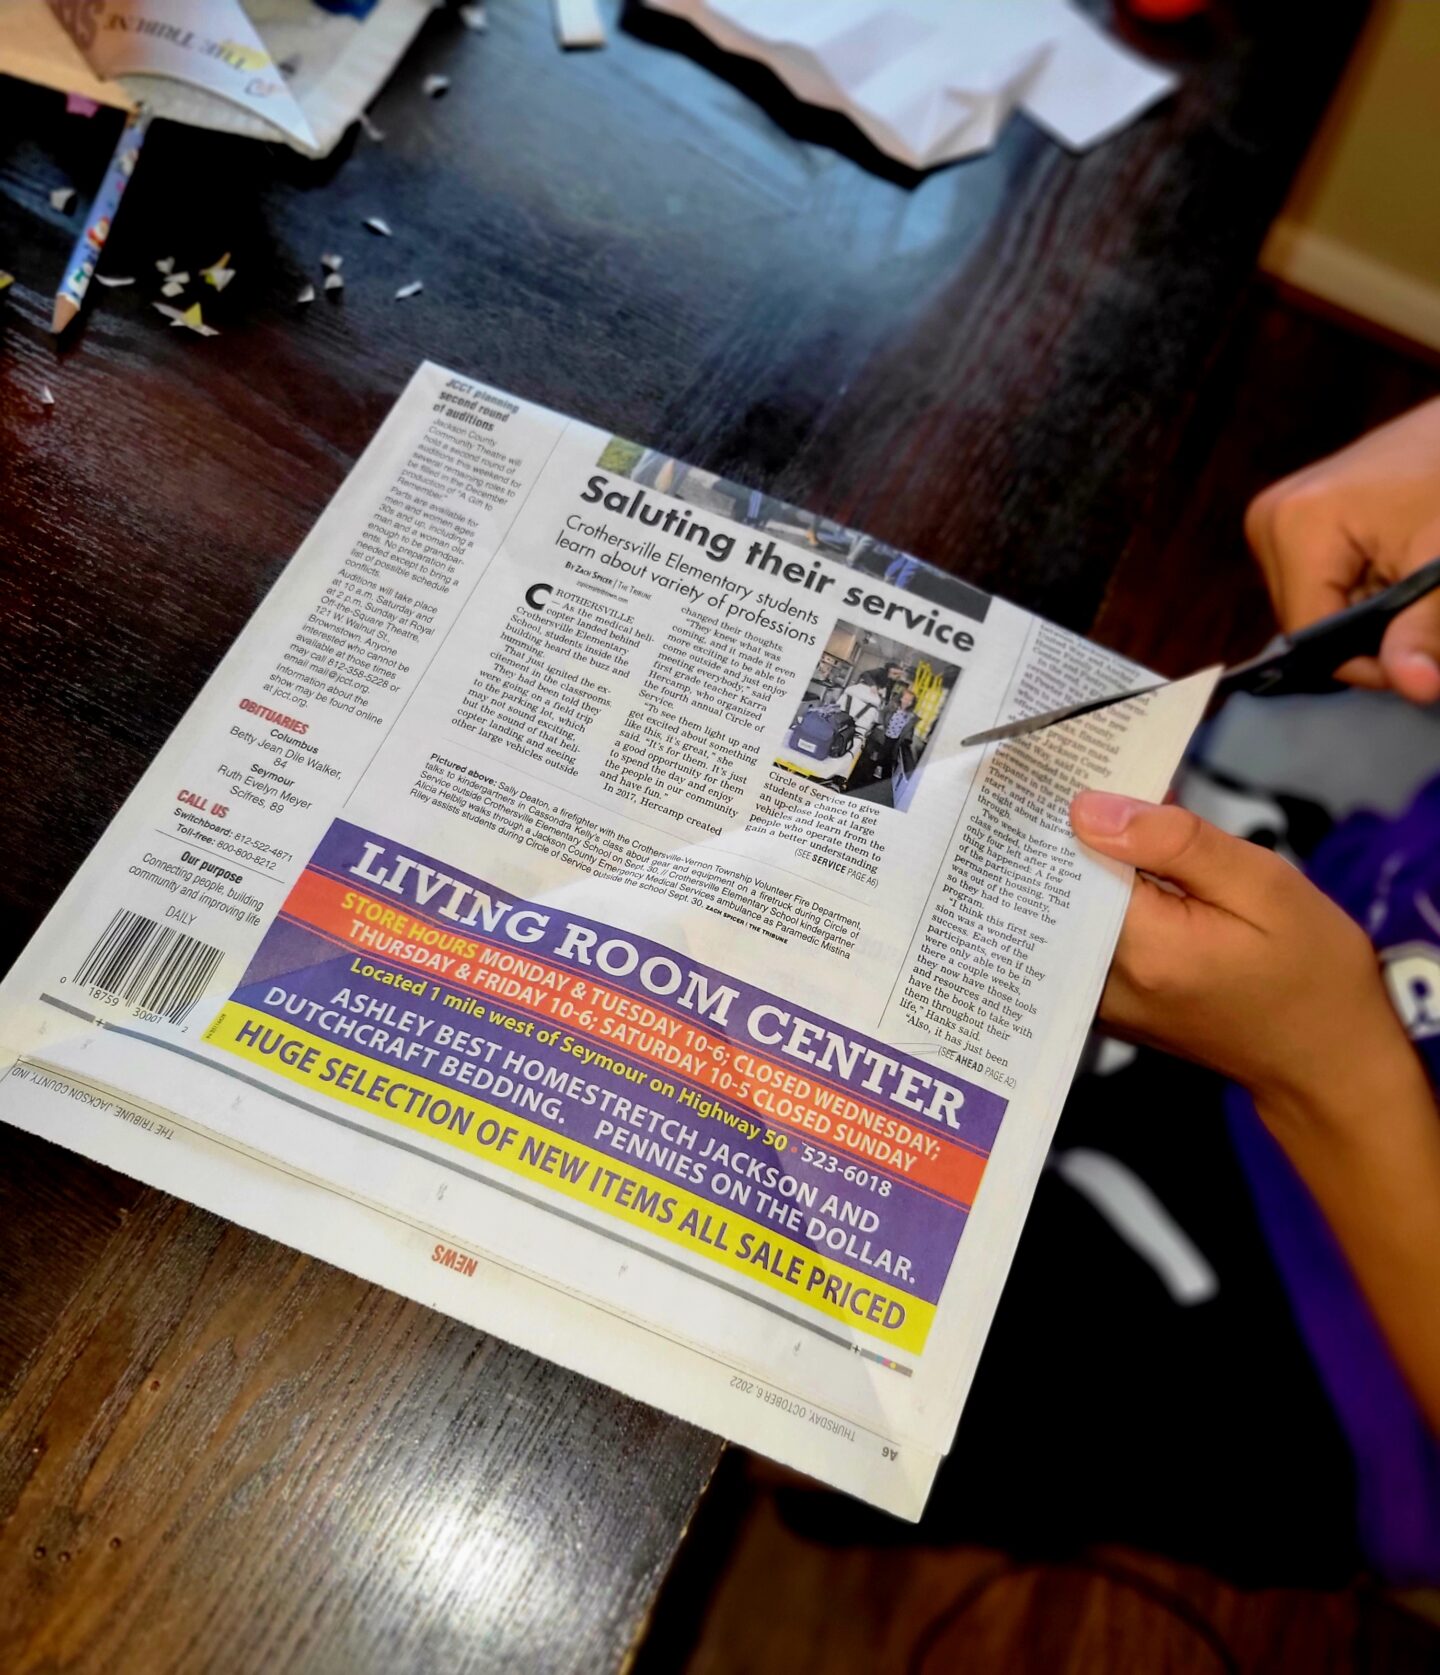
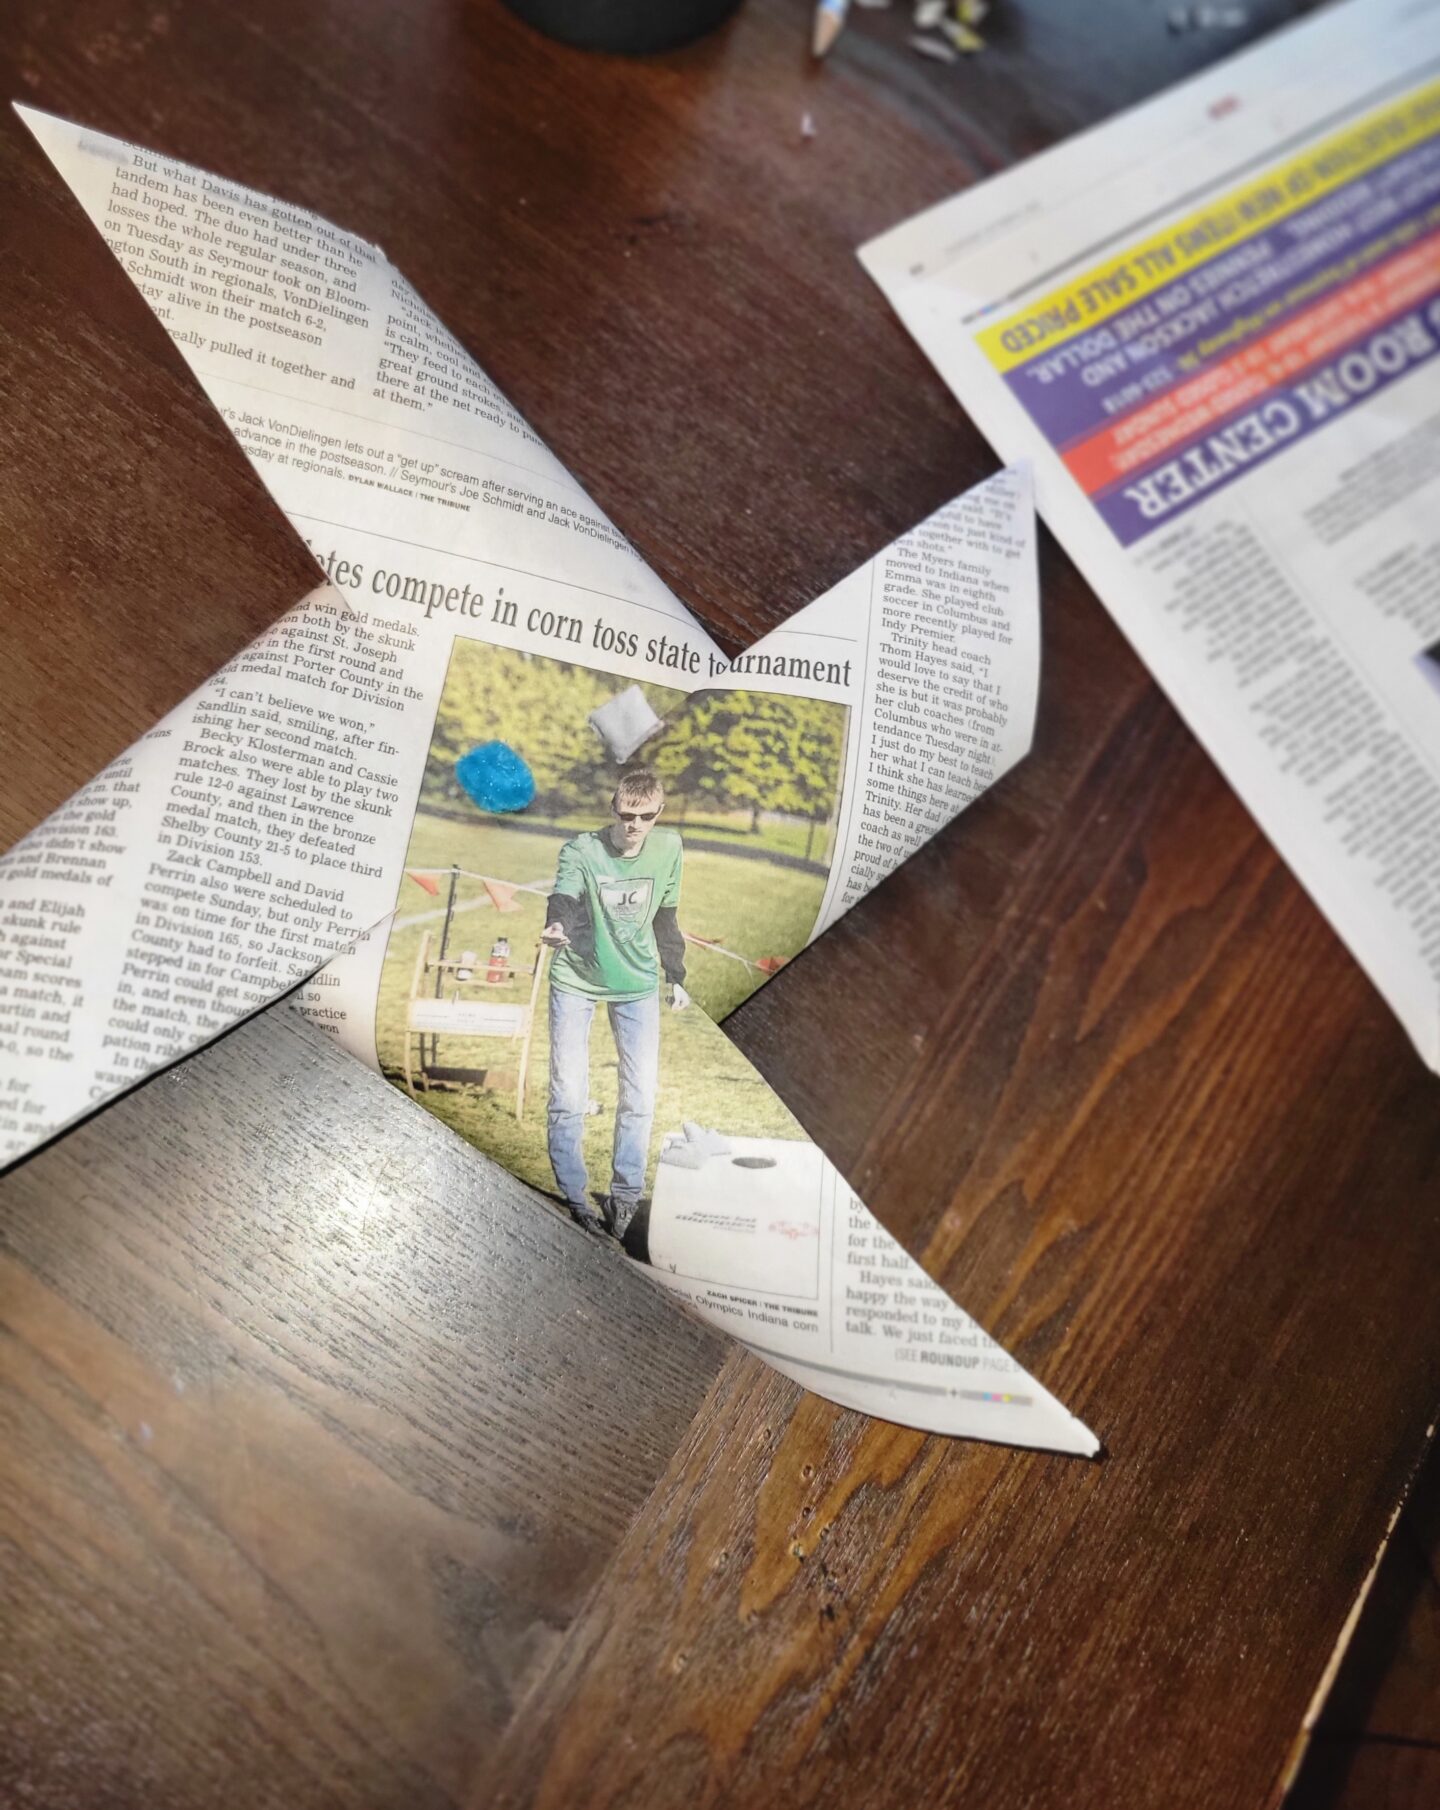
Pinwheel Flyers
Materials needed: Newspaper or recycled paper, scissors, straw and paperclip.
Start by laying your paper flat and folding each corner in to the middle then flat again one at a time to make a line to cut down. Once this is down and four corners are folded down using a paper clip or whatever you may have push it through the paper to keep those flaps folded.
You can attach a straw to the paper clip and take these outside or simply blow against them to make your own little pinwheel/windmill.
Here is a link to a video that shows how they’re made How to Make Paper Pinwheels – YouTube
We also made some from multiple pieces of paper or just a single piece to see which would go further when thrown or drop faster to the ground. The kids made predictions of whose would drop or “fly” fastest and took turns proving their theories.