
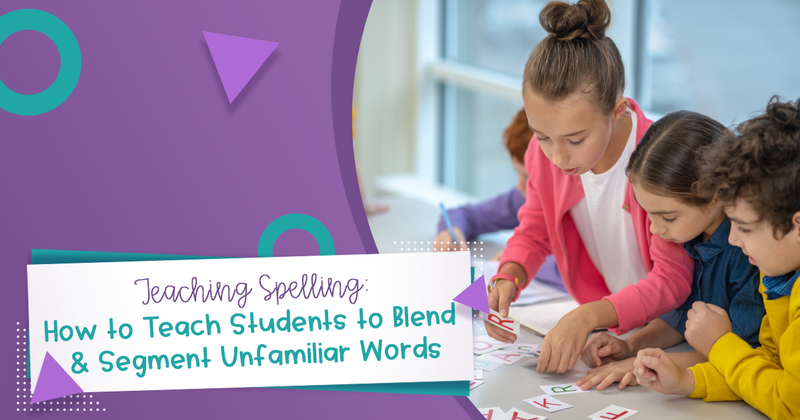
Teaching spelling to students in an effective way may seem like a tall order to fill, but with letter tiles it is a little easier. Letter tiles are a simple, easy, hands-on way to get your students involved in spelling. I literally use them every. single. day. They help students see the relationship between the spoken and written word. We can also use them to reinforce that words have parts, like a beginning, middle, and end and the importance of getting all the right letters in the correct places. Otherwise, we’re creating new words or nonsense words which is a key element to teaching spelling.
How Letter Tiles Can Be Used to Teach Blending, Segmenting, and Manipulating Sounds
- Write the grapheme that you are studying on the board. Depending on if this is the first time or a review of a particular skill, you may need to introduce, review, or discuss the grapheme with your students.
- Have students build a simple word that contains the grapheme. Help them to determine the phonemes orally. I usually ask my students to help me count the sounds. Together, we say each phoneme in the word. Then, I ask them to spell the word using their letter tiles on the table. For some, this is simple once we have produced the phonemes. They are simply matching letters to sounds. I have other students who can easily produce the phonemes and have difficulty finding the graphemes. I think it is important to realize that there are strengths and weaknesses in each of these areas, even among students working at the same encoding level.
- Ask students to change one letter to spell a new word. Once students have the initial word, they are ready to begin manipulating the word to create a new word. To do this, we say the sounds in the word together. Then, we check to see how those phonemes match up with the graphemes we have in our word. We look for the letter that needs to change. My kids LOVE to see how quickly they can decide which letter needs to change!
- Repeat the previous step to spell all 5-10 spelling words. By asking students to change 1, 2, or 3 letters, depending on the spelling level, they are constantly manipulating, blending, and segmenting words. This strategy is helping teaching spelling by having the students create new words.
- Develop a set of daily routines to target various phonological skills. Each day I have a different focus while we work to spell our words. This is key to teaching spelling to your students. Having a daily routine with a different focus every day exposes students to more than one way of spelling.
How to Prep Letter Tiles for Word Building Activities
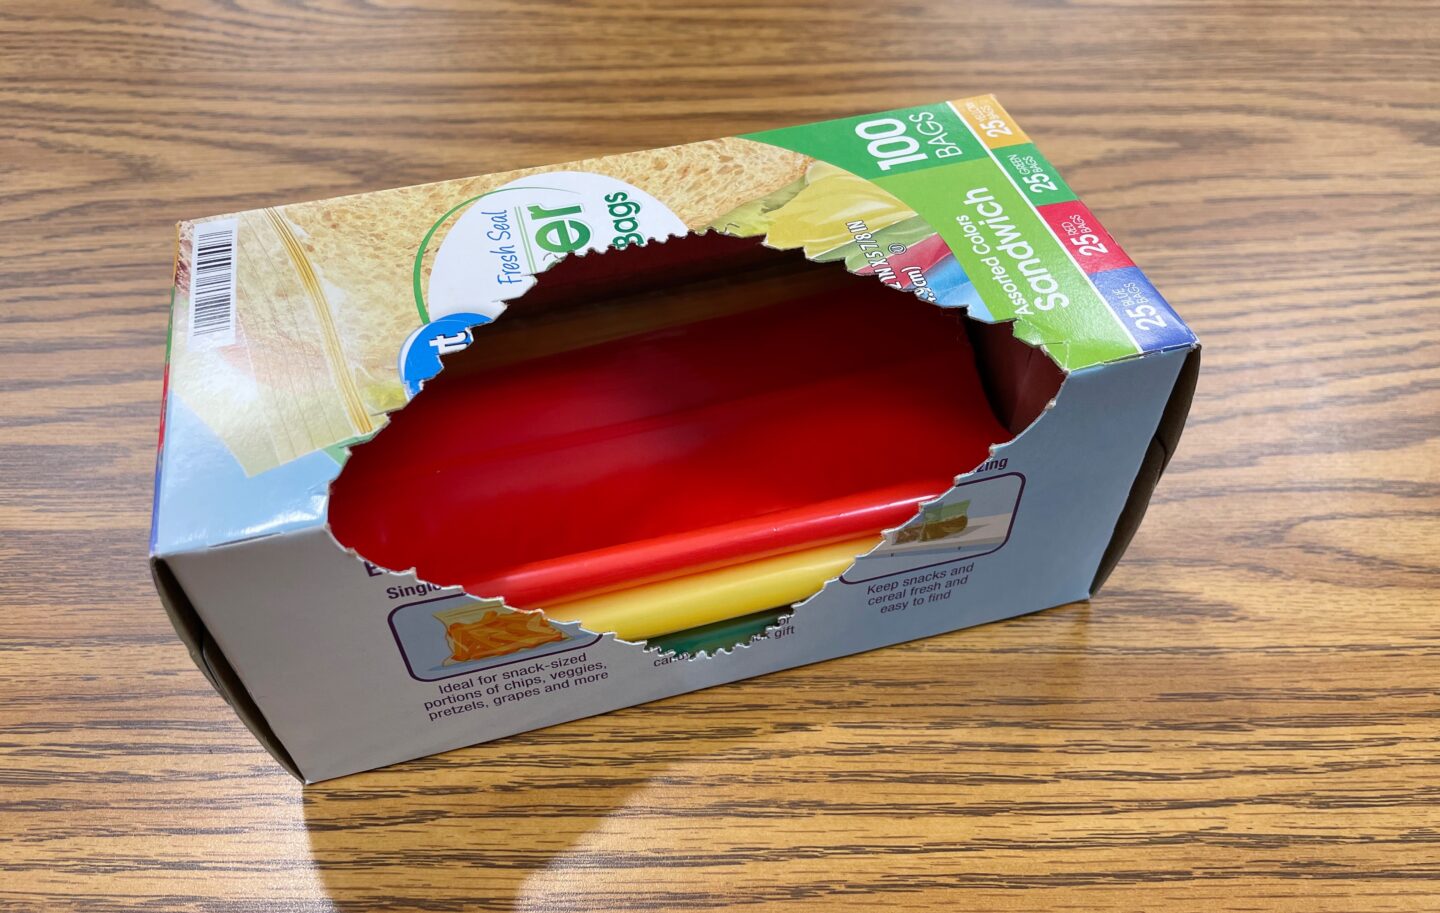
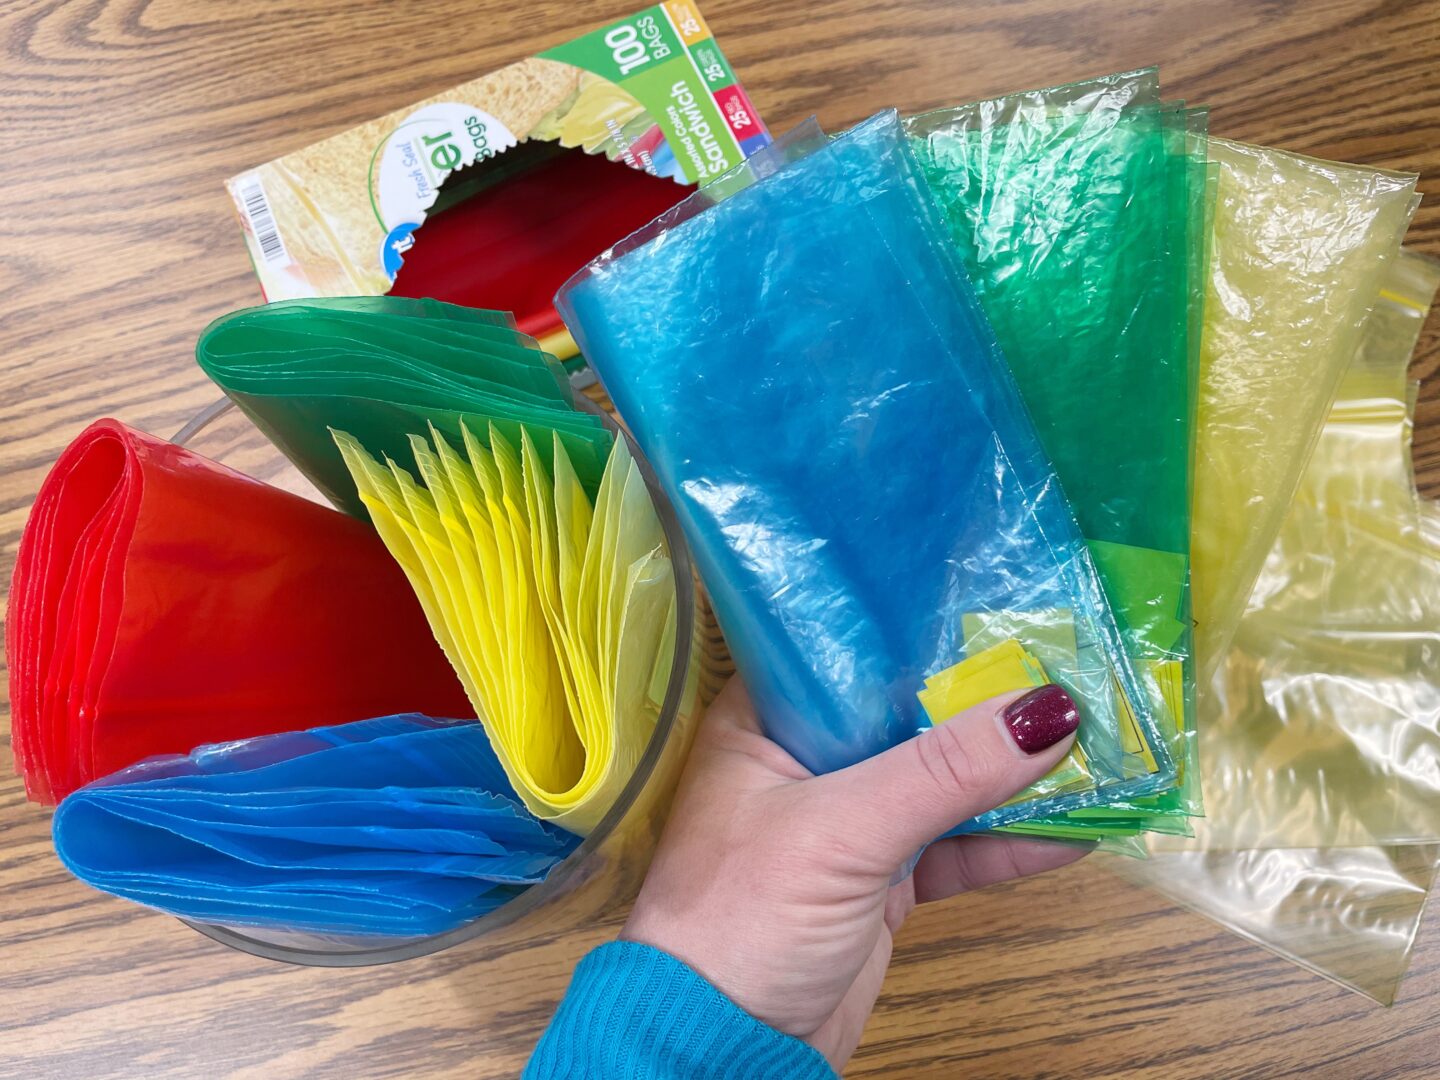
- Buy Colored Sandwich Bags I love the Great Value brand. There may be others that are colored or have a specific design, but I love these for allowing me to easily match a color to a particular group. And by pure luck, these also coordinate with my reading series levels perfectly!
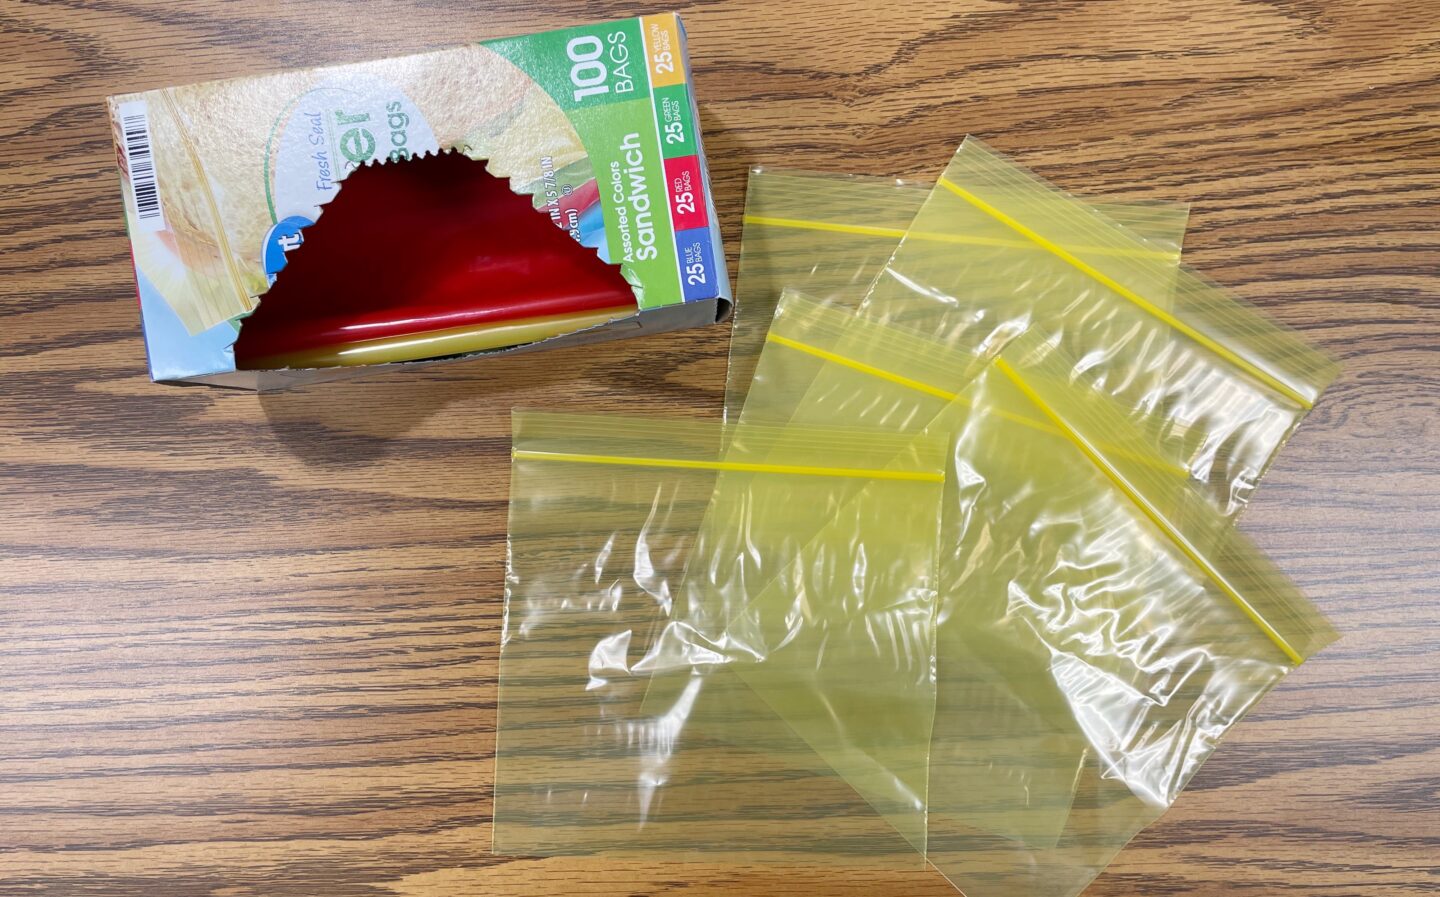
2. Determine How Many Bags You’ll Need for Each Level This year, I am not allowed to have more than five people in my small group. I guess I shouldn’t really say that I’m not allowed, but rather due to COVID rules, I don’t have enough room at my table for Plexiglass and students! Five is the max. Therefore, I have five bags in each color.
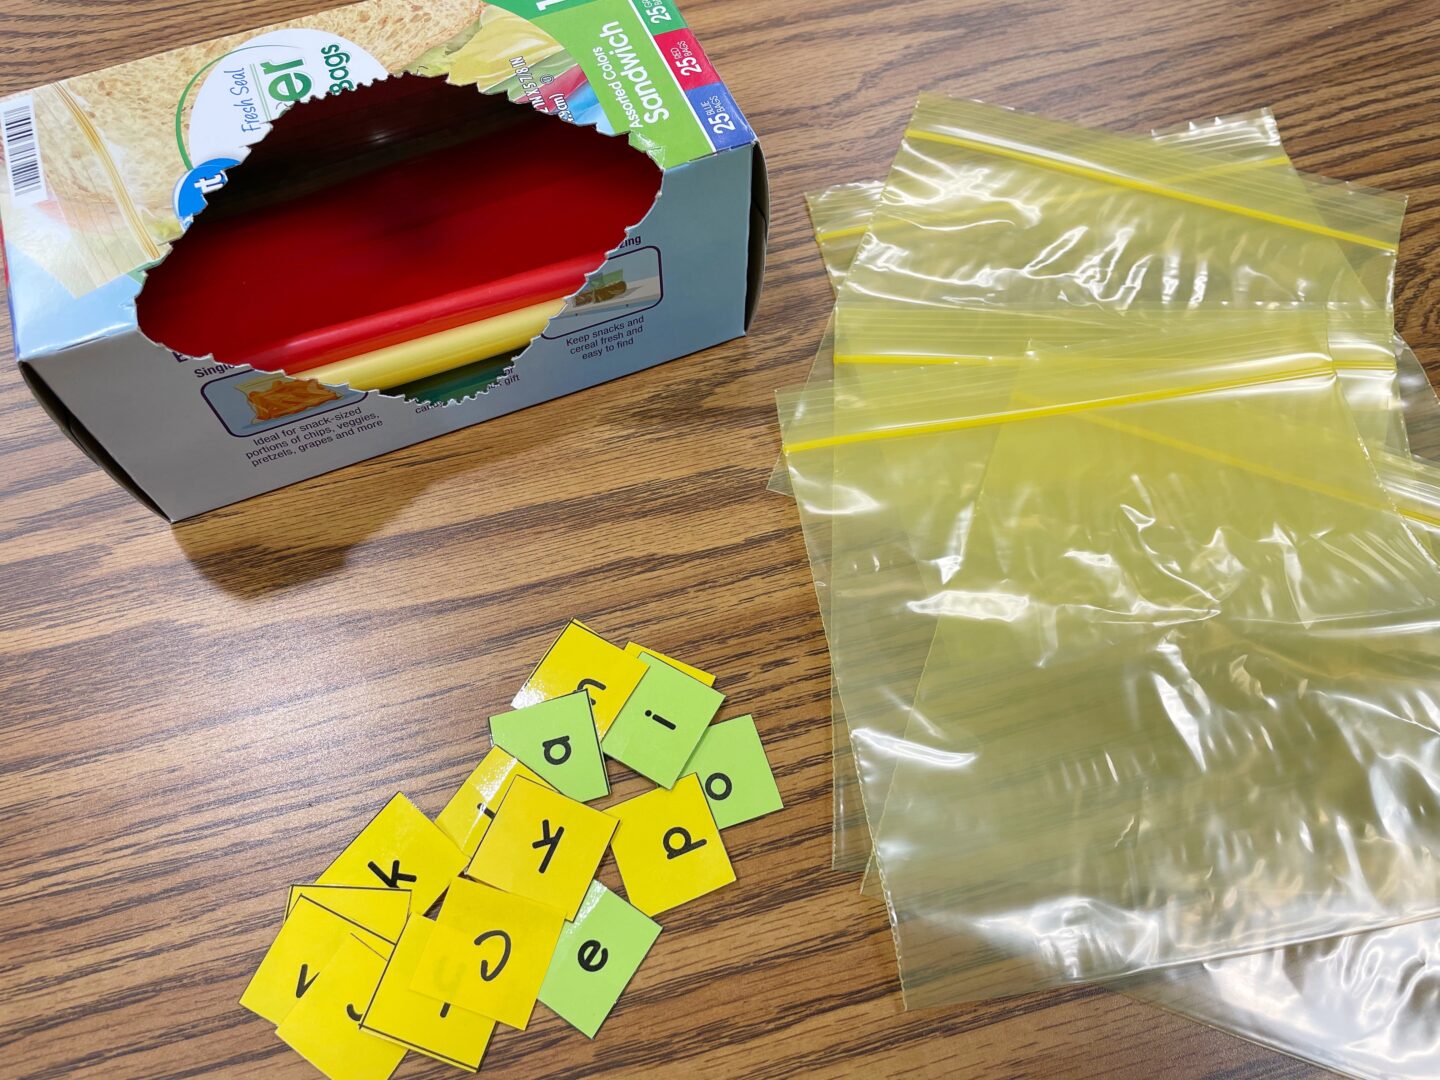
3. Add Letter Tiles You’ll Need for the Week to the Baggies Depending on the level, we may have 8-15 letter tiles. This significantly reduces the grapheme choices that students have when it is time to spell our words. They literally only have the letters needed to spell our 5-10 spelling words.
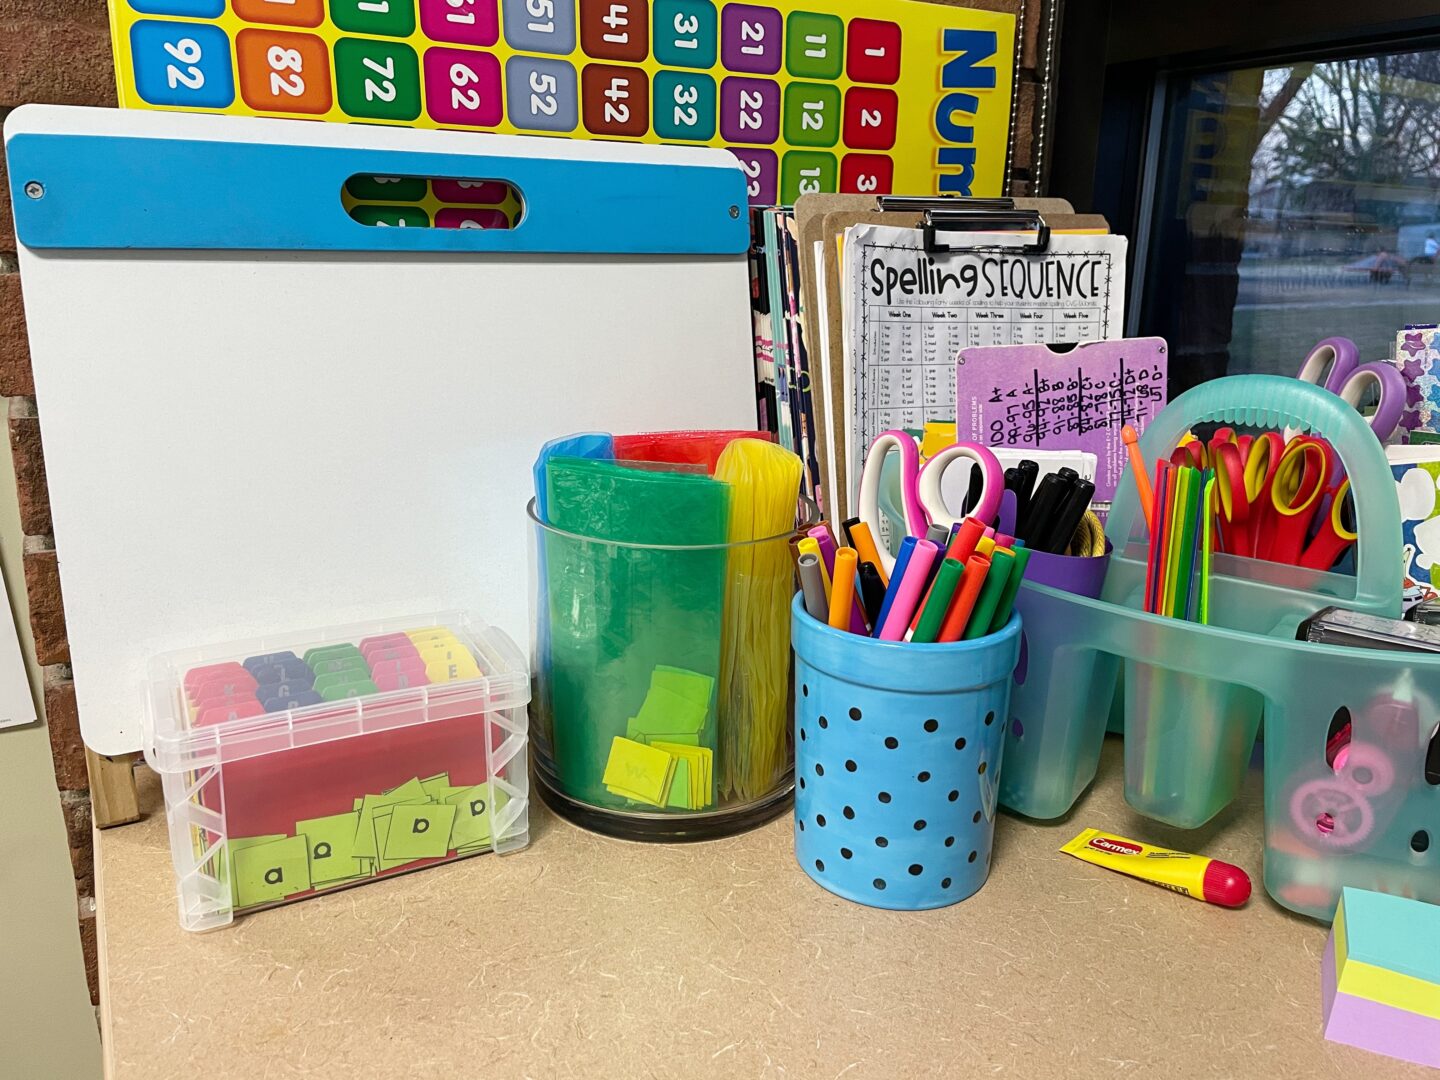
4. Store Until Ready for Use Locate a container or place where you’ll keep your bags. Someone had flowers delivered to me at school years ago. They came in this big, round vase! They were perfect for keeping my spelling bags all in one place. Now, they are ready for whatever group I happen to have.
5. Create a Backup Set I seriously learned this trick the hard way! I used to always switch out the letters in my bags from week to week. I had one set and I would change them out on Friday afternoons. Well, my Fridays were CRAZY! I had spelling, reading, and math tests to grade. I didn’t have time to also switch out the letters in each spelling bag. It didn’t take long, but it was still just one more thing to do on a busy day. Sometimes, I would even come in on the weekend for 15-20 minutes just to switch out my spelling bags. It was getting ridiculous! Finally, I decided to create another set of bags with letters for the NEXT week’s spelling list. Then, I can work ahead without ruining the letters that are in my current bag.